Properly coiling an air compressor hose is essential for organization, longevity, and safety. A neatly coiled hose prevents kinks, tangles, and trip hazards, extending its lifespan and maintaining optimal performance. Understanding the right coiling techniques ensures your hose remains in excellent condition, ready for use.
This blog post will guide you through the best methods for coiling your air compressor hose, whether for storage or transport. We’ll cover techniques that minimize stress on the hose material and prevent damage, ensuring your hose remains flexible and functional for years to come.
Why Need to Coil Air Compressor Hoses
Coiling air compressor hoses is an essential practice for maintaining their integrity and ensuring a safe, organized workspace. Improperly stored hydraulic hoses can lead to various issues, including damage to the hose itself and potential safety hazards. Proper coiling addresses these concerns, extending the lifespan of your hoses and improving overall efficiency.
Here are the key reasons why you need to coil air compressor hoses:
Prevent Kinks and Twists:
Hoses left uncoiled are prone to developing kinks and twists, which restrict airflow and reduce tool performance. Kinks can also weaken the hose material, leading to cracks and leaks over time. Proper coiling ensures the hose maintains its shape and flexibility, allowing for consistent airflow and preventing premature wear.
Extend Hose Lifespan:
Coiling hoses correctly minimizes stress on the hose material, preventing unnecessary wear and tear. Dragging and tangling hoses can cause abrasion and damage, shortening their lifespan. Proper coiling protects the hose from these external factors, ensuring it remains in good condition for longer.
Enhance Workspace Safety:
Uncoiled hoses lying on the floor create tripping hazards and can lead to accidents. Coiling hoses keeps them neatly stored and out of the way, promoting a safer and more organized work environment. This reduces the risk of injuries and improves overall workplace safety.
Improve Organization and Efficiency:
Coiled hoses are easier to store and transport, making them readily accessible when needed. Proper coiling keeps hoses organized and prevents them from becoming tangled, saving time and effort when setting up or packing away equipment. This improves overall efficiency and productivity in your workspace.
How to Coil Air Compressor Hose

Coiling your compressor air hose correctly is essential for maintaining its integrity and preventing damage. Proper coiling techniques minimize kinks, twists, and wear, ensuring consistent airflow and extending the hose’s lifespan.
Here’s a step-by-step guide on how to roll up a compressor air hose.
Step 1: Preparing the Compressor Air Hose
Before you begin coiling, ensure the compressor air hose is completely depressurized and disconnected from the compressor and any tools. This safety precaution prevents accidental air release during coiling. Lay the hose out flat on a clean surface and remove any kinks or twists by gently straightening it. Inspect the hose for any signs of damage, such as cuts, abrasions, or leaks, and address them before coiling.
Proper preparation ensures a safe and effective coiling process. Removing air pressure, and straightening the hose, prevents damage and ensures a smooth coiling experience.
Clean the compressor air hose with a damp cloth to remove any dirt, oil, or debris that could damage the hose material or contaminate your workspace. Pay particular attention to the fittings at each end of the hose, as they can accumulate dirt and grime. Ensure the hose is completely dry before coiling, as moisture can lead to mold or mildew growth.
A clean, dry compressor air hose will last longer, and not contaminate your workspace. Cleaning is a vital step in the process.
Step 2: Coiling the Compressor Air Hose
Begin coiling the compressor air hose from one end, forming a loop approximately 12 to 18 inches in diameter. Maintain a consistent loop size to prevent kinks and ensure even coiling. As you form each loop, lay it flat on the surface, ensuring the hose lies smoothly and without twists. Continue coiling the hose, overlapping each loop slightly to create a compact and manageable coil.
Consistent loop size prevents kinks, and ensures even coiling. Overlapping the loops creates a compact and manageable coil.
For longer compressor air hoses, you may need to pause and adjust your grip to maintain control and prevent tangling. Avoid coiling the hose too tightly, as this can put stress on the hose material and lead to premature wear. If the hose has a natural curve or memory, coil it in the direction of the curve to minimize stress.
Long compressor air hoses require care, to prevent tangling. Do not coil the hose too tight, as this can damage the hose.
Step 3: Securing the Coil
Once you’ve coiled the entire compressor air hose, secure the coil with a hose strap, Velcro strap, or bungee cord. Ensure the strap is tight enough to hold the coil together but not so tight that it damages the hose. Position the strap approximately one-third of the way from each end of the coil to prevent it from unraveling.
A secure strap prevents the coil from unravelling. Do not strap the coil too tight, as this can damage the hose.
For added convenience, consider using a hose reel or hanger to store the coiled compressor air hose. These storage solutions keep the hose neatly organized and prevent it from becoming tangled or damaged. Hang the coiled hose in a dry, well-ventilated area away from direct sunlight and extreme temperatures.
A hose reel, or hanger, keeps the compressor air hose organized, and prevents damage. Avoid direct sunlight, and extreme temperatures, when storing the hose.
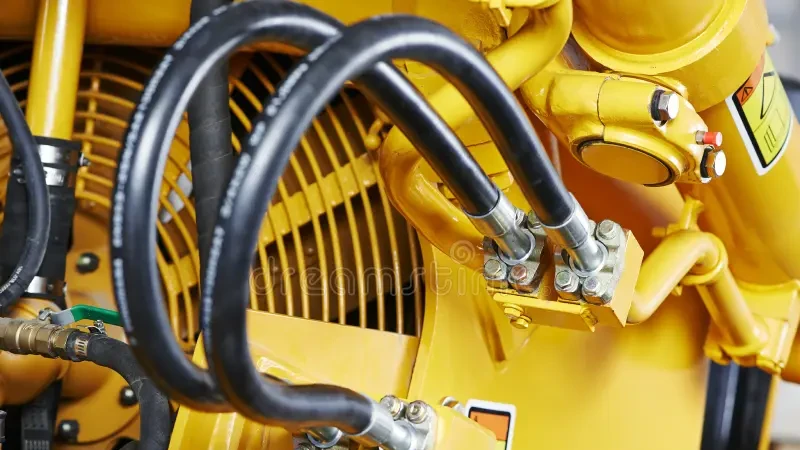
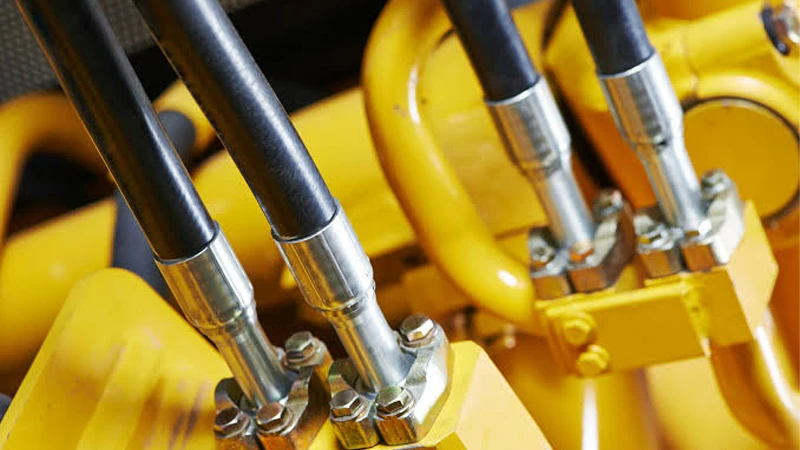
How Do You Coil Hydraulic Hoses

Coiling hydraulic hoses correctly is crucial for maintaining their integrity and preventing damage. Proper coiling techniques minimize kinks, twists, and wear, ensuring consistent performance and extending the hose’s lifespan. Here’s a step-by-step guide on how to coil hydraulic hoses.
Step 1: Preparing the Hydraulic Hose
Before you begin coiling, ensure the hydraulic hose is completely depressurized and disconnected from any hydraulic systems or tools. This safety precaution prevents accidental fluid release during coiling. Lay the hose out flat on a clean surface and remove any kinks or twists by gently straightening it. Inspect the hose for any signs of damage, such as cuts, abrasions, or leaks, and address them before coiling.
Proper preparation ensures a safe and effective coiling process. Removing hydraulic pressure, and straightening the hose, prevents damage and ensures a smooth coiling experience.
Clean the hydraulic hose with a damp cloth to remove any dirt, oil, or debris that could damage the hose material or contaminate your workspace. Pay particular attention to the fittings at each end of the hose, as they can accumulate dirt and grime. Ensure the hose is completely dry before coiling, as moisture can lead to internal corrosion or degradation.
A clean, dry hydraulic hose will last longer, and not contaminate your workspace. Cleaning is a vital step in the process.
Step 2: Coiling the Hydraulic Hose
Begin coiling the hydraulic hose from one end, forming a loop approximately 12 to 18 inches in diameter, or a size appropriate for the hose’s flexibility and diameter. Maintain a consistent loop size to prevent kinks and ensure even coiling. As you form each loop, lay it flat on the surface, ensuring the hose lies smoothly and without twists. Continue coiling the hose, overlapping each loop slightly to create a compact and manageable coil.
Consistent loop size prevents kinks, and ensures even coiling. Overlapping the loops creates a compact and manageable coil.
For longer hydraulic hoses, you may need to pause and adjust your grip to maintain control and prevent tangling. Avoid coiling the hose too tightly, as this can put stress on the hose material and lead to premature wear. If the hose has a natural curve or memory, coil it in the direction of the curve to minimize stress.
Long hydraulic hoses require care, to prevent tangling. Do not coil the hose too tight, as this can damage the hose.
Step 3: Securing the Coil
Once you’ve coiled the entire hydraulic hose, secure the coil with a hose strap, Velcro strap, or bungee cord. Ensure the strap is tight enough to hold the coil together but not so tight that it damages the hose. Position the strap approximately one-third of the way from each end of the coil to prevent it from unraveling.
A secure strap prevents the coil from unravelling. Do not strap the coil too tight, as this can damage the hose.
For added convenience, consider using a hose reel or hanger to store the coiled hydraulic hose. These storage solutions keep the hose neatly organized and prevent it from becoming tangled or damaged. Hang the coiled hose in a dry, well-ventilated area away from direct sunlight, extreme temperatures, and potential chemical exposure.
A hose reel, or hanger, keeps the hydraulic hose organized, and prevents damage. Avoid direct sunlight, extreme temperatures, and chemical exposure, when storing the hose.
Conclusion
Coiling your air compressor hose correctly is essential for maintaining its integrity and prolonging its lifespan. Proper coiling techniques prevent kinks, twists, and damage, ensuring consistent airflow and pressure delivery. Understanding the right methods and using appropriate storage solutions contribute to a tidy and efficient workspace.
Regularly coiling your hoses after use not only keeps them organized but also minimizes the risk of tripping hazards and accidental damage. Taking the time to coil your hoses correctly saves you from costly replacements and ensures your pneumatic tools operate at peak performance. Proper coiling maintains the hose’s flexibility and prevents premature wear.
For a wide selection of durable and high-quality air compressor hoses, choose Kingdaflex. We offer wholesale options with various sizes and materials to meet your specific needs. Contact us today to explore our product offerings and ensure your air compressor systems operate with optimal safety and efficiency.