When it comes to optimizing the performance of your vehicle or machinery, understanding how to install AN fittings on nylon braided hoses is crucial.
AN fittings, short for Army-Navy fittings, provide a reliable and leak-free connection for various fluid systems.
In this comprehensive guide, we will walk you through the steps to ensure a seamless installation process.
Gathering Your Tools and Materials
Gathering the right tools and materials is a crucial step when installing AN fittings on a nylon braided hose. Let’s delve deeper into what you’ll need:
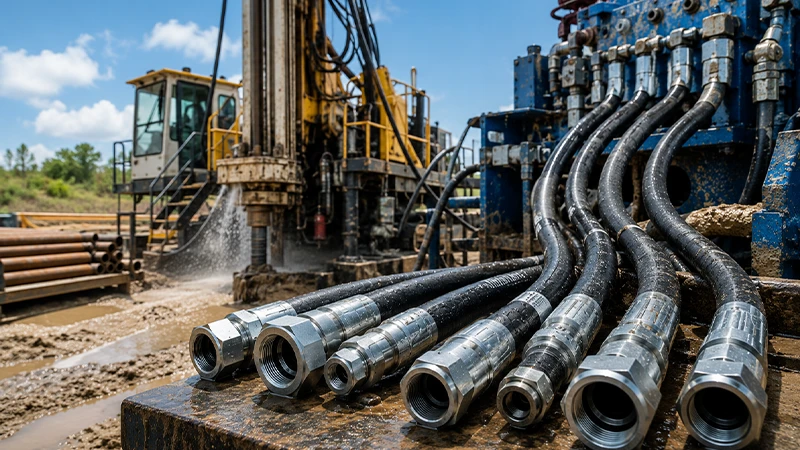
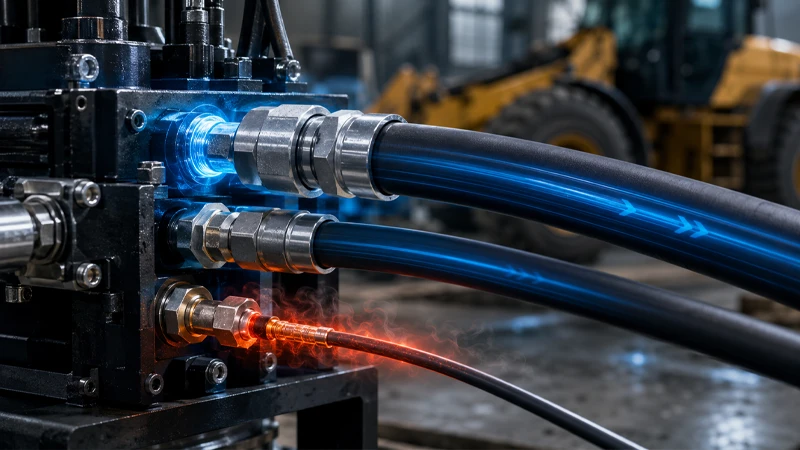
- AN Fittings: These fittings come in various sizes and configurations, so it’s essential to choose the correct ones that match the size and type of your nylon braided hose. AN fittings ensure a secure and leak-free connection.
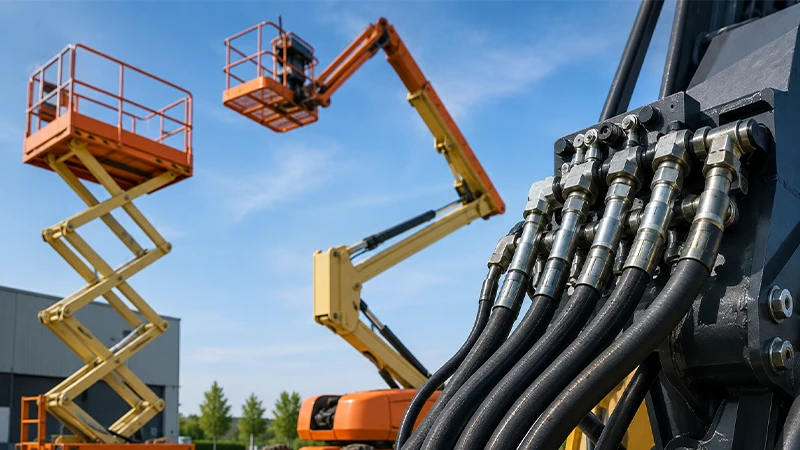
- Nylon Braided Hose: The hose itself is a critical component. You should have the appropriate length and diameter of nylon braided hose for your specific application. Ensure it’s in good condition with no visible damage.
- Wrenches: You’ll need two wrenches for the installation process. One wrench is used to hold the hose end firmly in place, while the other is used to tighten the AN fitting onto the hose. The wrenches should be the right size for your fittings to avoid damaging them during assembly.
- Lubricant: A small amount of lubricant can be incredibly helpful during the installation process. Applying it to the hose’s inner lining will make it easier to slide the hose over the AN fitting, reducing friction and preventing damage to the hose or fitting.
- Safety Gear: Safety should always be a priority. When working with AN fittings and hoses, it’s essential to wear safety glasses to protect your eyes from any potential hazards. Additionally, wearing gloves will safeguard your hands and provide a better grip while handling components.
Gathering these tools and materials ensures that you have everything you need at your disposal before you begin the installation process. This preparation will help streamline the process, reduce the chances of errors, and ensure a successful and reliable connection between the AN fittings and the nylon braided hose.
Step 1: Prepare the Nylon Braided Hose

- Start by cutting the nylon braided hose to your desired length using a sharp, clean cut. Ensure that the cut is straight and even.
- To make the installation process easier, apply a small amount of lubricant to the hose’s inner lining. This will help the hose slide over the fitting more smoothly.
Step 2: Assemble the AN Fitting

Assembling the AN fitting onto the nylon braided hose is a critical step in the installation process. Here’s a more detailed explanation of this step:
- Slide the AN Fitting onto the Hose: Start by taking the AN fitting and sliding it onto the cut end of the nylon braided hose. Ensure that the fitting goes in as far as possible. The purpose of this step is to create a secure connection between the hose and the fitting.
- Proper Alignment: Pay attention to the alignment of the AN fitting. It should sit flush against the end of the hose. This ensures that the fitting engages properly and forms a tight seal, preventing leaks.
- Use Two Wrenches: To tighten the AN fitting onto the hose, you’ll need two wrenches. One wrench is used to hold the hose end firmly in place, preventing it from turning. The other wrench is used to grip and tighten the AN fitting onto the hose threads. Make sure both wrenches are the appropriate size for your specific fittings to avoid damaging them.
- Tighten Gradually: Begin by gently tightening the AN fitting onto the hose threads. It’s important not to over-tighten, as this can damage the hose or fitting. Use a steady and controlled force to ensure a snug fit.
- Check for Proper Engagement: As you tighten the fitting, pay attention to the threads. You should see the fitting thread engage smoothly with the hose threads. This process creates a secure and leak-free connection.
- Stop When Snug: Once you feel resistance and the fitting is snug against the hose, stop tightening. Over-tightening can cause problems, so it’s crucial to exercise caution and not force the fitting past this point.
By following these steps, you’ll successfully assemble the AN fitting onto the nylon braided hose. This ensures that the fitting is securely attached to the hose, creating a reliable connection that is essential for the proper functioning of your fluid system. Remember to use the appropriate tools and maintain control over the tightening process to prevent damage and leaks.
Step 3: Inspect for Leaks

Inspecting for leaks is a critical step when installing AN fittings on a nylon braided hose. It ensures the integrity of the connection and helps prevent potential issues down the road. Let’s go into more detail about this step:
- Visual Inspection: Start by closely examining the connection point between the AN fitting and the nylon braided hose. Look for any signs of fluid seepage or dampness around the joint. Even a small leak can lead to performance issues or safety hazards, so a keen eye is essential.
- Check for Tightness: Ensure that the AN fitting is properly tightened onto the hose. It should be snug enough to form a secure seal but not over-tightened, as this can damage the hose or fitting. Use your wrenches to make any necessary adjustments. Remember, overtightening can be as problematic as under-tightening.
- Perform a Pressure Test: If you’re working with a fluid system (such as a fuel or oil system), apply pressure to the hose as it would experience during regular operation. This step is crucial, as some leaks may only become apparent under pressure. It’s essential to monitor the connection closely during this test.
- Observe for Leaks: While under pressure, observe the connection carefully for any signs of leakage. This includes looking for droplets, dampness, or any fluid escaping from the fitting. Leaks can sometimes be challenging to spot, so be thorough in your examination.
- Listen for Hissing Sounds: In some cases, you may hear a hissing sound near the connection point if there’s a leak. This audible clue can be helpful in detecting even minor leaks that might not be immediately visible.
- Use a Leak Detection Solution: In situations where leaks are hard to detect visually, you can use a specialized leak detection solution. Apply the solution to the connection, and if bubbles form, it indicates a leak. Be sure to use a solution compatible with the type of fluid in your system.
- Addressing Leaks: If you do identify a leak during this inspection, don’t panic. Simply stop the pressure test, carefully disassemble the connection, and inspect both the hose and the AN fitting for any visible damage. Replace any damaged components and reassemble the connection following the installation steps. Repeat the pressure test to ensure the issue has been resolved.
By conducting a thorough inspection for leaks, you can ensure that your AN fittings and nylon braided hose are properly installed and that there are no vulnerabilities in your fluid system. This step is essential for the safety, performance, and longevity of your system.
Step 4: Test the Assembly

This step is critical to ensure the integrity of your installation and prevent potential issues down the road. Here’s a more detailed explanation:
1. Apply Pressure:
After assembling the AN fittings onto the nylon braided hose, it’s time to subject the assembly to the conditions it will experience during normal operation. This typically involves applying pressure to the hose. The amount of pressure will depend on the specific application, whether it’s for a fuel system, oil system, or any other fluid system.
2. Monitor for Leaks:
As you apply pressure to the hose, closely monitor the entire assembly for any signs of leaks. Leaks can manifest as visible drips, seepage, or even a hissing sound if gas is escaping. Carefully inspect the connection points, especially where the AN fittings meet the hose, as these are common areas for leaks to occur.
3. Address Leaks Promptly:
If you detect any leaks during this testing phase, it’s crucial to address them promptly. Start by identifying the source of the leak. It could be a loose AN fitting or an issue with the hose itself. To fix a leak:
- Gently tighten the AN fitting: If the leak is originating from the connection between the fitting and the hose, use a wrench to gently tighten the fitting. Be cautious not to over-tighten, as this can damage the hose or fitting.
- Inspect the hose: If the hose itself is damaged or compromised, it will need to be replaced. This is especially important as a damaged hose can pose a significant safety risk.
4. Ensure a Leak-Free Connection:
The objective of this testing phase is to achieve a completely leak-free connection. A secure and sealed assembly is vital to prevent any fluid loss, which could lead to system inefficiencies, damage, or even safety hazards.
5. Re-testing (if necessary):
After addressing any leaks, reapply pressure to the assembly and recheck for leaks. It may take a few adjustments to achieve a completely leak-free connection.
6. Final Verification:
Once you’ve successfully tested the assembly without any leaks, you can have confidence that your AN fittings are securely installed on the nylon braided hose. This ensures that your fluid system will function as intended, with no unexpected issues arising from loose fittings or leaks.
Remember that thorough testing and verification of the assembly is essential to guarantee the reliability and safety of your fluid system, whether it’s in an automotive, industrial, or any other application.
Step 5: Finalize Your Installation

The finalization of your installation is the last step in the process of installing AN fittings on a nylon braided hose. This step is crucial to ensure that your system operates smoothly and without any issues. Here’s a more detailed explanation of finalizing your installation:
- Check for Leaks: Before you consider the installation complete, it’s essential to check for any potential leaks. Inspect the entire connection, especially the area where the AN fitting meets the hose. Look for signs of fluid seepage, such as drips or wet spots. If you detect any leaks, it’s crucial to address them immediately.
- Tighten as Needed: If you find any leaks during the inspection, you may need to tighten the AN fitting a bit more. Use your wrenches to make small adjustments until the leak stops. It’s essential not to overtighten, as this can damage the hose or fitting. The goal is to achieve a snug, secure connection.
- Testing the Assembly: Once you are confident that there are no leaks and the fittings are appropriately tightened, it’s time to test the assembly. Apply pressure to the hose using the system it’s connected to, such as a fuel or oil system in an automotive application. This will simulate real-world operating conditions.
- Monitor for Leaks Under Pressure: As you apply pressure to the system, closely monitor the connection for any signs of leaks under pressure. Check the entire length of the hose and the fittings. Look for any new leaks that may appear when the system is pressurized.
- Secure the Assembly: If there are no leaks, and the assembly is holding up well under pressure, you’ve successfully installed AN fittings on your nylon braided hose. At this point, secure the hose and fittings in their intended position. Ensure they are clear of any sharp edges or potential abrasion points to prevent damage to the hose over time.
Finalizing your installation is crucial for the overall performance and safety of your system. By thoroughly checking for leaks and testing the assembly under pressure, you can ensure that your AN fittings are securely attached to the nylon braided hose, providing a reliable and leak-free connection. This step helps avoid potential issues and ensures that your system functions as intended.
By following these steps, you can confidently install AN fittings on a nylon braided hose, ensuring a reliable and secure connection for your fluid systems. Remember to prioritize safety throughout the process, and always double-check for leaks to prevent any potential issues down the road.
Why Choose Kingdaflex Nylon Braided Hoses?
Here are some reasons why you can choose Kingdaflex nylon braided hoses for your projects in the following.
- Durability: Our hoses are built to withstand the toughest conditions, providing longevity and peace of mind.
- Leak-Free Assurance: With Kingdaflex, you can say goodbye to frustrating leaks and costly downtime.
- Precision Fit: Our hoses and fittings are designed to fit seamlessly, ensuring a hassle-free installation process.
- Versatility: Whether it’s for automotive, industrial, or any other application, Kingdaflex Nylon Braided Hoses rise to the occasion.
- Proven Excellence: Countless professionals and enthusiasts trust Kingdaflex for their fluid system needs.
In the end, please feel free to contact kingdaflex via [email protected], and welcome to ask us any questions if you have any questions about nylon briaded hoses.