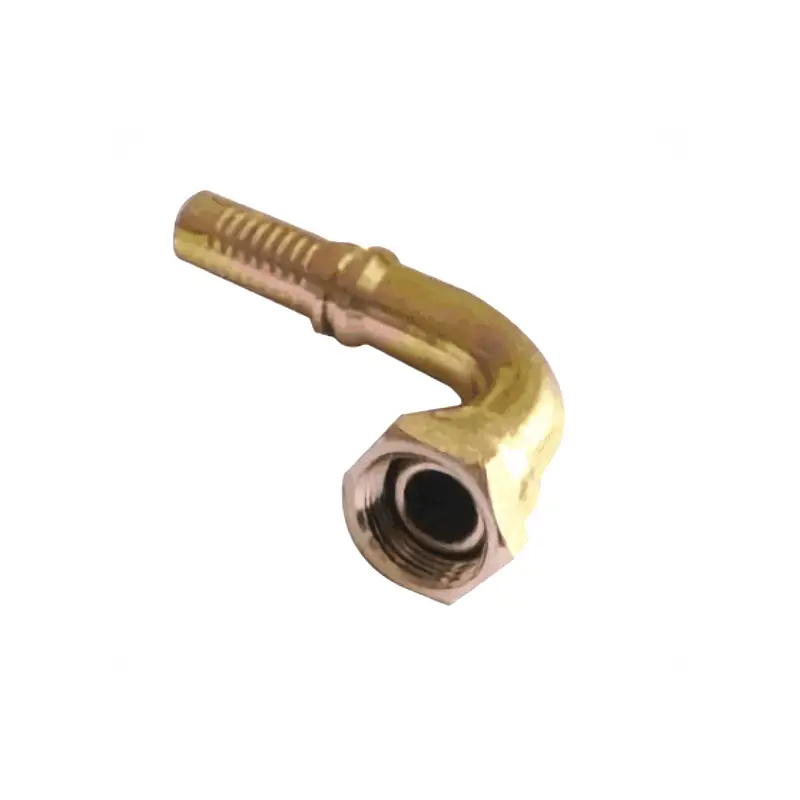
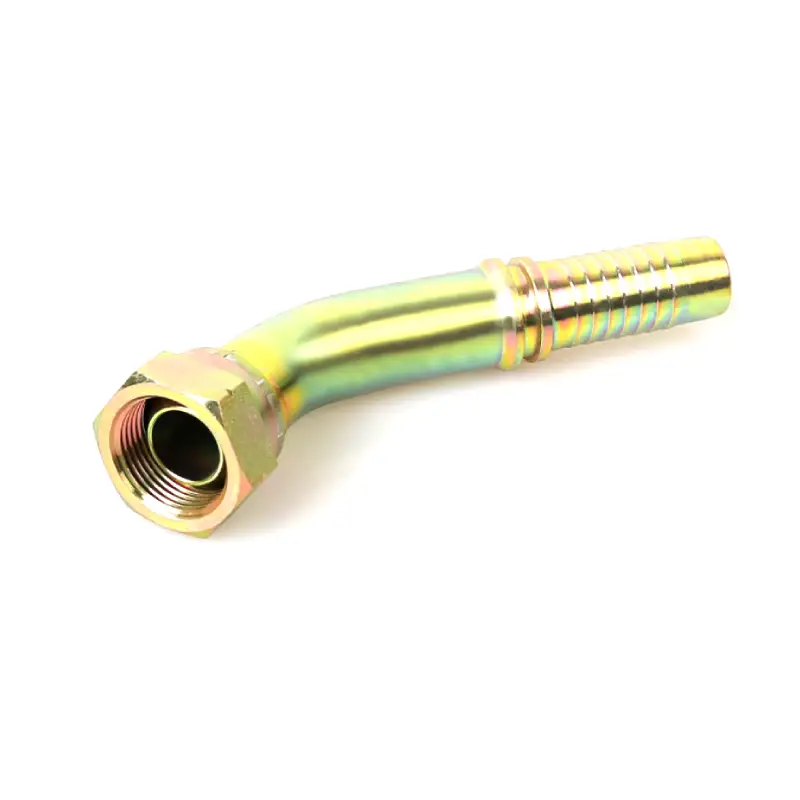
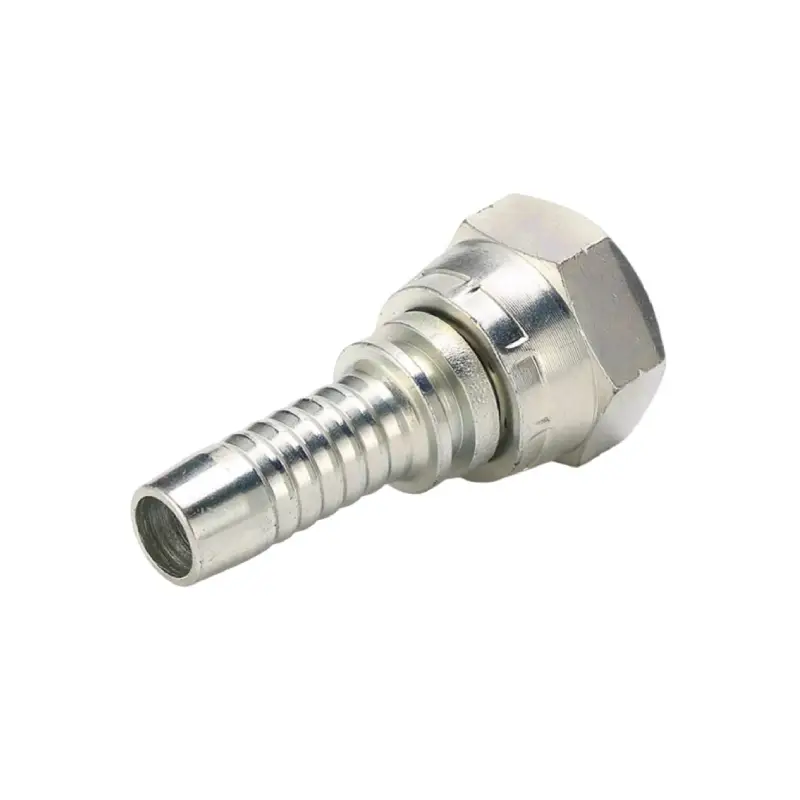
Braided hose fittings, also known as AN (Army-Navy) fittings, are popular for high-pressure applications due to their strength, durability, and leak-proof design. Commonly found in automotive, performance vehicles, and industrial settings, these fittings work with braided hoses to ensure a secure and reliable connection for fluids under pressure.
But how do you get these robust fittings securely attached to your braided hose?
This comprehensive guide will walk you through the process of installing AN fittings on both nylon and steel braided hoses, equipping you with the knowledge and confidence to tackle this task.
What Are Braided Hose Fittings
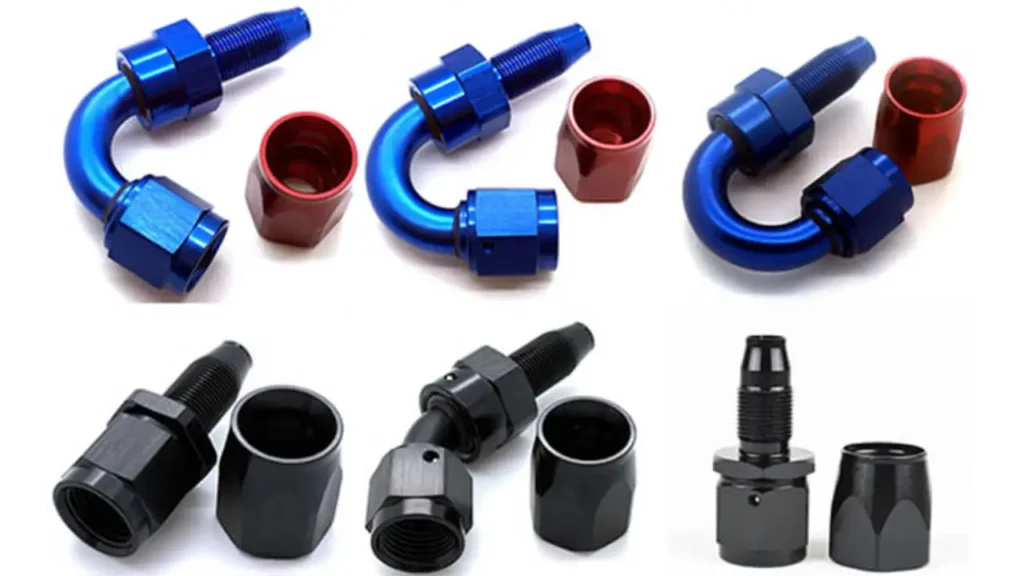
Braided hose fittings are used with braided hoses, which are more durable than traditional hoses and less likely to kink or burst. Braided hoses are made of an inner layer of reinforced yarn and an outer layer of flexible PVC. The fittings can be made of different materials and designed for different uses, such as hydraulic hoses, water supply hoses, and brake and clutch applications:
Here’s a breakdown of their key characteristics:
- Strength and Durability: The braided metal construction, usually nylon or stainless steel, surrounding the hose provides significant reinforcement compared to standard rubber hoses and clamps. This allows them to handle high fluid pressures without failure.
- Leak-Proof Design: The interlocking mechanism of the fitting with the hose and the use of a sealing ring or o-ring ensures a tight and leak-proof connection.
- Versatility: AN fittings come in various sizes and thread types to accommodate a wide range of braided hose diameters and applications.
- Common Uses: They are frequently used in:
- Automotive applications, especially for performance vehicles, fuel lines, brake lines, and oil cooler lines.
- Industrial settings for hydraulic machinery and equipment.
- Aerospace applications due to their high-pressure capabilities.
Here’s an analogy to help visualize braided hose fittings: Imagine a regular garden hose secured with a clamp. Braided hose fittings are like a more robust and secure version, using a metal interlocking mechanism instead of a clamp, for environments where high pressure and leak-proof connections are crucial.
Before You Begin: Gathering the Essentials
Before diving into the installation process, let’s make sure you have all the necessary tools and materials:
- Braided Hose: Choose a high-quality braided hose with the appropriate diameter and pressure rating for your application. Nylon and steel braided hoses are the most common types.
- AN Fittings: Select the correct AN fittings that match the diameter and thread type of your braided hose. These typically come in two parts: a hose end and a socket.
- Hose Cutter: A sharp hose cutter ensures a clean and square cut on your braided hose.
- Deburring Tool: This tool removes any burrs or sharp edges left behind after cutting the hose, preventing potential damage during insertion.
- Assembly Tool (Optional): While not always necessary, an assembly tool can simplify the process of inserting the hose into the fitting, especially for tighter tolerances.
- Wrenches: You’ll need wrenches that match the size of the fitting flats for tightening the connections securely.
- Rags: Keep some clean rags on hand for wiping away any debris or excess lubricant.
- Teflon Tape (Optional): While some fittings may utilize pre-applied sealant, Teflon tape can be used for an extra layer of security on threaded connections. (Note: Use sparingly and only on threads, not the hose itself).
- Lubricant: A light coat of anti-seize lubricant on the threads can aid in smooth assembly and future disassembly.
Safety First: When working with high-pressure applications, safety is paramount. Make sure you wear safety glasses and gloves to protect yourself from potential injuries during the cutting and assembly process.
Step-by-Step Installation Guide to Install Braided Hose Fittings
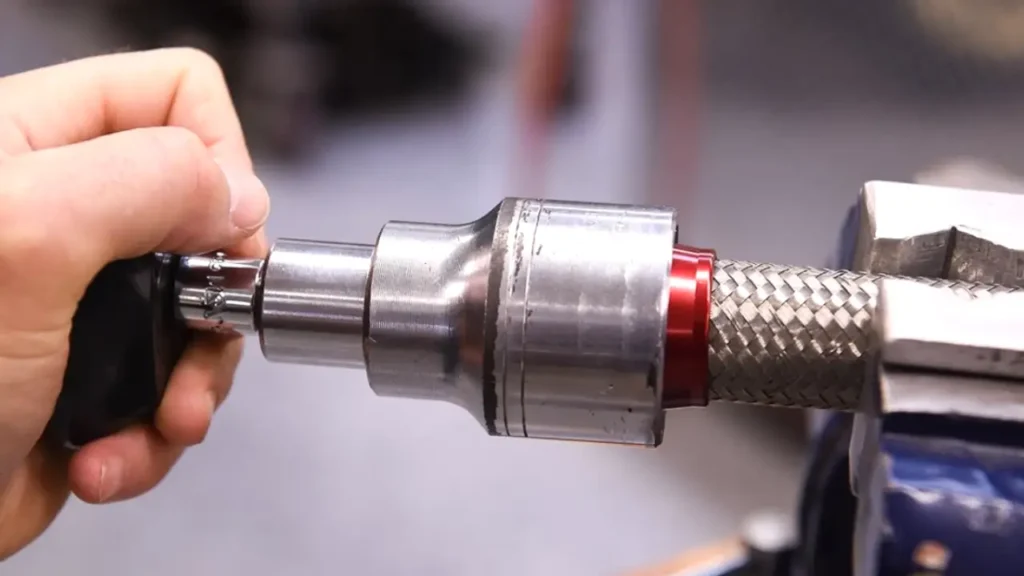
Now that you’re prepped with the right tools, let’s get down to business!
1. Prepare the Braided Hose:
- Measure and Cut: Carefully measure the desired length of your braided hose. Remember to account for the length of the fitting when determining the final cut.
- Make a Clean Cut: Use your hose cutter to achieve a clean and perpendicular cut on the hose end. A clean cut ensures proper insertion and minimizes the risk of leaks.
- Deburr the Edges: Use your deburring tool to remove any sharp edges or burrs left behind from the cutting process. These burrs can damage the inside of the fitting and compromise the seal.
2. Insert the Hose into the Fitting:
- Optional: Insertion Tool: For tighter tolerances, consider using an assembly tool to guide the hose end smoothly into the fitting. This can be especially helpful for first-timers or for hoses with smaller diameters.
- Twist and Push: If not using an assembly tool, carefully insert the cut end of the braided hose into the fitting body. Use a twisting and pushing motion to ensure the hose reaches the bottom of the fitting.
3. Secure the Connection:
- Threads and Lubricant: Apply a light, even coat of anti-seize lubricant on the threads of the fitting socket. This helps prevent seizing and allows for easier removal in the future.
- Tighten the Socket: While holding the hose end firmly, use your wrenches to tighten the socket onto the fitting body. Tighten gradually and evenly, following the manufacturer‘s recommended torque specifications for the specific fitting size.
Pro Tip: It’s a good practice to tighten the fitting in stages. Start with a light hand-tightening and then use the wrenches to incrementally tighten the connection until you reach the desired torque. This helps ensure a secure seal without over-tightening and potentially damaging the threads.
4. Optional: Leak Check:
While not always necessary, a leak check can provide peace of mind. Here are two methods:
- Visual Inspection: After tightening, visually inspect the connection point for any signs of leakage. Run a small amount of pressurized fluid (if applicable) through the hose and observe for any drips or seeps.
- Soapy Water Solution: Create a soapy water solution and apply it around the connection point. Watch for bubbles forming, which would indicate a leak.
Installing AN Fittings on Different Hose Types
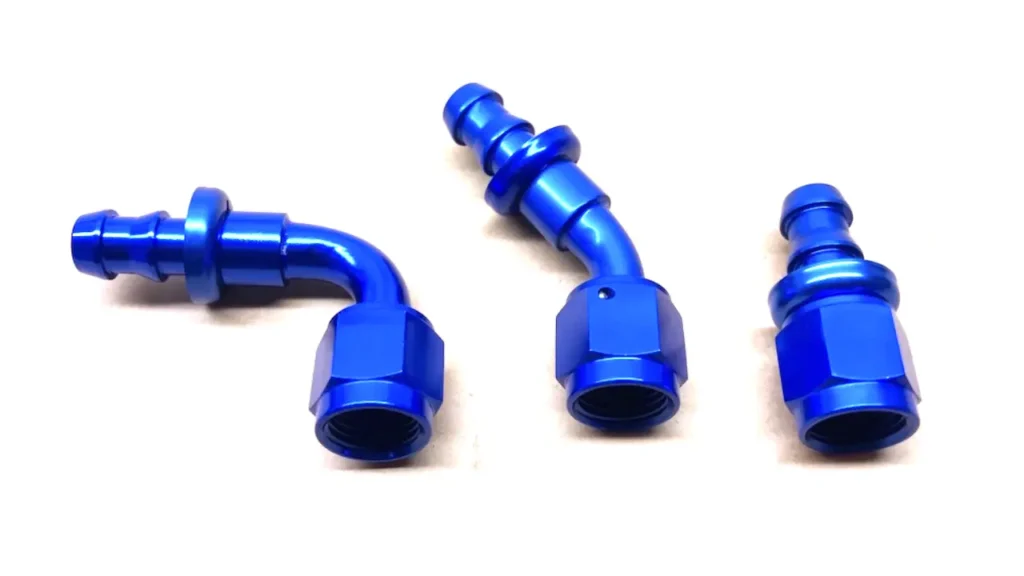
The core installation process remains the same for both nylon and steel braided hoses. However, there are some subtle differences to keep in mind depending on the hose material:
Installing AN Fittings on Nylon Braided Hose:
- Nylon‘s Flexibility: Nylon braided hoses offer a bit more flexibility compared to steel. This can be advantageous in applications where tight bends are needed. However, due to this flexibility, be extra cautious when inserting the hose end into the fitting. It’s crucial to ensure a straight and even insertion to avoid kinking the inner lining of the hose, which could restrict flow or compromise the seal.
- Tightening Considerations: Due to the softer nature of nylon compared to steel, it’s even more important to follow the recommended torque specifications for the fittings. Over-tightening can potentially damage the nylon braiding or cause the hose to bulge, compromising its integrity.
Installing AN Fittings on Steel Braided Hose:
- Steel’s Rigidity: Steel braided hoses offer superior strength and rigidity compared to nylon. This makes them ideal for high-pressure applications. However, their rigidity can make them slightly more challenging to work with during installation.
- Cutting with Care: When cutting steel braided hoses, be sure to use a sharp and dedicated hose cutter to avoid fraying or uneven cuts. A clean and square cut is essential for a proper seal within the fitting.
- Securing the Connection: Steel braided hoses can handle a higher torque compared to nylon. Still, it’s important to follow the manufacturer‘s specifications to prevent damage to the fitting or hose.
Additional Tips and Considerations:
- Match the Fitting to the Hose: Always ensure you’re using AN fittings that are specifically designed for the diameter and pressure rating of your chosen braided hose. Mismatched components can lead to leaks or even catastrophic failures.
- Inspect the Fittings: Before installation, take a moment to inspect the AN fittings for any signs of damage, such as cracks or stripped threads. Damaged fittings should be replaced before use to maintain a secure connection.
- Double-Check Your Work: After completing the installation, double-check all connections to ensure they are secure and free of leaks.
Advanced Techniques:
For those tackling more complex installations or working with larger diameter hoses, there are specialized tools available that can streamline the process. These include:
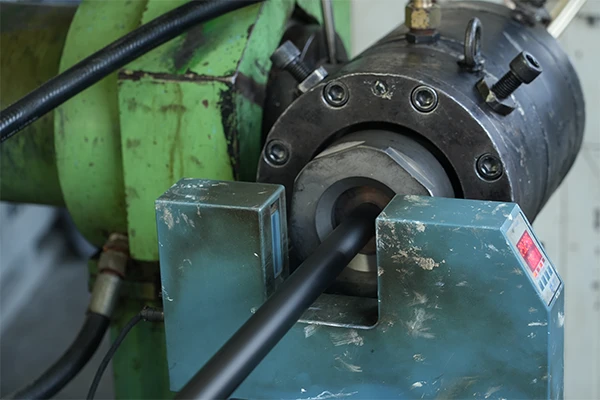
- Crimpers: For certain types of AN fittings, a crimper tool is used to create a permanent and secure connection with the hose.
- Swage Gauges: These gauges help ensure proper crimping force for a reliable seal.
However, for most DIY applications with standard AN fittings, the tools and techniques outlined in this guide should be sufficient.
Conclusion:
By following these steps and keeping the additional tips in mind, you can confidently install AN fittings on your braided hoses, ensuring a secure and reliable connection for your project. Remember, safety is paramount when dealing with high-pressure applications.
If you’re unsure about any aspect of the process, it’s always best to consult a professional mechanic or consult the specific instructions provided with your chosen AN fittings and braided hose.
This comprehensive guide should equip you with the knowledge and skills to master the installation of AN fittings on nylon and steel braided hoses. Now go forth and conquer your project with confidence!

