Replacing air compressor hose fittings is a common maintenance task that ensures optimal performance and prevents air leaks. Over time, fittings can wear out, become damaged, or corroded, leading to inefficient operation and potential safety hazards. Understanding the process of replacing these fittings is essential for maintaining a reliable air compressor system.
This blog post will guide you through the steps of replacing air compressor hose fittings, covering essential tools, safety precautions, and best practices. Whether you’re dealing with quick-connect fittings, threaded fittings, or barb fittings, this guide will provide the knowledge to perform this task efficiently and safely.
What Are Air Compressor Hose Fittings

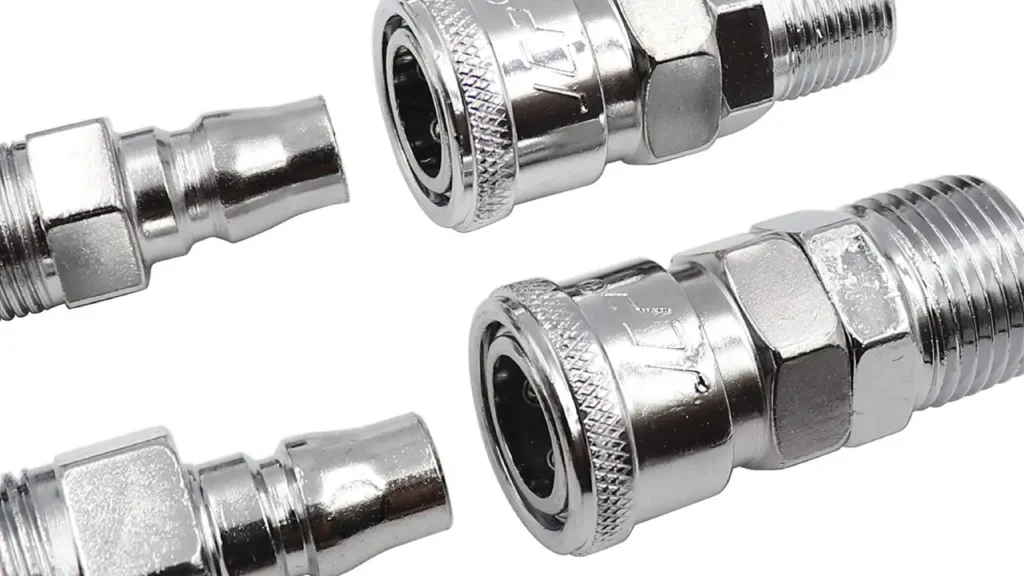
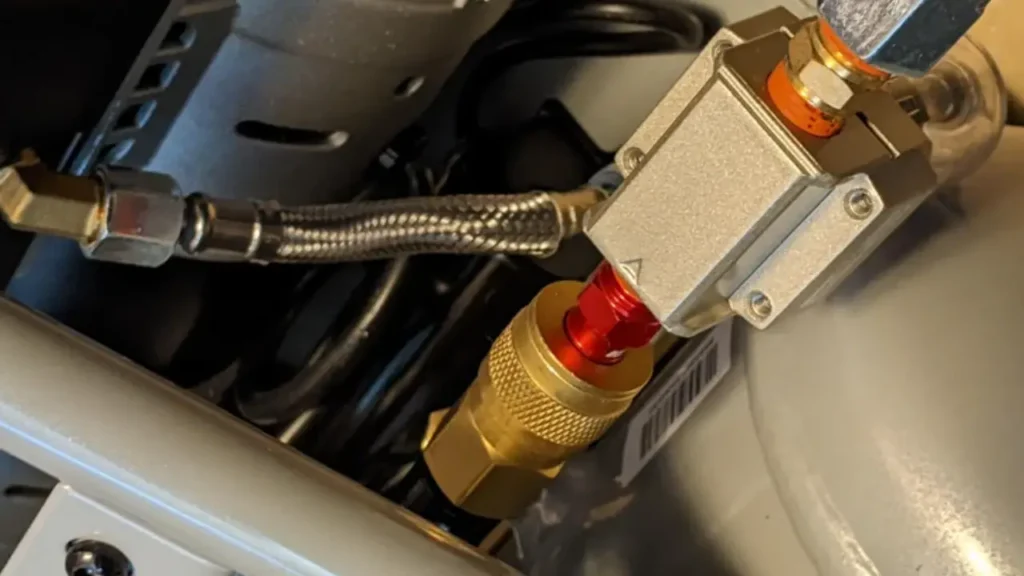
Air compressor hose fittings are essential components that connect air hoses to air compressors and pneumatic tools. They provide a secure and leak-free connection, ensuring efficient transfer of compressed air. These fittings come in various types, sizes, and materials, designed to accommodate different hose diameters, pressure ratings, and application requirements. They play a crucial role in maintaining consistent airflow and pressure, which is vital for the proper functioning of pneumatic tools.
These fittings are typically made from durable materials like brass, steel, or plastic, chosen for their resistance to pressure, corrosion, and wear. They include quick-connect fittings, threaded fittings, and barb fittings, each serving specific connection needs. Proper selection and installation of air compressor hose fittings are crucial for preventing air leaks, maximizing tool performance, and ensuring safety in air compressor systems.
How to Replace Air Compressor Hose Fittings?

Knowing how to change air compressor hose fittings is essential for maintaining a reliable and efficient pneumatic system. Over time, fittings can wear out, become damaged, or develop leaks, leading to pressure loss and reduced tool performance.
Here’s a step-by-step guide how to change air compressor hose fittings.
Step 1: Preparing for the Replacement
Before beginning the replacement process, ensure the air compressor is turned off and unplugged to prevent accidental activation. This safety precaution is crucial to avoid injury or damage during the replacement process. Release any remaining air pressure from the hose by disconnecting it from the compressor and tool, then depress the air release valve, if present, on the compressor or hose. Inspect the hose and fittings for any signs of damage or wear, such as cracks, rust, or deformation, which could indicate the need for replacement.
Proper preparation ensures a safe and effective replacement. Disconnecting the compressor, and releasing all pressure, are key safety considerations.
Gather the necessary tools and replacement fittings. You’ll typically need a wrench, pliers, Teflon tape, and the appropriate replacement fittings. Ensure the replacement fittings are compatible with your air hose and tool, considering factors such as size, thread type, and pressure rating. Clean the hose ends and surrounding area to remove any dirt or debris that could contaminate the new fittings or compromise the connection.
Having the correct tools and fittings, and a clean working area, is vital to avoid any issues during the replacement process.
Step 2: Removing the Old Fittings
If the fittings are threaded, use a wrench to loosen and unscrew them from the hose. Turn the wrench counterclockwise to loosen the fittings. If the fittings are stuck or corroded, apply penetrating oil and allow it to soak for a few minutes before attempting to remove them. Avoid using excessive force, as this can damage the hose or fittings. For quick-connect fittings, press the release button or pull back on the collar to disconnect the fitting from the hose.
Removing the old fittings carefully avoids damage to the hose. If they are stuck, penetrating oil, and patience, is required.
If the fittings are barb fittings, use pliers or a utility knife to cut away the old clamps or ferrules securing the hose to the fitting. Carefully pull the fitting out of the hose, twisting it slightly to loosen it if necessary. Inspect the hose ends for any damage or wear, and trim away any frayed or damaged sections with a sharp utility knife. Ensure the hose ends are clean and free of debris before installing the new fittings.
Barb fittings require careful cutting, and removal. Check the hose after removal for damage.
Step 3: Installing the New Fittings
For threaded fittings, wrap Teflon tape clockwise around the male threads to create a leak-free seal. Thread the new fitting onto the hose, turning it clockwise until it’s snug. Avoid over-tightening, as this can damage the threads. Use a wrench to tighten the connection if necessary, but be careful not to overtighten. For quick-connect fittings, simply push the male plug into the female coupler until you hear a click, indicating a secure connection.
Correct installation of threaded fittings requires Teflon tape, and care to not over tighten.
For barb fittings, slide a new clamp or ferrule onto the hose end. Insert the barb fitting into the hose end, pushing it in firmly until it’s fully seated. Position the clamp or ferrule over the hose and barb fitting, and use pliers or a crimping tool to tighten it securely. Ensure the clamp or ferrule is tight enough to prevent leaks but not so tight that it damages the hose. Inspect the installed fittings for any signs of damage or improper installation.
Barb fittings require correct clamps, and crimping, to ensure a good seal.
Step 4: Testing the New Connection
After installing the new fittings, turn on the air compressor and allow it to build pressure. Listen for any hissing sounds or feel for air leaks around the connection points. If you detect any leaks, turn off the compressor, unplug it, and re-tighten the connections or inspect for damage. Apply a soapy water solution to the connection points to check for leaks; bubbles will form if there’s a leak.
Testing the connections is crucial to ensure a leak free seal. Any leaks must be addressed before use.
Once you’ve confirmed a leak-free connection, test the airflow by attaching a pneumatic tool to the hose and operating it. Ensure the tool receives adequate pressure and airflow for proper operation. If there are any issues with airflow or pressure, check the hose’s ID and length, as well as the compressor’s output (CFM).
Testing with a tool ensures proper operation. Any issues indicate a problem with the connection.
Portable Air Compressor Hose Replacement
When dealing with portable air compressor hose replacement, it’s essential to consider a few key factors to ensure you’re selecting the right hose for your needs. Here are important considerations about replacement hose for portable air compressor:
Hose Material:
Portable air compressors are used in various environments, so the hose material is crucial. Rubber hoses are known for their durability and flexibility, especially in cold weather. PVC hoses are lighter and more affordable, and they are suitable for general use. Polyurethane hoses offer excellent flexibility and kink resistance. Hybrid hoses combine the benefits of rubber and PVC.
Hose Length and Diameter:
The length of the hose determines your reach, while the diameter affects airflow. Longer hoses and smaller diameters can result in pressure drops. Choose a hose length that suits your typical applications and a diameter that matches your tools’ air requirements (CFM).
Pressure Rating:
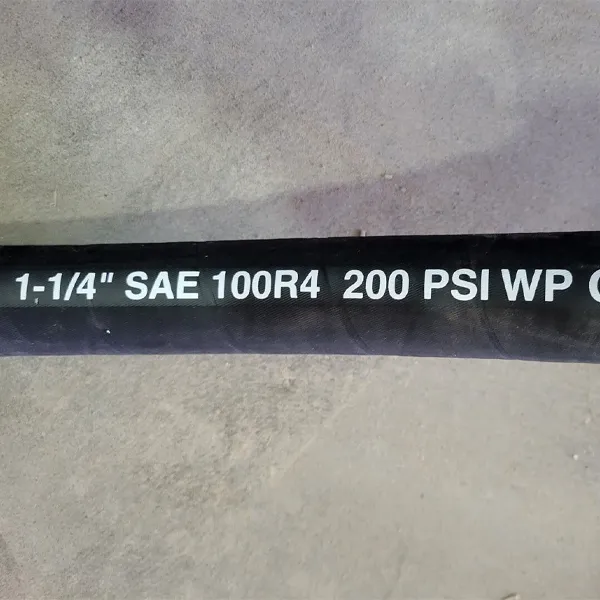
Ensure the hose’s pressure rating exceeds the maximum pressure output of your air compressor. This is a critical safety measure to prevent hose bursts.
Fittings:
Pay attention to the type and quality of the hose fittings. Quick-connect fittings are convenient for frequent tool changes, while threaded fittings provide a secure, leak-free connection. Ensure the fittings are compatible with your compressor and tools.
Application:
Consider the kind of work you will be doing. If you are doing heavy duty work, a heavy duty hose is needed. If you are only inflating tires, a light duty hose will be fine.
Where to Find Portable Air Compressor Replacement Hose:
You can find replacement air compressor hoses at various retailers, including:
- Hardware stores (e.g., Ace Hardware)
- Home improvement stores
- Automotive supply stores
- Online retailers (e.g., Amazon, Walmart)
- Specialty air compressor supply companies.
When replacing a hose, it is always a good idea to check the fittings on the compressor, and the tools being used, to ensure that they are also in good condition.
Conclusion
In conclusion, replacing air compressor hose fittings is a straightforward process that significantly extends the lifespan and efficiency of your pneumatic system. Ensuring a secure, leak-free connection is crucial for maintaining optimal airflow and pressure. Regular maintenance and timely replacements prevent unexpected failures, minimizing downtime and maximizing productivity.
Understanding the different types of fittings and selecting the appropriate ones for your application is essential. Proper installation techniques, including the use of Teflon tape and correct tightening, guarantee a reliable connection. Regularly inspecting your hoses and fittings for wear and damage ensures safety and consistent performance.
For a wide range of high-quality air compressor hoses and fittings, choose Kingdaflex. We offer wholesale options with diverse sizes and materials to meet your specific needs. Contact us today to explore our product offerings and ensure your air compressor systems operate at peak performance.


