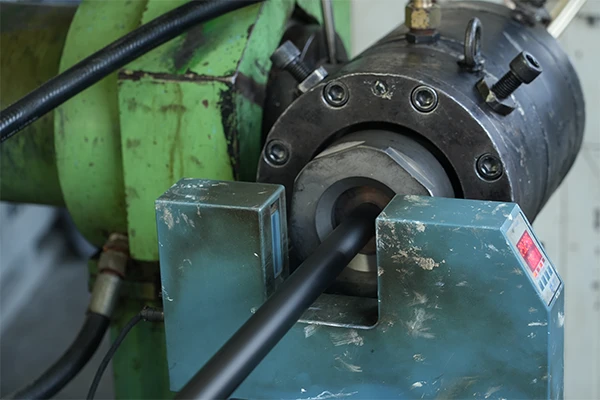
Hydraulic systems are the lifeblood of heavy machinery, but like any component, their hoses can wear out over time. A failed hydraulic hose can bring an entire operation to a halt, leading to costly downtime and potential safety hazards. Knowing how to properly replace a hydraulic hose is a critical skill for any maintenance professional or machine owner.
This guide provides a comprehensive, step-by-step walkthrough of the hydraulic hose replacement process. From safely depressurizing the system to selecting the correct replacement and performing a final test, we’ll cover the essential procedures to ensure a successful and safe repair.
When to Replace Hydraulic Hose?
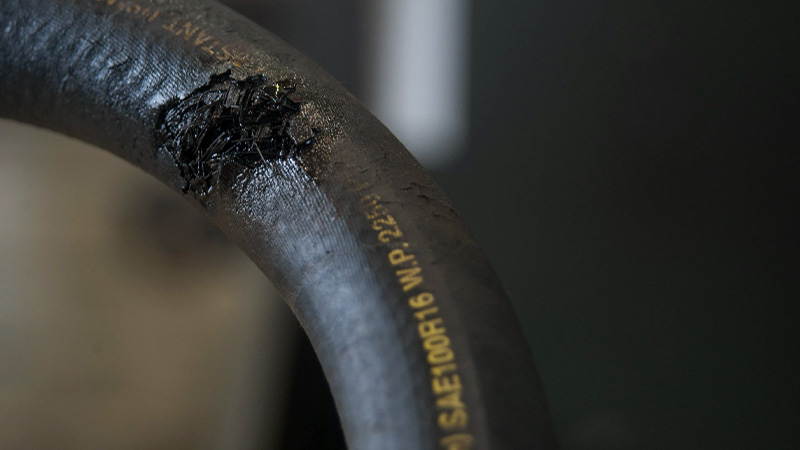
Here are some symptoms telling you that the hydraulic hose is aged, and needs to be replaced. You can see some obvious waring signs to show that you need to replace hydraulic hoses for your hydraulic system to ensure safety.
A failing hydraulic hose can cause catastrophic equipment damage, so it is essential to know when to replace it. A proactive approach, based on regular inspections, is far safer and more cost-effective than waiting for a failure to occur. Look for these key signs that indicate it’s time for a hydraulic hose replacement.
- Abrasion: The most common cause of hydraulic hose failure. If the outer cover is worn, exposing the reinforcement layer, the hose needs to be replaced immediately.
- Cracks, Blisters, or Bubbles: Any signs of cracking, blistering, or bulging on the hose surface indicate that the inner tube has been compromised and a burst is imminent.
- Leaks: Any leakage of hydraulic fluid, especially around the fittings or along the hose length, signals a loss of integrity and requires immediate replacement.
- Kinking or Crushing: Hoses that are kinked or crushed have restricted flow and are at risk of bursting due to localized pressure buildup.
- Corroded or Damaged Fittings: If the metal fittings are corroded or cracked, the entire hose assembly should be replaced, as a failure at the connection can be catastrophic.
How to Replace Hydraulic Hoses?
Properly replacing a hydraulic hose is a critical maintenance task that requires precision and a focus on safety. A successful hydraulic hose replacement ensures a leak-free and reliable system, preventing costly downtime and potential injury. Following these steps carefully will guarantee a safe and effective repair.
Here is the detailed hydraulic hose replacement procedure in the following:
Step 1: Release Hydraulic Pressure from the Hydraulic System
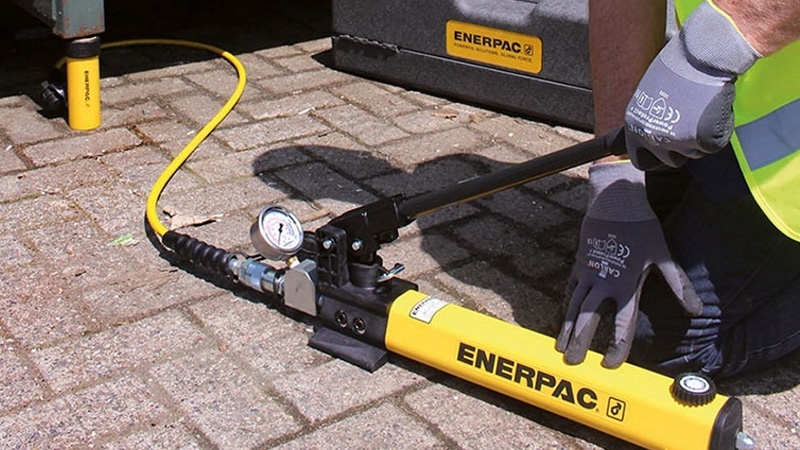
This is the single most important step in the entire hydraulic hose replacement process. Never attempt to remove a hydraulic hose or fitting until all system pressure has been fully released. Hydraulic fluid under pressure can act like a razor-sharp jet, capable of penetrating skin and causing severe, life-threatening injuries. A pressure of just 1,000 PSI can inject fluid into your skin, leading to a condition that requires immediate medical attention.
To properly release the pressure, first, shut down the engine or power source of the machine. Then, move the hydraulic controls to cycle the hydraulic fluid and relieve any residual pressure trapped in the lines. Some systems may have a dedicated bleed-off valve or require the cycling of cylinders to release pressure. You must consult your equipment’s manual for the exact procedure.
Even after following the proper depressurization procedure, always assume there is still some pressure or fluid in the line. The fluid may be extremely hot, capable of causing severe burns. Always wear appropriate personal protective equipment (PPE), including safety glasses and heavy-duty gloves, to protect yourself from both fluid and heat.
Step 2: Remove Hydraulic Hose Covering
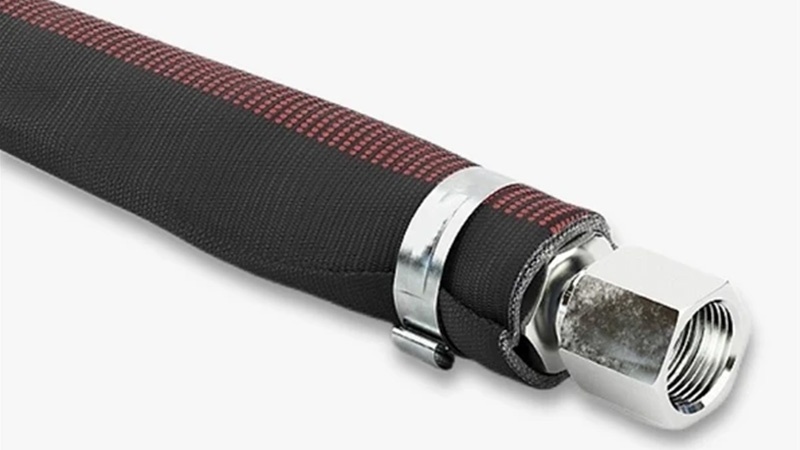
Many hydraulic hoses are protected by an abrasion-resistant sleeve, a spring guard, or a textile wrap. This covering must be removed to give you full access to the hose and its fittings. The purpose of this step is twofold: it allows you to inspect the hose for any hidden damage and provides a clear workspace to access the connections.
Carefully use a utility knife or sharp shears to cut and remove the protective wrap without damaging the hose itself or any adjacent components. If you are dealing with a metal coil guard, be mindful of its sharp edges and the spring tension as you uncoil it from the hose.
Removing the covering at this stage is a crucial part of a complete hydraulic hose replacement. It ensures you can accurately measure the old hose for a perfect match, and it allows you to see the exact type of fittings and their orientation, preventing a misinstallation later on.
Step 3: Keep A Can under Hydraulic Hose When You Remove
Even after depressurizing the system, a significant amount of residual hydraulic fluid may still be trapped within the hose and fittings. Before you loosen a single fitting, position a large drip pan, bucket, or oil can directly beneath the connections you are about to disconnect. This will catch any remaining fluid that drains out, preventing messy and dangerous spills.
Catching the fluid is essential for environmental safety. Hydraulic fluid is a petroleum-based product that can harm soil and water sources. A spill can also create a major slip hazard on the work floor, putting you and others at risk of injury. Taking the time to prepare for a spill is a proactive step that can save time and money on cleanup.
The simple action of using a catch can helps you maintain a clean and professional workspace throughout the repair. It also ensures proper containment for disposal, a crucial step in responsible maintenance. Never let hydraulic fluid simply drain onto the ground.
Step 4: Remove Hydraulic Hose Fittings
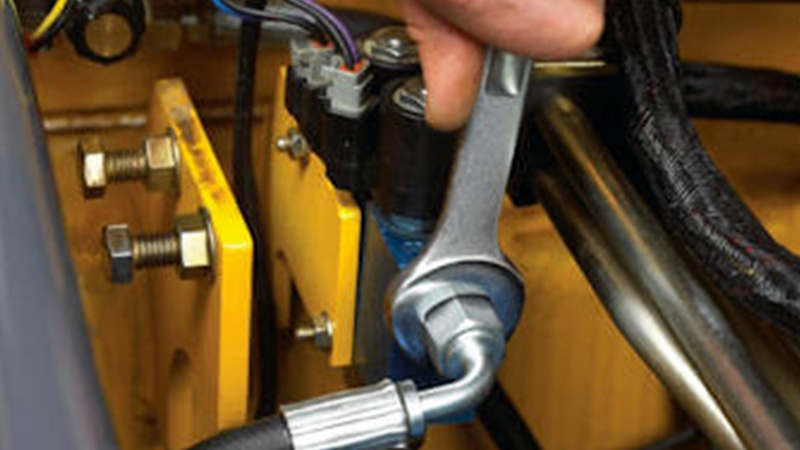
Using the correct size wrenches is crucial for this step. An adjustable wrench can easily slip and round the corners of the hexagonal head of the fitting, making it impossible to install or remove. Always use a proper, fixed-size hydraulic wrench to get a secure grip on the fitting.
To remove the fitting, apply steady, firm pressure. If the fitting is seized, a penetrating lubricant can help, but avoid using excessive force or a hammer, which can strip the threads or break the fitting. Be careful to support the hose and fitting so they do not fall unexpectedly once they are loose.
As you remove the fittings, pay close attention to which fitting came from which port. While many look identical, some may have different thread types or sizes. Keeping the fittings organized and noting their orientation will save you from confusion when it’s time to install the new hose.
Step 5: Remove Damaged Hydraulic Hose
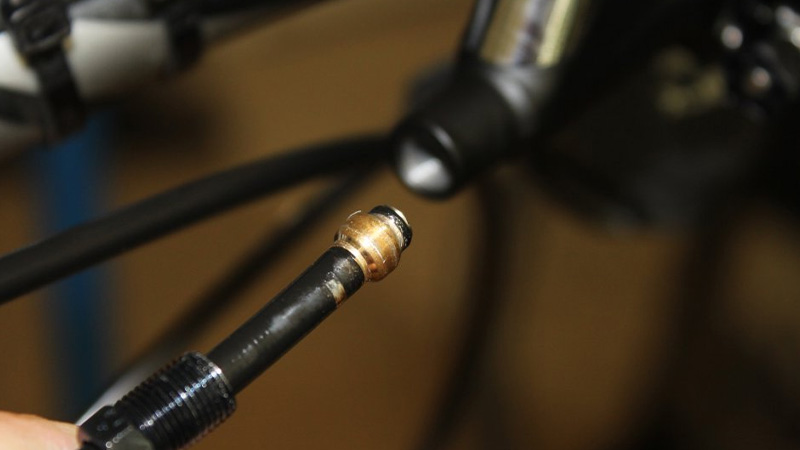
With the fittings disconnected, you can now remove the old, damaged hose from the machine. As you do so, pay close attention to its original routing. Note how the hose was routed around obstacles and if there were any twists. This is the single most important part of getting the right replacement.
Once removed, lay the old hose assembly out straight on a flat surface. This is your pattern for the new hose. Carefully measure the overall length, the length of the “hose only” section, and the orientation of the fittings. The layline—the printed text along the hose—will provide essential information on the size, pressure rating, and manufacturer, which is critical for a successful hydraulic hose replacement.
A perfect match is necessary to prevent future failures. A hose that is too long can kink and create turbulence, leading to premature failure. A hose that is too short can be under extreme tension, putting excessive stress on the fittings and causing a blowout. Measuring everything accurately prevents these costly mistakes.
Step 6: Install A New Hydraulic Hose
The installation process is the reverse of removal, but with an emphasis on precision. Before you begin, ensure the new hose is clean and free of any debris. Start by hand-threading the new fittings into their ports. This ensures that the threads are aligned correctly and prevents cross-threading, which can destroy a fitting and cause a catastrophic leak.
Once hand-tightened, use the appropriate torque wrench to tighten the fittings to the manufacturer’s recommended specifications. Proper torque is essential; overtightening can damage the threads and cause a failure, while undertightening will result in a leak under pressure. Never guess the torque—always use a torque wrench to achieve the correct tension.
Finally, ensure the hose is routed exactly as the old one was. This prevents chafing, kinking, or interference with other components. If the hose has bent fittings, make sure they are oriented correctly to prevent putting any strain on the hose assembly.
Step 7: Test Hydraulic Hose
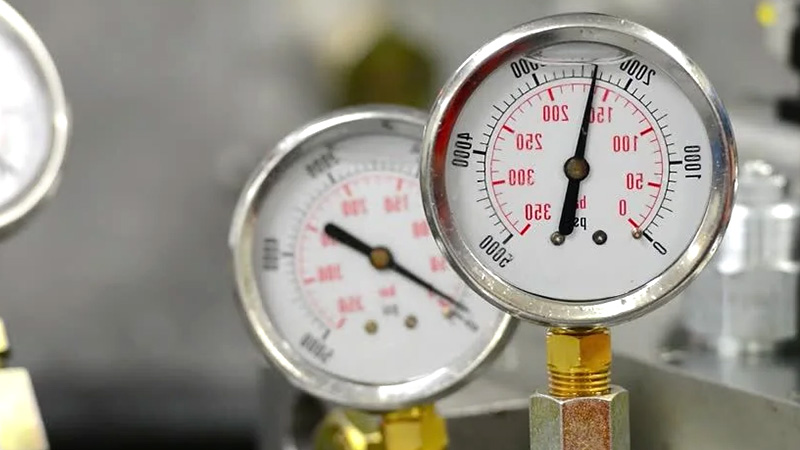
The final step is the most important for safety: testing. With the new hose installed, slowly re-pressurize the hydraulic system. Do not immediately resume full operation. Instead, carefully check for any leaks around the fittings. Look for a fine mist or drip of fluid, a hissing sound, or any visible signs of a leak.
If you find any leaks, immediately shut down the system and relieve the pressure before re-tightening the fittings. Do not attempt to tighten the fittings while the system is under pressure, as this can be extremely dangerous. After tightening, repeat the slow pressurization and check for leaks again.
Once you are certain there are no leaks and the system is holding pressure, you can resume normal operations. This final inspection ensures the hydraulic hose replacement was a complete success and your machine is safe to use. Never skip this final, critical check.
How to Change a Hydraulic Hose on a Tractor Loader
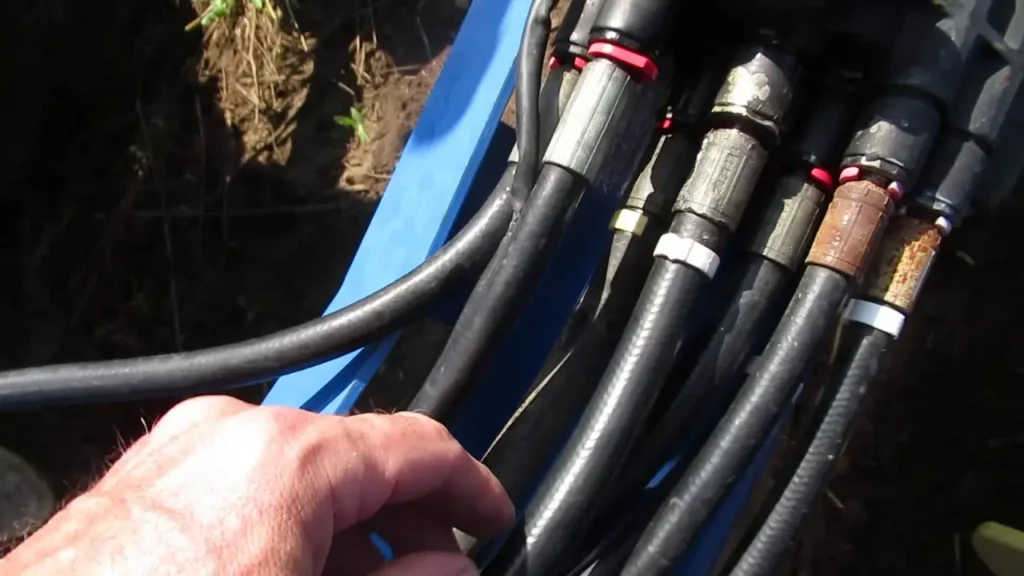
Tractor loaders are essential farm equipment, and a failed hydraulic hose can bring an operation to a sudden halt. Knowing how to change it correctly is a critical skill for any operator. Following a systematic process ensures the repair is safe, effective, and gets your equipment back to work quickly.
Step 1: Secure the Tractor and Release Pressure
Begin by parking the tractor on a level, stable surface. Turn off the engine and remove the key. Actuate the loader controls to release all residual hydraulic pressure.1 This is a critical safety measure to prevent injury from high-pressure fluid.
Always consult your tractor’s manual for the specific procedure for depressurizing the system. This ensures you account for any unique features of your machine, guaranteeing your safety and the longevity of your hydraulic system.
Step 2: Remove the Old Hydraulic Hose
Locate the damaged hydraulic hose on the loader. Place a drip pan under the connections to catch any leaking fluid. Use the correct size wrenches to carefully loosen the fittings at both ends and remove the old hose from the assembly.
With the old hose removed, lay it out straight. Measure the full length of the hose, from fitting tip to fitting tip. Note the fitting type and orientation. This information is crucial for selecting the correct replacement hydraulic hose.
Step 3: Install the New Hydraulic Hose
Align the new hydraulic hose and hand-thread the fittings into their ports to prevent cross-threading. Once the fittings are snug, use your wrenches to tighten them to the manufacturer’s recommended specifications. Be careful not to overtighten.
After installation, double-check that the hose is routed correctly, without any kinks or sharp bends. This ensures proper fluid flow and prevents premature wear on the new hydraulic hose, extending its service life.
Step 4: Test the Hydraulic System
Start the tractor and slowly actuate the loader controls to build up pressure in the new hose. Carefully inspect the hose and fittings for any signs of leaks. A small drip or a wet spot indicates a faulty connection.
If you find a leak, immediately turn off the tractor, release the pressure, and re-tighten the fittings before testing again. Only when you are confident there are no leaks should you return the tractor to full operation.
How to Change Hydraulic Hose on Skid Steer
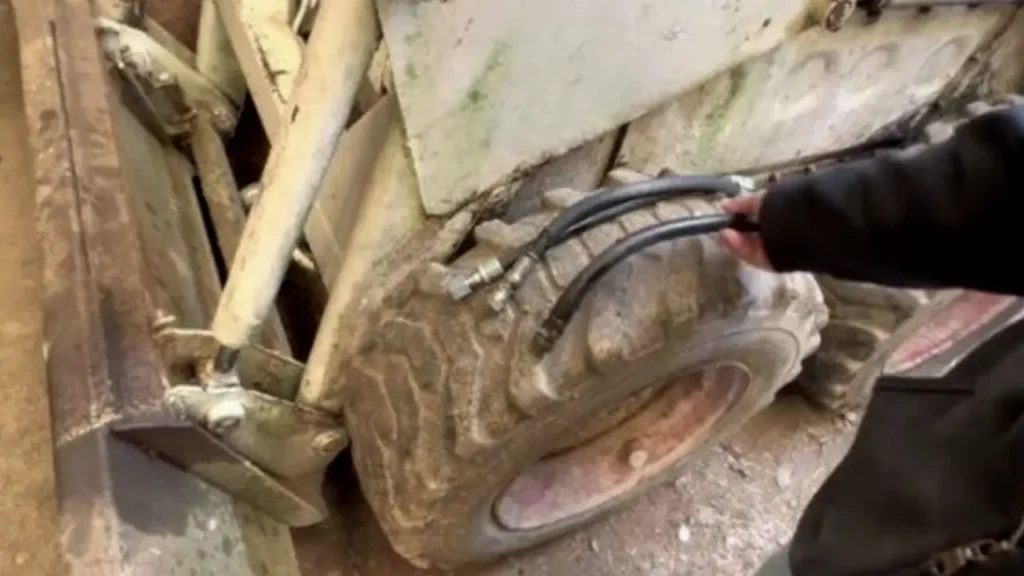
Skid steers are powerful machines, but a burst hydraulic hose can shut down a job site. Knowing how to replace a hydraulic hose on a skid steer is a valuable skill. Following a careful, systematic process ensures the repair is done safely and efficiently, getting you back to work with minimal downtime.
Step 1: Secure Skid Steer and Release Pressure
Begin by parking the skid steer on a flat, solid surface. Lower the loader arms to the ground and turn off the engine. To relieve trapped pressure, actuate the joystick controls. This is a crucial first step for safety, as pressurized fluid can cause serious injury.
Always refer to your specific skid steer model’s manual for the correct procedure. Different machines may have slightly different methods for depressurizing the hydraulic system, and following them precisely is the only way to ensure a safe work environment.
Step 2: Remove Old Hydraulic Hose
Locate the damaged hose on the skid steer. Place a drip pan under the connections to catch any residual hydraulic fluid. Use the correct size wrenches to carefully loosen the fittings at both ends and remove the old hose from the machine.
With the old hydraulic hose removed, lay it out straight. Measure its total length from tip to tip. Note the fitting type and orientation, as these details are essential for selecting the correct replacement hydraulic hose for your machine.
Step 3: Install New Hydraulic Hose
Align the new hydraulic hose and hand-thread the fittings into their ports. Once they are snug, use your wrenches to tighten them to the manufacturer’s recommended torque. Be careful not to overtighten, which can damage the fittings and cause leaks.
After installation, double-check that the hose is routed correctly, without any kinks or sharp bends. This ensures proper fluid flow and prevents premature wear on the new hose, extending its service life and maintaining system efficiency.
Step 4: Test Hydraulic System
Start the skid steer and slowly actuate the controls to build pressure in the new hose. Carefully inspect the hose and fittings for any signs of leaks. A small drip or a wet spot indicates a faulty connection. Do not operate the machine if there is a leak.
If you find a leak, immediately turn off the skid steer, release the pressure, and re-tighten the fittings before testing again. Only when you are confident there are no leaks should you return the skid steer to full operation.
How Often to Replace Hydraulic Hoses?
There is no universal schedule for replacing hydraulic hoses, as their lifespan depends heavily on operating conditions, application, and the hydraulic hose’s specific construction. While some sources suggest a general range of 5 to 10 years, proactive replacement is always safer than waiting for a failure.
The most reliable method is to combine regular visual inspections with a planned replacement schedule based on hours of use or time in service, as recommended by the equipment manufacturer. Even hoses on a machine that is rarely used can degrade over time.
Key factors influencing hydraulic hose replacement frequency:
- Operating Environment: Hydraulic hoses exposed to extreme temperatures, chemicals, UV rays, or constant abrasion will have a shorter lifespan.
- Pressure Cycles: Hydraulic hoses that undergo frequent and high-pressure cycles will wear out faster than those in low-pressure applications.
- Machine Usage: The number of operating hours and the type of work performed can significantly impact how often a hose needs to be replaced.
- Shelf Life: Even new, unused hoses can degrade over time. The Society of Automotive Engineers (SAE) recommends a 10-year shelf life for bulk rubber hoses from the date of manufacture.
Hydraulic Hose Replacement Guidelines
| Type of Equipment | Recommended Replacement Interval |
| Industrial/Stationary | Every 1-2 years or based on visual inspection. |
| Mobile/Heavy-Duty | Every 400-600 hours of use or every 3-6 months. |
| General Use | Every 5-10 years, depending on conditions and visual inspection. |
| Critical Applications | Annual replacement or based on manufacturer’s recommendations. |
Hydraulic Hose Replacement Cost
How much does it cost to replace hydraulic hoses?
The cost to replace a hydraulic hose can vary significantly, ranging from as low as $20 for a simple, low-pressure hydraulic hose to over $1,000 for a complex, high-pressure hydraulic hose assembly. The final price is not just the cost of the hydraulic hose itself but is a combination of several factors, including the specifications of the hydraulic hose, the type of fittings required, and the labor involved in the repair.
For businesses, the cost of downtime caused by a hydraulic failure can often far exceed the actual repair cost, making quick and efficient service a primary concern.
Key factors that influence the total cost include:
- Hydraulic Hose Specifications: The price is heavily dependent on the hydraulic hose’s size (diameter and length), its pressure rating (PSI), and the material it is made from (e.g., rubber, thermoplastic, steel wire braid).
- Fittings and Couplings: The end fittings are a significant part of the cost, especially for specialized or custom-made fittings. The type and material of the fittings will impact the price.
- Labor Costs: Labor rates vary by region and can be a significant portion of the total cost, especially for complex systems or hard-to-reach hydraulic hoses that require more time to replace.
- Service Type: Emergency or on-site mobile services will have a higher labor rate and may include a service call fee, but they can dramatically reduce costly downtime.
Hydraulic Hose Replacement Cost
| Factor | Cost Range | Notes |
| Hydraulic Hose Assembly (Per Foot) | $5 – $150+ | Varies by material, pressure rating, and size. |
| Fittings & Couplings (Each) | $10 – $100+ | Varies by type, size, and material (e.g., steel, stainless steel). |
| Labor (Per Hour) | $75 – $150+ | Varies by location and complexity of the job. |
| Service Call Fee | $50 – $200+ | For on-site mobile repair services. |
Who Should Replace a Hydraulic Hose That Has a Leak
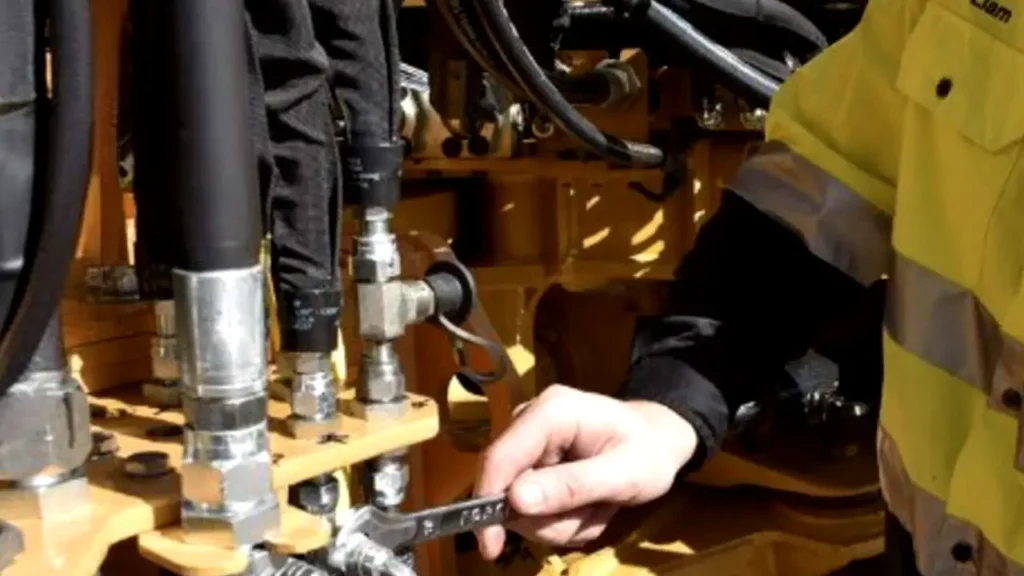
A leaking hydraulic hose should always be replaced by a trained and qualified professional. The high pressures involved in hydraulic systems make a leaking hose an extreme safety hazard. A small pinhole leak can release fluid at pressures high enough to penetrate the skin, causing severe injury or even death. Attempting a temporary patch or “re-ending” the hose is highly dangerous and not recommended, as the structural integrity of the entire hose assembly is compromised once it begins to leak.
Therefore, a complete hydraulic hose replacement by a professional is the only way to ensure the system is safe and reliable.
- Trained Technicians: A qualified technician has the necessary training to safely depressurize the system, select the correct replacement hose with the right pressure rating, and install it with the proper tools and techniques.
- Proper Equipment: Professionals use specialized equipment, such as hose cutters and crimping machines, to create a new hose assembly that meets strict safety and performance standards.
- Expertise in Selection: A professional can accurately identify the correct hose specifications (size, pressure, fluid compatibility) and recommend the best materials to prevent future failures.
- Access to Quality Products: Reputable service providers have access to a wide range of dependable hydraulic hoses and fittings that meet or exceed industry regulations like SAE and ISO.
Hydraulic Hose Replacement Regulations
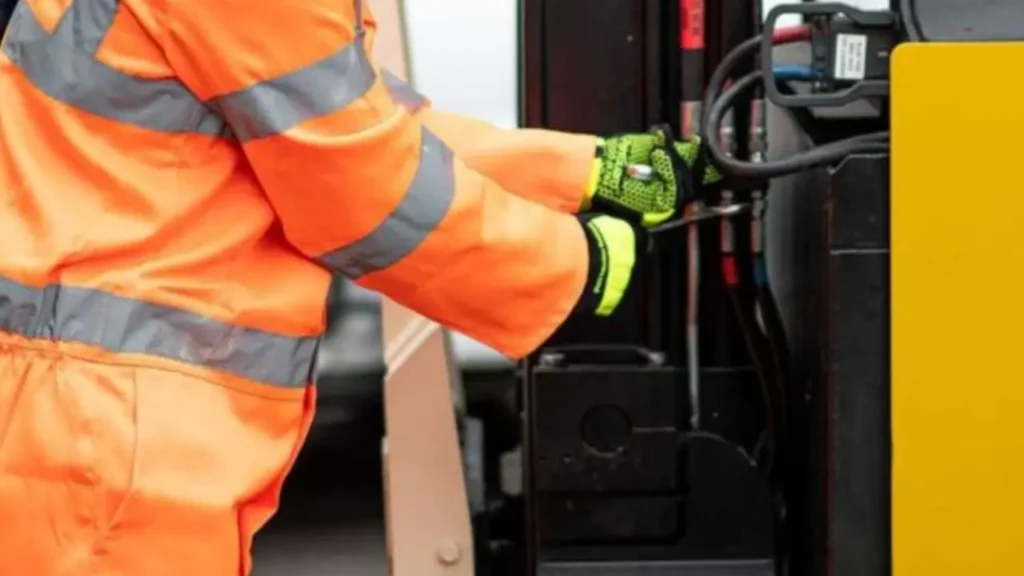
Replacing a hydraulic hose is not just a matter of finding a similar-looking product; it is a task governed by strict safety regulations and industry standards. These regulations exist to prevent catastrophic failures, which can cause severe injury, environmental damage, and extensive equipment downtime.
Following these guidelines ensures that the replacement hydraulic hose meets the necessary performance, safety, and durability criteria for its specific application. Key regulatory bodies, such as the Occupational Safety and Health Administration (OSHA) and international standards organizations like ISO and SAE, provide the framework for safe hydraulic hose selection and use.
- OSHA Regulations: OSHA standards, particularly those relating to powered industrial trucks and other machinery, require employers to ensure that all equipment is maintained in a safe operating condition. This includes verifying that hydraulic hoses are inspected regularly and replaced when showing signs of wear or damage.
- SAE and ISO Standards: These organizations, like the Society of Automotive Engineers (SAE) and the International Organization for Standardization (ISO), set performance criteria for hydraulic hoses. Standards such as SAE J517 (for different hydraulic hose types) and ISO 18752 (which classifies hoses by pressure and performance) are critical for selecting a hydraulic hose with the correct pressure rating, fluid compatibility, and temperature range.
- Manufacturer’s Recommendations: Always adhere to the specific guidelines provided by the equipment manufacturer. These recommendations often include a planned replacement schedule based on operating hours or a fixed time interval, ensuring that hydraulic hoses are replaced before they are at risk of failure.
- “No Re-ending” Policy: Many industry standards and manufacturers prohibit the practice of “re-ending” used hydraulic hoses. This practice involves cutting off a damaged end and attaching a new one. It is not recommended because the integrity of the original hydraulic hose can be compromised, leading to a high risk of failure.
Hydraulic Hose Replacement Tips
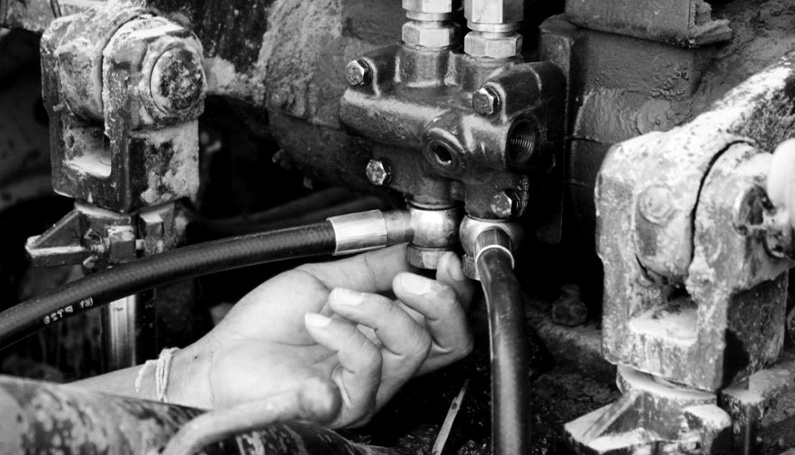
Here are some useful tips for hydraulic hose replacement in the following:
- Keep it clean: Cleanliness is the first important thing you have to keep in your mind, you need to clean the critical parts of the hydraulic working system to keep the machine in good condition all the time. The dirt and dust will cause the hydraulic hose failure, due to the chemical breakdown or friction resulting from the hose pollution.
- Update the hydraulic hose regularly. Please check the working pressure of the hydraulic hose from time to time, to ensure the hydraulic hose can work in a healthy and safe condition all the time. If you find something abnormal, like hydraulic fluid leaking, hydraulic hose aging issues, hydraulic hose twisting, etc., please replace it with a new one right now. The newer the better, don’t delay the visible problems to cause some more potential damage.
- Choose the right tools: Here are different hydraulic hose tools needed during the process of hydraulic hose installation or replacement, please serious about getting the right hydraulic hose tools. Like the right hydraulic hose crimping dies to crimp hydraulic hose, wrenches to connect hydraulic hose fittings, hydraulic hose cutting blade to cut the hydraulic hose and etc. In total, the right tools are important all the way up.
Conclusion
Successfully replacing a hydraulic hose is more than just a simple swap; it’s a careful, multi-step process that prioritizes safety and precision. By following the correct procedures—from depressurizing the system to selecting the right hose and ensuring a leak-free installation—you can prevent equipment downtime and extend the life of your machinery. This attention to detail is crucial for maintaining a reliable hydraulic system.
The skills covered in this guide are fundamental to effective maintenance. Understanding how to diagnose a failed hose, choose a suitable replacement, and install it correctly ensures the integrity of your fluid power system. Taking these steps not only saves you money in the long run but also provides peace of mind, knowing your equipment is operating safely and efficiently.
For all your hydraulic hose needs, remember that quality is paramount. We invite you to explore our comprehensive range of dependable hydraulic hoses. You can get wholesale hydraulic hoses from Kingdaflex, ensuring you receive the best in performance, durability, and value for your business.


