Gardening enthusiasts often find themselves faced with the dilemma of dealing with unsightly garden hoses that crisscross their lawns and flowerbeds. One solution that has gained traction is burying the garden hose.
While this may seem like a convenient way to keep your garden neat and organized, there are both benefits and drawbacks to consider before you grab your shovel.
What are Garden Hoses?
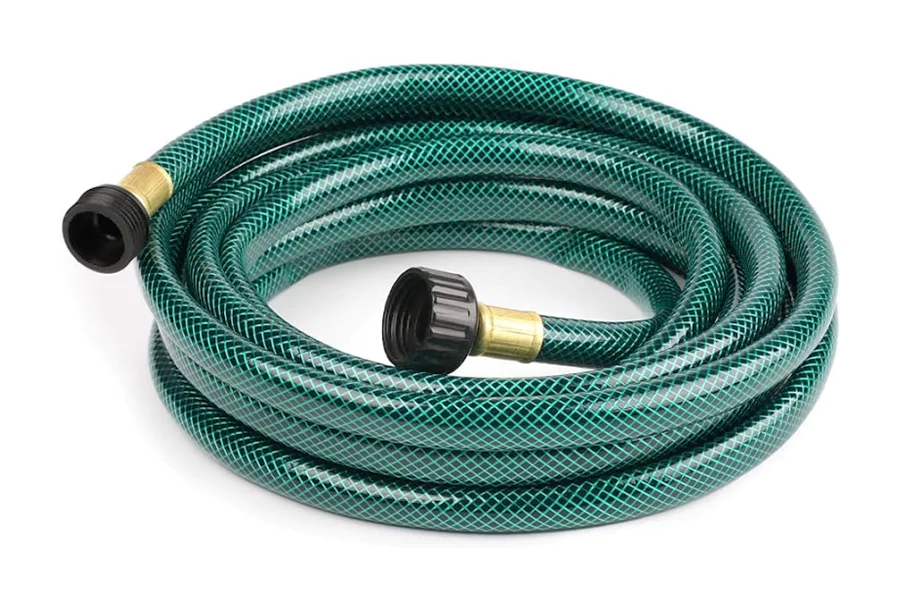
Garden hoses are flexible tubes used to transport water from a faucet to plants, lawns, or outdoor areas. Made from materials like rubber, vinyl, or reinforced composites, they provide easy watering, irrigation, and cleaning solutions. Garden hoses vary in length, diameter, and durability to suit different outdoor watering needs.
The Pros of Burying a Garden Hose
Easy Maintenance
Burying a garden hose can simplify maintenance tasks. No longer will you need to wrestle with unwinding, coiling, and storing the hose after each use. A buried hose remains hidden, requiring minimal effort to access when watering your garden or washing your car.
Aesthetic Appeal
A primary motivation for burying hoses is the visual improvement it offers. A neatly buried hose eliminates the need for makeshift storage solutions and enhances the overall appearance of your outdoor space, contributing to a more polished and organized look.
Protection from Damage
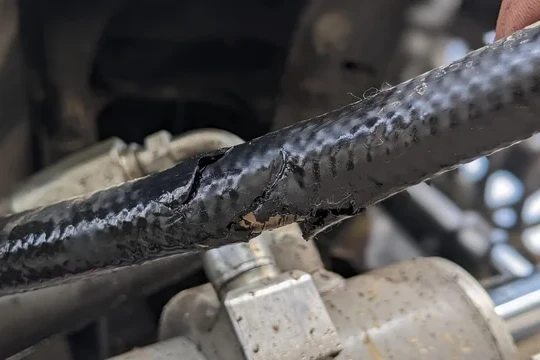
Above-ground hoses are susceptible to various forms of damage, including exposure to the elements and accidental kinks or cuts. Burying the hose protects it from UV rays, extreme temperatures, and potential physical harm, potentially extending its lifespan.
The Cons of Burying a Garden Hose
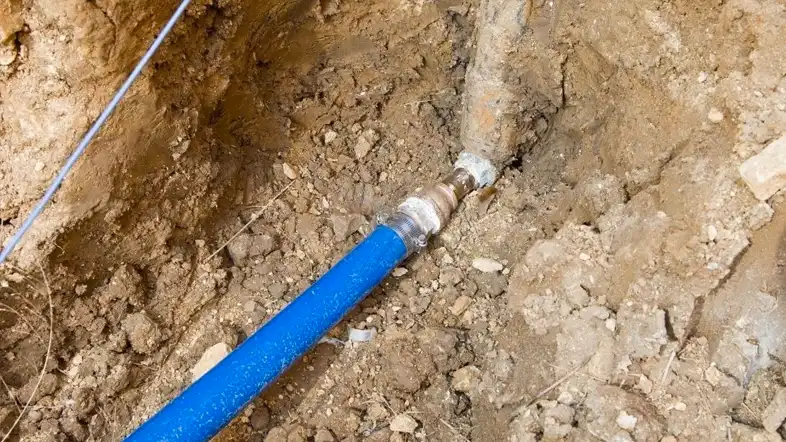
Installation Challenges
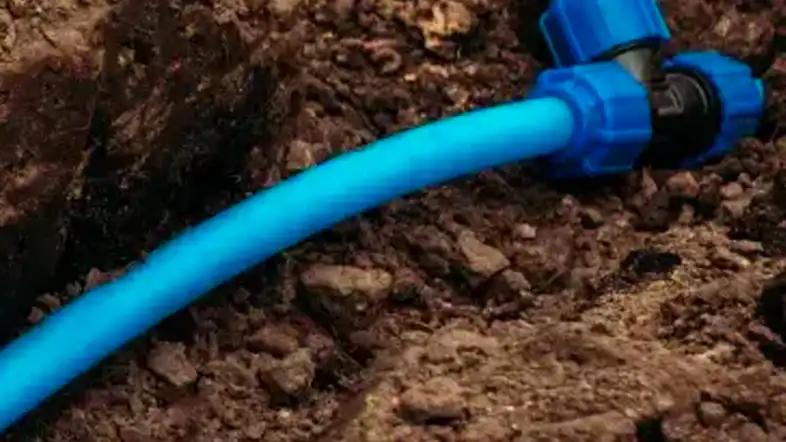
Burying a garden hose involves digging a trench, which can be labor-intensive and time-consuming. It requires careful planning to ensure the hose is appropriately placed and sloped for efficient water flow.
Potential for Damage
While burying a hose offers protection, it’s not entirely immune to damage. Shovels, garden tools, or even sharp rocks can puncture the hose during installation or maintenance, leading to leaks and reduced functionality.
Limited Accessibility
Burying the hose can make it less accessible for quick and casual uses. If you frequently move your hose around, burying it might not be the most practical choice, as you’ll need to consider the effort required to access and re-bury it.
Factors to Consider Before Burying Your Garden Hose
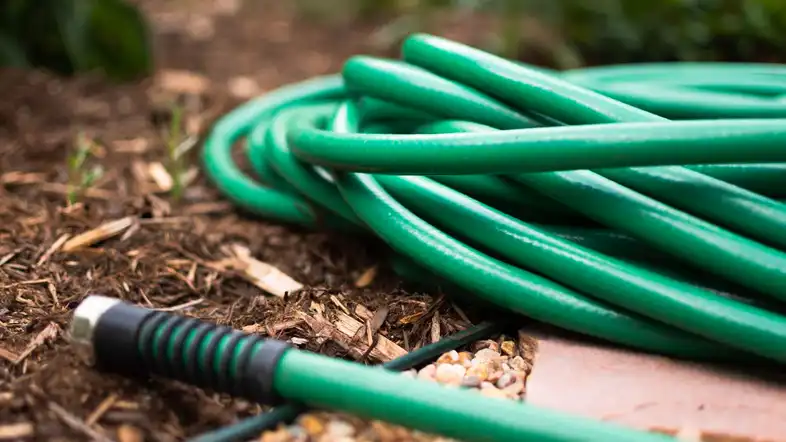
Before burying a garden hose, several factors must be considered to ensure proper function, durability, and safety. Understanding soil conditions, hose material, water pressure, and maintenance accessibility helps prevent damage, leaks, or inefficient irrigation. Careful planning ensures your buried hose performs reliably while minimizing repair needs over time.
Depth and Protection: The depth at which you bury the hose affects its protection from external pressure and environmental stress. Ensuring the hose is buried deep enough to avoid accidental damage while remaining accessible balances safety and practicality for efficient garden watering.
Soil Type and Conditions: The type of soil affects hose longevity and performance. Rocky or compacted soil can puncture or wear hoses over time. Considering soil conditions before burial helps prevent damage, ensures consistent water flow, and reduces maintenance requirements for a long-lasting irrigation system.
Hose Material and Durability: Not all garden hoses are suitable for burial. Selecting durable, reinforced hoses resistant to pressure, chemicals, and environmental factors ensures they can withstand underground conditions. Proper material choice minimizes leaks, abrasions, and potential failures, maintaining reliable irrigation performance.
Water Pressure and Flow: High water pressure can damage buried hoses or cause leaks. Assessing your system’s pressure and using hoses rated for that pressure ensures consistent flow. Proper pressure management prevents hose bursts and maintains efficient water delivery to plants and garden areas.
Accessibility and Maintenance: Buried hoses are harder to access for repairs or adjustments. Planning routing and leaving access points ensures you can maintain or replace hoses without extensive excavation. Proper planning reduces long-term maintenance difficulties and helps quickly address any issues that arise underground.
How to Bury a Garden Hose
Burying a garden hose can create a clean, efficient irrigation system while protecting the hose from UV damage and accidental wear. Proper planning, preparation, and installation are essential to ensure durability and reliable water flow. Following a step-by-step process minimizes risks, maintains accessibility, and ensures long-term performance of your underground garden hose system.
Tools Needed
- Garden hose
- Shovel or trenching tool
- Tape measure
- Stakes or string for marking
- Utility knife or hose cutter
- Gravel or sand for bedding
Step 1: Plan and Mark the Route
Before digging, map the hose route, considering garden layout, plant locations, and potential obstacles. Use stakes and string to mark a straight or curved path, ensuring efficient water distribution. Careful planning avoids sharp bends or kinks and ensures the hose reaches all intended irrigation points.
Measuring and marking the route precisely reduces excavation work and prevents future rerouting. It also helps identify areas that require deeper burial or additional protection. Planning ensures consistent water flow to all garden areas, minimizes stress on the hose, and allows easier maintenance in the future.
Step 2: Dig the Trench
Using a shovel or trenching tool, dig a trench along the marked path. The trench depth should generally be 4–6 inches, deep enough to protect the hose while remaining accessible for maintenance. Smooth the trench bottom to prevent sharp rocks from damaging the hose.
Ensure the trench width allows the hose to sit comfortably without being pinched. Remove debris and compact the soil slightly to create a stable base. Proper trenching prevents kinks, maintains water flow, and protects the hose from damage caused by shifting soil or external pressure.
Step 3: Lay and Secure the Hose
Place the hose in the trench, following the planned path. Avoid tight bends or twists, and ensure the hose lies flat against the trench bottom. Use stakes or sandbags temporarily to hold the hose in place during backfilling.
Check the hose for any pre-existing damage before burial. Make gentle curves at corners to prevent stress points, ensuring smooth water flow. Proper placement reduces wear, extends hose life, and provides reliable irrigation across the entire garden layout.
Step 4: Cover and Protect the Hose
Backfill the trench with soil, sand, or gravel, covering the hose evenly. Compact the fill lightly to avoid kinking while providing stability. Add a top layer of mulch or sod to blend with the garden and protect the hose from sunlight and accidental damage.
Avoid sharp objects or heavy rocks during backfilling, which can puncture or abrade the hose. Proper coverage distributes soil weight evenly, prevents hose movement, and maintains consistent water flow. This step ensures a long-lasting, reliable underground irrigation system.
Step 5: Test the System
After installation, turn on the water and check for leaks, kinks, or uneven flow. Observe the entire hose route and make adjustments if necessary. Ensuring proper function before final landscaping saves time and prevents damage to plants or the hose.
Test each irrigation point individually to verify water distribution. Address any problem areas immediately, such as bends, leaks, or blockages. Final testing ensures the buried hose system delivers consistent, reliable water to your garden efficiently and safely.
Tips for Burying a Garden Hose
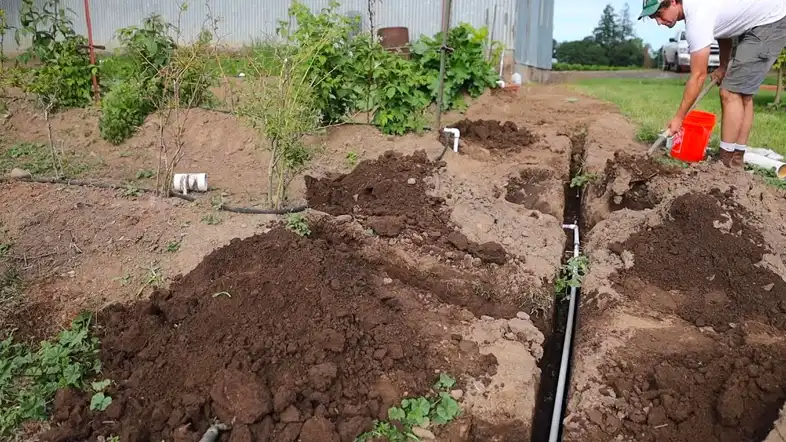
Burying a garden hose can streamline irrigation and protect it from environmental damage, but proper technique is key for durability and efficiency. Considering factors like soil type, hose material, routing, and accessibility ensures long-term performance. Following practical tips helps maintain smooth water flow, prevent leaks, and reduce maintenance challenges in your garden.
- Choose the Right Hose: Select a hose designed for burial or heavy-duty use. Durable, reinforced hoses resist abrasion, pressure changes, and underground conditions, preventing leaks and bursts. Choosing the proper hose material ensures long-term reliability and efficient water delivery for all garden irrigation applications.
- Plan the Route Carefully: Map the hose path to avoid obstacles, sharp turns, and high-traffic areas. A well-planned route reduces kinks, ensures even water distribution, and minimizes the risk of damage during digging or later garden work, improving system efficiency and durability.
- Maintain Proper Depth: Bury the hose at a depth that protects it from accidental damage while keeping it accessible for maintenance. Typically, 4–6 inches is sufficient. Proper depth prevents crushing, abrasion, and exposure to sunlight while ensuring stable water flow throughout the system.
- Use Protective Bedding: Place a layer of sand, fine gravel, or soil beneath the hose to cushion it against sharp rocks and uneven surfaces. Protective bedding reduces wear and punctures, maintaining hose integrity and extending its lifespan while allowing consistent irrigation performance.
- Test and Monitor Regularly: After installation, test water flow and inspect for leaks or blockages. Periodically check the buried hose to ensure consistent performance. Early detection of issues allows for quick repair, preventing costly replacements and ensuring your garden receives reliable water supply.
Alternatives to Burying a Garden Hose
Burying a garden hose isn’t the only option for efficient irrigation. Alternatives can save time, reduce installation effort, and provide flexibility for adjustments. Understanding different methods allows gardeners to maintain proper water distribution while protecting hoses, minimizing damage, and ensuring convenience for both seasonal and permanent garden setups.
Temporary Mulch Covering: Instead of full burial, hoses can be lightly covered with mulch to protect them from sunlight and minor physical damage. This method balances protection with easy accessibility, allowing seasonal adjustments and straightforward inspection or repairs without extensive digging.
Above-Ground Hose Routing: Running hoses above ground allows easy access for maintenance, repositioning, and seasonal adjustments. Using hose guides or protective covers prevents kinking and damage while maintaining efficient water flow. Above-ground routing is ideal for temporary setups or gardens with changing layouts.
Soaker Hoses: Soaker hoses distribute water evenly along their length and can be laid on the soil surface or lightly covered with mulch. They provide slow, deep watering directly to plant roots, reducing evaporation and minimizing soil erosion compared to buried hoses.
Drip Irrigation Systems: Drip irrigation delivers water precisely to plant roots through a network of tubing and emitters. This system conserves water, reduces runoff, and prevents hose damage, offering a flexible and highly efficient alternative to buried hoses for gardens of all sizes.
Hose Reels or Rollers: Using hose reels or rollers keeps hoses organized, off the ground, and protected from wear. Reels make it easy to extend, retract, and store hoses, reducing tangling, kinking, and accidental damage while maintaining convenient access to water throughout the garden.
Buried Garden Hose Maintenance
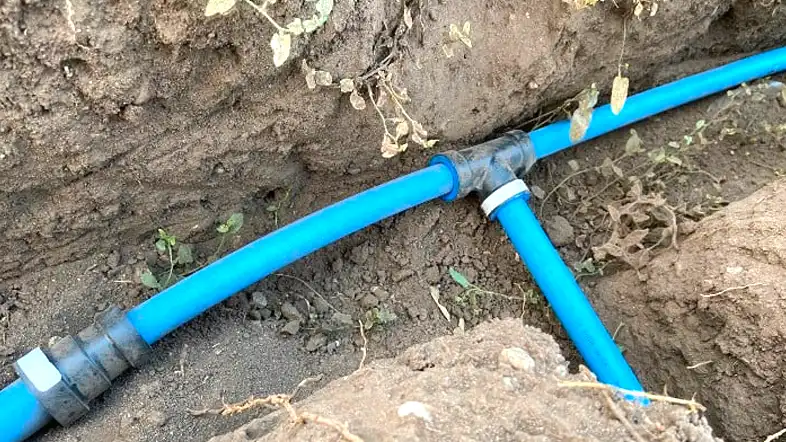
Maintaining a buried garden hose is essential to ensure long-lasting performance and reliable irrigation. Proper maintenance prevents leaks, blockages, and damage from soil or environmental factors. Regular inspection and care help keep water flow consistent, extend hose life, and reduce costly repairs, ensuring your underground irrigation system operates efficiently year-round.
Periodic Flushing: Occasionally flush the buried hose system to remove sediment or debris that can accumulate over time. Flushing maintains smooth water flow, prevents blockages, and ensures the irrigation system operates efficiently, reducing the risk of clogs and prolonging the hose’s functional life.
Regular Flow Checks: Periodically turn on the water and inspect all outlets for consistent flow. Uneven or reduced water pressure may indicate blockages, kinks, or leaks. Early detection allows for quick corrective action, ensuring plants receive adequate irrigation and preventing further damage to the buried hose system.
Inspect for Leaks: Watch for wet spots or unusually lush vegetation along the hose route. Leaks can waste water and reduce system efficiency. Identifying and repairing leaks promptly prevents soil erosion, maintains proper pressure, and protects the surrounding garden environment from damage.
Protect from Freezing: In colder climates, draining or insulating buried hoses prevents freezing, which can crack the hose or damage fittings. Proper winterization preserves hose integrity and ensures the irrigation system is ready for use when temperatures rise, extending the hose’s lifespan.
Clear Surrounding Soil: Ensure soil around the hose remains loose and free of sharp rocks or debris. Compacted or abrasive soil can wear down the hose material. Regularly checking the trench and adjusting soil coverage helps protect the hose from punctures and abrasions.
Conclusion
Burying a garden hose can be a practical and aesthetically pleasing solution for maintaining a tidy outdoor space. However, it’s essential to consider the installation challenges, potential drawbacks, and your specific gardening needs before making a decision.
By weighing the pros and cons, you can determine if burying your garden hose aligns with your goals and lifestyle.
Get your wholesale garden hoses from Kingdaflex today and stock up on durable, reliable hoses that keep your customers coming back. Contact us now to explore bulk pricing and custom options—perfect for landscapers, retailers, and gardening suppliers ready to grow their business!
Is burying a garden hose suitable for all types of soil?
Different soil types can affect the performance of a buried hose. Sandy soils drain better, while clay soils can retain water, potentially leading to issues.
Can I bury a hose on my own, or should I hire a professional?
Burying a hose can be a DIY project, but it requires careful planning and execution. If you’re unsure, consulting a professional can ensure the job is done correctly.
What’s the recommended depth for burying a garden hose?
A general guideline is to bury the hose at least 12 inches deep. However, factors like climate and soil type can influence this depth.
Can I still move my hose around if it’s buried?
While possible, it can be challenging to move a buried hose frequently. If you need frequent access, consider alternative storage options.
How do I prevent the buried hose from freezing in winter?
To prevent freezing, disconnect and drain the hose before winter. Adding insulation around the buried section can provide extra protection.
Can i bury a garden hose underground
Yes, you can bury a garden hose underground. Choose a hose designed for burial, dig a trench, create a gentle slope for drainage, use guides, protect with a layer, lay the hose carefully, backfill the trench, and consider maintenance for functionality.

