Cutting a rubber hose accurately is essential for ensuring a proper fit and function in your project, whether for automotive, plumbing, or industrial applications. With the right tools and techniques, you can achieve a clean, precise cut, preventing leaks or damage to the hose during installation.
In this guide, we will walk you through the essential steps and best practices for cutting rubber hoses. We’ll also highlight common mistakes to avoid and provide tips to make the process easier, whether you’re working on a DIY project or handling professional installations. Proper cutting ensures optimal hose performance, making the task straightforward and effective.
What are Rubber Hoses?


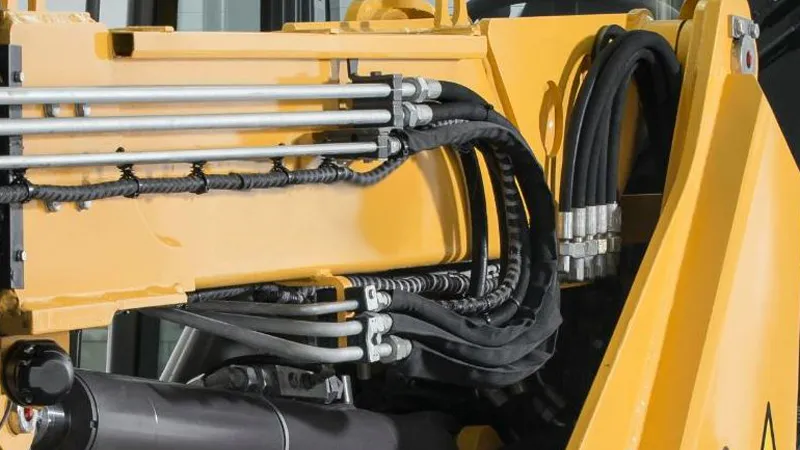
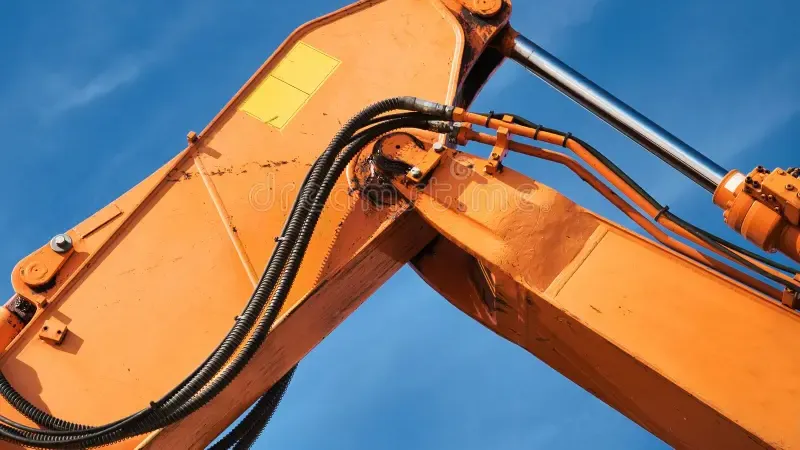
Rubber hoses are flexible tubes made from rubber or elastomeric materials, designed to transport liquids, gases, or other substances between different components of a system. They are widely used in automotive, industrial, plumbing, and agricultural applications due to their flexibility, durability, and resistance to wear, heat, and various chemicals.
Rubber hoses come in different sizes, lengths, and reinforcement types to suit specific needs, offering reliable performance in challenging environments where other materials may not be suitable. They are essential for tasks that require the transfer of fluids under pressure, vibration, or extreme temperatures.
How to Cut a Rubber Hose?

Cutting a rubber hose is a simple yet crucial task for ensuring proper fitment and functionality in various applications, from automotive to industrial uses. Whether you’re working on a DIY project or performing maintenance, making clean, precise cuts is essential for achieving a secure, leak-free connection. Below are the essential steps to properly cut a rubber hose.
Step 1: Gather Necessary Tools
Before starting, gather all the tools you’ll need for the task. A sharp utility knife or rubber hose cutters are essential for making clean cuts. If the rubber hose is thick or tough, hose cutters designed for heavy-duty use are ideal. If you don’t have hose cutters, a sharp pair of scissors or utility shears will work for smaller rubber hoses. Additionally, a measuring tape will help you get the right rubber hose length, while a clamp or vice is necessary to secure the rubber hose in place during the cutting process. Having these tools ready will make your task easier and ensure a professional finish.
Proper tool selection is critical to making precise cuts that will prevent leaks or damage to your rubber hose. Using dull or inappropriate tools can lead to uneven cuts, rough edges, or tears in the material. Therefore, investing in the right equipment, especially for industrial or automotive applications, ensures that your rubber hoses perform optimally after being cut. Always check your tools before use to make sure they are in good condition, sharp, and suitable for the task at hand.
Step 2: Measure the Rubber Hose
Measuring the rubber hose accurately is crucial to ensure you cut it to the correct length. Use a measuring tape or ruler to determine the exact measurement, then mark the point to cut using a pen, chalk, or tape. Accuracy is key—cutting the rubber hose too short could mean it won’t fit your application, while cutting it too long could lead to waste or require an additional adjustment. Always double-check the measurement, especially if you are working on multiple pieces or projects.
Take care when marking the rubber hose to ensure that your markings are clear and visible. If you’re cutting several rubber hoses, it may be helpful to label each rubber hose to avoid confusion later on. You can also use a permanent marker for visibility or a small piece of tape at the cut mark. This preparation ensures that you avoid mistakes and minimizes the risk of making inaccurate cuts. When measuring rubber hoses for specific applications, always consider any extra length needed for hose connections and fittings.
Step 3: Secure the Rubber Hose
Securing the rubber hose before cutting is essential for a clean, precise cut. Use a clamp or vice to hold the rubber hose in place and prevent it from moving while you cut. This not only improves accuracy but also ensures safety, as the rubber hose is stabilized and won’t slip out of your hands during the cutting process. A firm grip on the rubber hose will also prevent any jagged or uneven cuts caused by shifting.
Securing the rubber hose is particularly important if you’re working with larger, longer rubber hoses or thicker rubber materials, which may be harder to handle. If you don’t have a clamp or vice, you can also hold the rubber hose in place with your hands, but this requires extra caution. Ensure that you’re cutting on a stable surface and have the proper protective gear, such as gloves and goggles, to safeguard against accidents. Properly securing the rubber hose is an important step that can save time and effort during the cutting process.
Step 4: Make a Clean Cut
When you’re ready to make the cut, apply consistent pressure with your tool, ensuring that the blade is sharp enough to cut through the rubber hose smoothly. A clean, straight cut is essential for the rubber hose to fit properly onto fittings and prevent leaks. Avoid forcing the tool through the rubber hose, as this can cause the material to tear or stretch, leading to damage. Use steady, controlled motions, cutting all the way through in one go if possible, to avoid fraying or uneven edges.
If you’re using a utility knife, make sure to score the rubber hose with several light passes rather than attempting to cut all the way through in one attempt. This method helps prevent jagged cuts or indentations, which could compromise the rubber hose’s integrity. For larger rubber hoses, a hose cutter might be more effective, as it is designed to handle the material more efficiently, leaving a clean edge. A smooth, precise cut ensures that the rubber hose will create a secure seal when connected, preventing fluid leaks.
Step 5: Smooth the Cut Edges
After cutting, you may notice that the edges of the rubber hose are rough or jagged. This can be problematic during installation, as the rough edges may cause the rubber hose to slip or fail to form a tight seal. To remedy this, use a file, sandpaper, or a deburring tool to smooth out the cut edges. This will remove any burrs or imperfections, making the rubber hose easier to work with and ensuring a secure fit when attached to connectors.
Smoothing the cut edges is especially important when you’re using rubber hoses in high-pressure applications, where even a small gap can cause leaks. The smooth edges also help prevent the rubber hose from becoming damaged during installation, as sharp or rough edges may scrape against the fittings. Taking the extra time to finish the edges ensures that your rubber hose is ready for use, extends its lifespan, and guarantees that it will perform well under the conditions it was intended for.
Step 6: Inspect the Rubber Hose Cut
Once you’ve finished cutting and smoothing the edges, it’s essential to inspect your work. Check the cut to ensure it’s straight, even, and clean, as any imperfections can affect the rubber hose’s ability to seal properly or perform effectively. Run your fingers along the edge to feel for any sharp spots or rough areas that may have been missed during smoothing. Additionally, inspect the rest of the rubber hose for any damage or deformities caused during the cutting process.
A careful inspection ensures that you’re not overlooking any potential issues that could lead to leakage or failure in the system. It’s important to check the dimensions of the rubber hose as well, ensuring that it matches the required length and fits with the intended fittings. If the cut isn’t perfect, it’s better to re-cut the rubber hose before proceeding with installation. This attention to detail can prevent costly repairs or replacements down the line.
Step 7: Install the Rubber Hose
With the rubber hose now cut, smoothed, and inspected, it’s time to install it into your system. Start by sliding the rubber hose onto the required fittings, ensuring it fits snugly and securely. Use appropriate rubber hose clamps or connectors to ensure the rubber hose stays in place during operation. Depending on your application, you may need to tighten the clamps with a wrench or screwdriver to create a secure seal that prevents leaks.
Ensure that the rubber hose is properly aligned and there are no twists or kinks, as these can restrict fluid flow or cause the rubber hose to wear prematurely. Double-check all connections before starting the system, as leaks can occur if the rubber hose isn’t secured properly. Once everything is in place, you can run a test to confirm that the rubber hose is functioning correctly. Proper installation is key to ensuring that the rubber hose works efficiently and lasts for a long time.
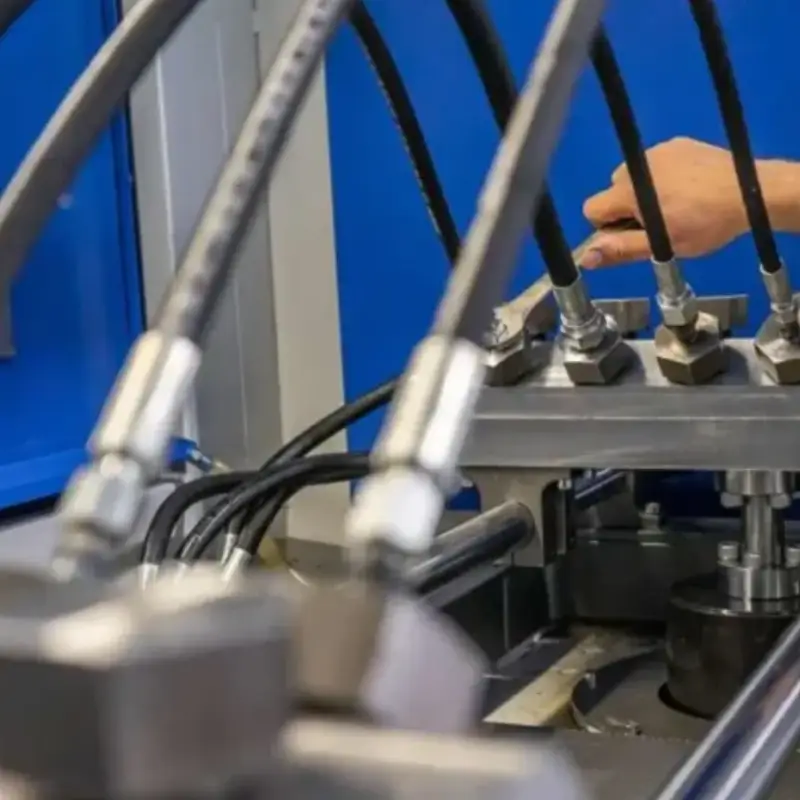
Automatic Rubber Hose Cutting Machine
An automatic rubber hose cutting machine is designed for precise and efficient cutting of rubber hoses in various lengths and sizes, ensuring consistency and accuracy in high-volume production environments. These machines improve operational efficiency, reduce manual labor, and minimize waste. Key features include:
- High Cutting Precision: The machine ensures accurate, clean cuts with minimal variation, reducing the chances of defects and ensuring consistent quality in every piece of rubber hose.
- Adjustable Length Settings: Operators can easily set different cutting lengths based on specific requirements, offering flexibility for various applications, whether for short or long hose sections.
- Speed and Efficiency: The automatic system can process large volumes of rubber hoses quickly, significantly increasing production speed and allowing for better use of labor and time resources.
- Reduced Labor Costs: By automating the cutting process, the machine reduces the need for manual intervention, lowering labor costs and minimizing human error in the production line.
- Waste Minimization: The precise cutting capability helps reduce scrap and material waste, optimizing resource usage and contributing to a more sustainable production process.
Conclusion
Cutting a rubber hose is a relatively simple process if you follow the right steps and use the correct tools. By choosing the right cutting technique, such as using sharp blades or specialized hose cutters, you can ensure that your hoses are cut cleanly and properly fitted to your needs.
Remember to avoid common mistakes, like using dull tools or making uneven cuts, which can compromise the hose’s effectiveness and cause potential leaks. With a little practice, cutting rubber hoses becomes a skill that will save you time and frustration, providing you with better results on every project.
For businesses or individuals looking for high-quality rubber hoses, Kingdaflex offers an extensive range of wholesale options. Our hoses are durable, reliable, and designed to meet the most demanding needs. Trust Kingdaflex for your hose solutions, and ensure your projects are equipped with the best materials available on the market.