Installing air compressor hose fittings correctly is crucial for maintaining an efficient and leak-free pneumatic system. Improper installation can lead to pressure loss, reduced tool performance, and potential safety hazards. Understanding the different types of fittings and the proper installation techniques ensures a reliable connection between your compressor, hose, and tools.
This blog post will guide you through the process of installing air compressor hose fittings, covering essential steps and best practices. We will delve into the various fitting types, including quick-connect, threaded, and barb fittings, and provide detailed instructions on how to install them securely. By following these guidelines, you can ensure optimal performance and safety in your air compressor system.
What Are Air Compressor Hose Fitting?
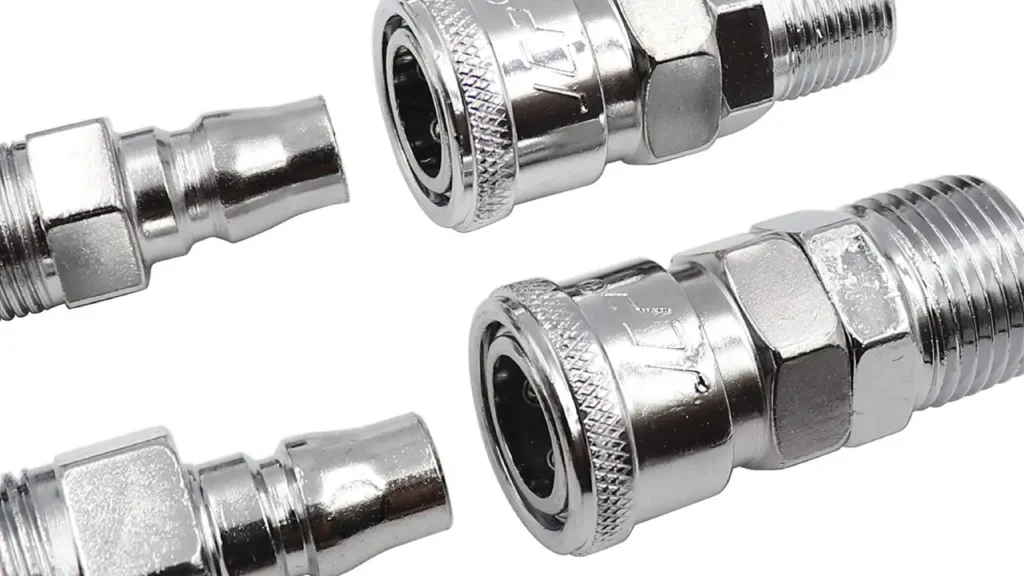
Air compressor hose fittings are essential components that connect air hoses to air compressors and pneumatic tools, enabling the efficient transfer of compressed air. These fittings come in various types, sizes, and materials, each designed to accommodate different hose diameters, pressure ratings, and application requirements. They ensure a secure, leak-free connection, which is vital for maintaining consistent airflow and pressure.
These air compressor fittings are typically constructed from durable materials like brass, steel, or high-strength plastics, chosen for their resistance to pressure, corrosion, and wear. They include quick-connect fittings for rapid tool changes, threaded fittings for secure, long-term connections, and barb fittings for flexible hose applications. Proper selection and installation of these fittings are crucial for preventing air leaks, maximizing tool performance, and ensuring safety in air compressor systems.
How to Install Air Compressor Hose Fittings?
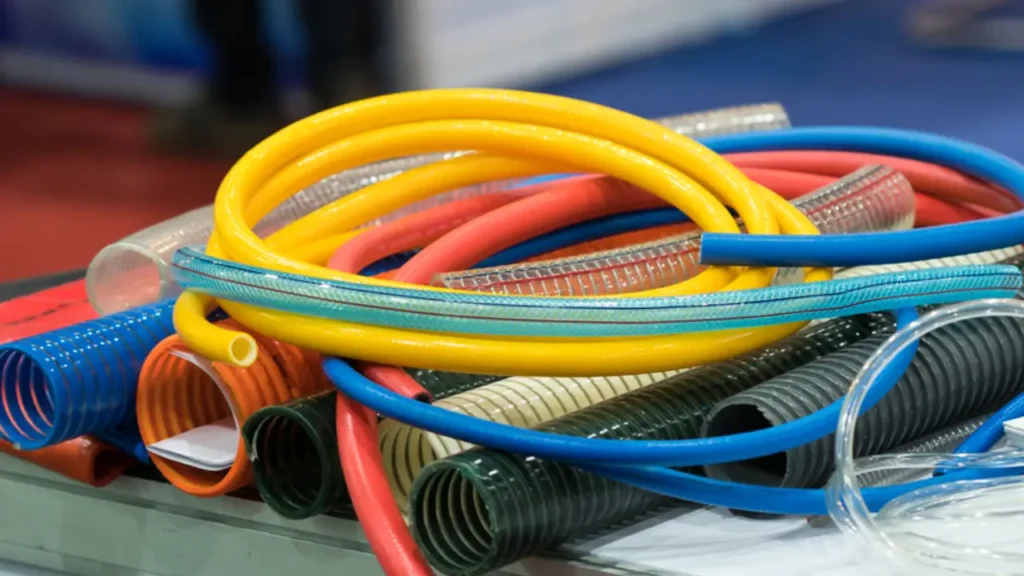
Proper installation of air compressor hose fittings is crucial for ensuring a leak-free and efficient pneumatic system. Correctly installed fittings prevent air loss, maintain consistent pressure, and enhance tool performance.
Here’s a step-by-step guide to installing air compressor hose fittings.
Step 1: Preparing the Hose and Fittings
Before installing any fittings, ensure the air hose is clean and free from any debris or damage. Inspect the hose ends for cuts, fraying, or other signs of wear, which could compromise the connection. Clean the interior of the hose with compressed air or a suitable solvent to remove any particles that may obstruct airflow or damage the fittings. Select the appropriate fittings for your hose and application, considering factors such as size, thread type, and pressure rating.
Proper preparation ensures a clean, and secure connection. Any damage, or debris, could cause a leak, or damage the fittings.
Verify that the fittings are compatible with the hose’s inner diameter (ID) and the tools you intend to use. Mismatched fittings can lead to leaks, reduced airflow, and potential safety hazards. Gather the necessary tools, including a wrench, pliers, Teflon tape, and a hose cutter if needed. Ensure you have the correct type of fittings, either threaded, quick-connect, or barb fittings, based on your hose and tool requirements.
Correct fitting selection, and compatibility, is very important. Incorrect fittings will cause leaks, and could cause damage to the compressor.
Step 2: Installing Threaded Fittings
For threaded fittings, begin by wrapping Teflon tape clockwise around the male threads. This creates a seal that prevents air leaks. Apply two to three wraps of Teflon tape, ensuring it covers the threads completely. Avoid applying too much tape, as this can make it difficult to tighten the fitting or damage the threads. Thread the fitting onto the hose end, turning it clockwise until it’s hand-tight.
Teflon tape is crucial for a leak-free seal. Too much or too little tape can cause issues. Hand-tightening is a good starting point.
Use a wrench to tighten the fitting further, ensuring it’s snug but not overtightened. Overtightening can damage the threads or deform the fitting, leading to leaks. Apply even pressure while tightening to avoid cross-threading or stripping the threads. For high-pressure applications, consider using a thread sealant in addition to Teflon tape for extra leak prevention.
A wrench is needed for the final tightening, careful not to over tighten. Thread sealant is a good idea for high pressure applications.
Step 3: Installing Quick-Connect Fittings
Quick-connect fittings are designed for easy and rapid connections. Ensure the male plug and female coupler are clean and free from debris. Simply push the male plug into the female coupler until you hear a click, indicating a secure connection. Some quick-connect fittings have a locking mechanism that requires you to pull back on the collar before pushing in the plug. Ensure the locking mechanism engages properly to prevent accidental disconnection.
Quick connect fittings are designed for speed and ease. Ensure they are clean, and fully connected.
To disconnect a quick-connect fitting, press the release button or pull back on the collar, depending on the fitting’s design. Inspect the fittings regularly for wear or damage, as worn or damaged fittings can cause leaks. Replace any worn or damaged fittings immediately to maintain a secure connection. For high-pressure applications, ensure the quick-connect fittings are rated for the appropriate pressure.
Regular inspections are needed for quick connect fittings. High pressure applications require fittings rated for the job.
Step 4: Installing Barb Fittings
Barb fittings are typically used with flexible hoses and require clamps or ferrules to secure the connection. Slide a clamp or ferrule onto the hose end before inserting the barb fitting. Push the barb fitting into the hose end, twisting it slightly to ensure it’s fully seated. Position the clamp or ferrule over the hose and barb fitting, and use pliers or a crimping tool to tighten it securely.
Barb fittings require clamps, and proper placement. Ensure the fitting is fully seated in the hose.
Ensure the clamp or ferrule is tight enough to prevent leaks but not so tight that it damages the hose. Inspect the installed fitting for any signs of damage or improper installation. Test the connection by applying air pressure and checking for leaks using a soapy water solution. Bubbles will form if there’s a leak.
Testing with soapy water is crucial to ensure a leak free seal. Any leaks must be addressed.
Tips for Air Compressor Hose Assembly
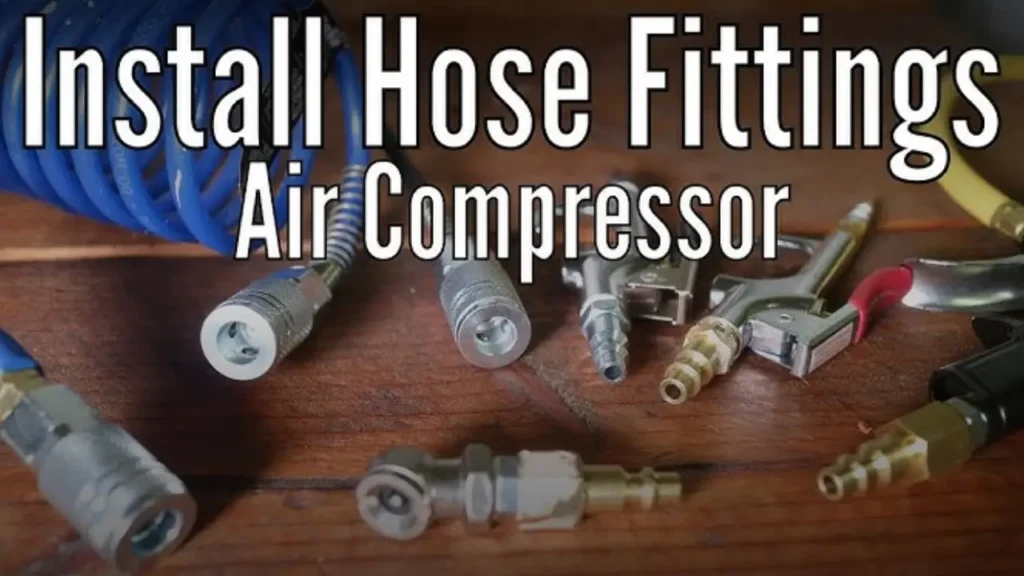
Assembling air compressor hoses correctly is essential for ensuring safety and efficiency in your pneumatic systems. Proper assembly prevents air leaks, maintains consistent pressure, and extends the lifespan of your hoses and tools. By following these tips, you can create reliable and durable hose assemblies that meet your specific needs.
Here are some crucial tips for air compressor hose assembly:
Select Compatible Fittings and Hoses:
Ensure the fittings and hoses you choose are compatible in terms of size, thread type, and pressure rating. Mismatched components can lead to leaks, reduced performance, and potential safety hazards. Verify the hose’s inner diameter (ID) matches the fitting’s size, and that the fitting’s threads are compatible with the compressor and tool connections. Choosing fittings and hoses rated for the maximum pressure of your air compressor is crucial to prevent bursts and ensure safe operation. You should also verify the material compatibility, especially if you are using specific oils, or other chemicals, in your air system.
Use Teflon Tape or Thread Sealant:
For threaded connections, apply Teflon tape or thread sealant to the male threads to create a leak-free seal. Wrap the tape clockwise around the threads, ensuring complete coverage. This prevents air from escaping through the threads, maintaining consistent pressure. Thread sealant, which is a liquid or paste, can also be used, and it creates a similar seal. Ensure that any thread sealant you use, is designed for use in a compressed air environment. Without the proper seal, air leaks can cause a drop in pressure, and an increase in the amount of time that your compressor needs to run.
Secure Barb Fittings with Clamps or Ferrules:
If you’re using barb fittings, secure them with clamps or ferrules to prevent leaks and disconnections. Slide the clamp or ferrule onto the hose before inserting the barb fitting, and then tighten it securely with pliers or a crimping tool. Ensure the clamp or ferrule is tight enough to prevent leaks but not so tight that it damages the hose. Barb fittings rely on a tight mechanical seal, and any looseness can cause issues. The proper tools must be used to ensure a good connection.
Test the Assembly Thoroughly:
After assembling the hose, test it thoroughly for leaks and proper airflow. Turn on the air compressor and allow it to build pressure, then listen for any hissing sounds or feel for air escaping from the connections. Apply a soapy water solution to the connections to check for leaks; bubbles will form if there’s a leak. Test the airflow by attaching a pneumatic tool to the hose and operating it. This ensures that the assembly can handle the required pressure and airflow. Any leaks or airflow issues should be addressed before using the hose in a working environment.
Conclusion
In conclusion, correctly installing air compressor hose fittings is crucial for ensuring a leak-free and efficient pneumatic system. Proper installation techniques, including the use of Teflon tape and appropriate tightening, prevent air loss and maintain consistent pressure. Understanding the different types of fittings and selecting the right ones for your application is essential for optimal performance.
Regularly inspecting and maintaining your hose fittings is vital for safety and longevity. Checking for wear, damage, or leaks prevents unexpected failures and ensures consistent pressure delivery. Adhering to manufacturer guidelines and using quality components contribute to a reliable and efficient air compressor system.
For a comprehensive selection of high-quality air compressor hose fittings, choose Kingdaflex. We offer wholesale options with diverse sizes and materials to meet your specific needs. Contact us today to explore our product offerings and ensure your air compressor systems operate at peak performance.


