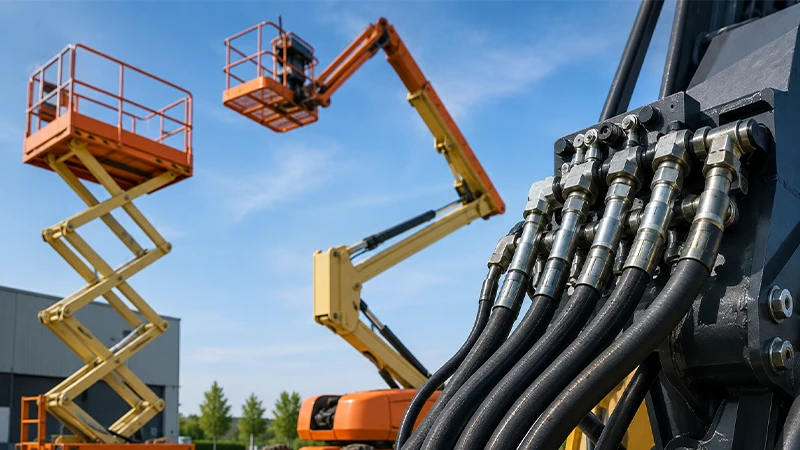
Hydraulic systems are widely used in various industries and equipment, relying on hydraulic hoses to transmit pressurized fluid. Hydraulic hose fittings play a crucial role in connecting hoses to different components, ensuring a secure and leak-free connection.
Whether you’re a professional technician or a DIY enthusiast, learning how to attach hydraulic hose fittings is essential knowledge. In this article, we will guide you step-by-step through the process, explaining the types of fittings, tools required, and common mistakes to avoid.
So let’s dive in!
Understanding Hydraulic Hose Fittings

Hydraulic hose fittings are specialized connectors that join hydraulic hoses to various hydraulic components, such as pumps, valves, cylinders, and motors. These fittings provide a sealed connection, allowing the hydraulic fluid to flow efficiently without any leaks. Understanding the different types of hydraulic hose fittings will help you choose the right one for your specific application.
Types of Hydraulic Hose Fittings

Crimped Fittings
Crimped fittings are the most common type of hydraulic hose fittings. They require a crimping tool to compress the fitting onto the hose, creating a strong and secure connection. Crimped fittings provide excellent performance and are widely used in high-pressure applications.
Reusable Fittings
Reusable fittings, also known as field-attachable fittings, offer flexibility as they can be assembled without specialized equipment. These fittings feature a threaded design that allows them to be screwed onto the hose, providing a reliable connection. Reusable fittings are commonly used in low to medium-pressure applications.
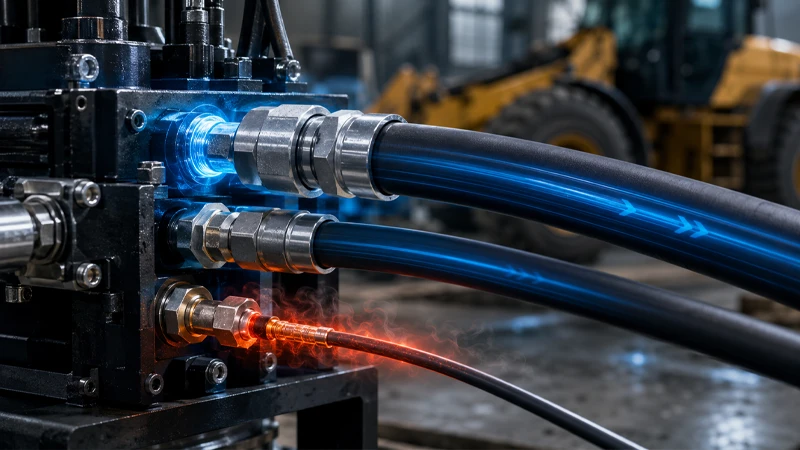
Push-to-Connect Fittings
Push-to-connect fittings, also called quick-connect fittings, provide a convenient way to attach hydraulic hoses. These fittings have a simple push-and-lock mechanism, allowing for quick installation and removal without the need for additional tools. Push-to-connect fittings are often used in applications where frequent hose connections and disconnections are required.
GET IN TOUCH
Quote Hydraulic Hose Now
Tools and Equipment Required
Before attaching hydraulic hose fittings, gather the necessary tools and equipment for the job.
Here’s a list of commonly used items:
- Hydraulic hose
- Hydraulic hose fittings (crimped, reusable, or push-to-connect)
- Crimping tool (if using crimped fittings)
- Wrenches or pliers (if using reusable fittings)
- Cutting tool (to prepare the hose)
- Lubricant (to ease installation)
Step-by-Step Guide: Attaching Hydraulic Hose Fittings

Follow these steps to attach hydraulic hose fittings properly:
1. Preparing the Hose
Measure the required length of the hydraulic hose and cut it using a cutting tool. Ensure the hose end is clean and free from debris. If necessary, use a hose cleaning kit to remove any contaminants.
2. Selecting the Fittings
Choose the appropriate type of hydraulic hose fittings based on your system requirements. Consider factors such as pressure rating, hose diameter, and compatibility with other components.
3. Installing Crimped Fittings
If using crimped fittings, select the correct die size for your hose and fitting combination. Slide the fitting onto the hose, ensuring it goes all the way to the hose’s end. Use a crimping tool to compress the fitting onto the hose, following the manufacturer’s instructions. Inspect the crimped connection for any signs of irregularity or leakage.
4. Installing Reusable Fittings
For reusable fittings, slide the fitting onto the hose, ensuring it goes past the threads. Apply a lubricant to the threads to ease installation. Use wrenches or pliers to tighten the fitting securely onto the hose. Inspect the connection for any signs of leakage.
5. Installing Push-to-Connect Fittings
When using push-to-connect fittings, simply push the fitting onto the hose until it locks into place. Pull on the fitting to ensure a secure connection. Some push-to-connect fittings may require an additional locking mechanism, such as a collar or clip. Follow the manufacturer’s instructions for proper installation.
Common Mistakes to Avoid

While attaching hydraulic hose fittings, it’s crucial to avoid certain common mistakes that could lead to leaks or system failure. Here are some key points to remember:
- Ensure the hose end is cut squarely to provide a proper sealing surface.
- Use the correct type and size of fittings for your hydraulic hose.
- Follow the manufacturer’s instructions for crimped fittings, ensuring the correct die size and crimping procedure.
- Tighten reusable fittings sufficiently, but avoid overtightening, which can damage the hose or fitting.
- Inspect the fittings for any signs of damage, such as corrosion or wear, before installation.
Maintaining Hydraulic Hose Fittings
To ensure the longevity and performance of your hydraulic hose fittings, regular maintenance is essential. Here are a few tips to keep in mind:
- Inspect fittings periodically for any signs of leakage, damage, or wear.
- Replace damaged or worn fittings promptly to prevent leaks and system inefficiency.
- Keep the fittings clean and free from debris to maintain a proper seal.
- Follow the manufacturer’s guidelines for recommended maintenance intervals and procedures.
How to Attach Hydraulic Hoses

To attach hydraulic hoses, follow these steps:
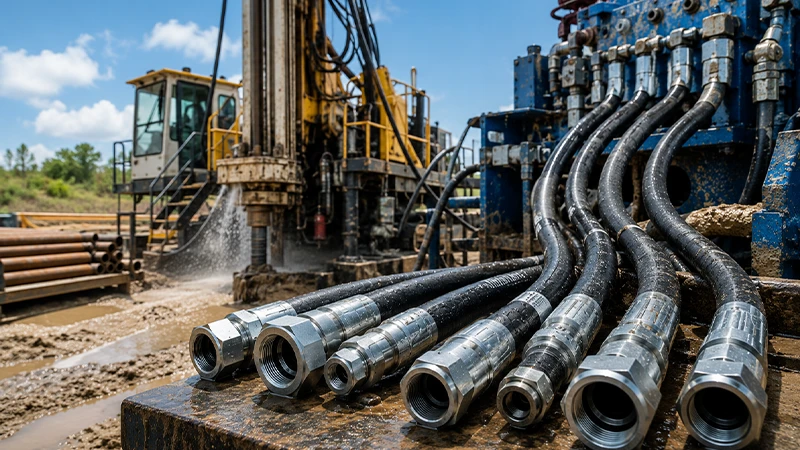
- Identify the hose and fittings: Determine the specific hydraulic hose and fittings you need to connect. Hydraulic hoses come in various sizes, lengths, and types, so ensure you have the correct components for your system.
- Prepare the hose ends: Trim the ends of the hydraulic hose using a utility knife to ensure a clean and even cut. Remove any burrs or debris from the inside and outside of the hose.
- Inspect hydraulic fittings: Examine the hose fittings for any damage, such as cracks or corrosion. Ensure they are compatible with your hose and the equipment you are connecting to.
- Apply lubrication: Apply a thin layer of hydraulic oil or a recommended lubricant to the inside of the hose and the outside of the fittings. This lubrication helps the hose slide onto the fittings smoothly and reduces the risk of damage during assembly.
- Insert the hose onto the fitting: Hold the hose securely and push it onto the fitting until it reaches the end. Make sure the hose is fully seated, and the fitting is inserted into the hose as far as it can go. You may need to twist or wiggle the hose slightly to aid the insertion.
- Crimp the fitting: If you are using crimped fittings, use a hydraulic hose crimping machine according to the manufacturer’s instructions to crimp the fitting onto the hose. This process compresses the fitting around the hose, creating a secure connection.
- Secure with clamps or connectors: If you are using clamped fittings or quick-connect connectors, follow the manufacturer’s instructions to secure the fitting onto the hose. Ensure the clamps are properly tightened, or the connectors are engaged securely.
- Test the connection: Turn on the hydraulic system and check for any signs of leakage. Inspect the connection closely and monitor it during operation to ensure it remains tight and leak-free.
It’s important to note that proper hydraulic hose assembly requires knowledge and experience. If you are uncertain or unfamiliar with the process, it is recommended to consult a professional hydraulic technician for assistance or to receive proper training.
How to Attach Hydraulic Hoses to Bobcat

To attach hydraulic hoses to a Bobcat, follow these steps:
- Safety precautions: Before beginning any work on the Bobcat, ensure the machine is turned off, the engine is cool, and the hydraulic system is depressurized. This will help prevent accidents or injuries.
- Identify the hydraulic hoses: Locate the hydraulic hoses on the Bobcat. They are usually color-coded to indicate different functions such as lifting, tilting, or auxiliary attachments. Refer to the Bobcat’s user manual or hydraulic system diagram for specific hose identification.
- Prepare the hoses: Inspect the hydraulic hoses for any damage, such as cuts, abrasions, or leaks. If you notice any issues, replace the hoses before proceeding. Ensure the hose ends are clean and free of debris.
- Identify the connection points: Locate the hydraulic couplers on the Bobcat. These are typically found at the rear of the machine or on the arms. They consist of male and female connectors that match the hydraulic hoses.
- Match the hoses to the couplers: Match the hydraulic hoses to the corresponding couplers based on their color coding or markings. Ensure the hose connectors match the couplers’ gender (male or female) for a proper fit.
- Connect the hoses: Align the hose connectors with the couplers and push them together firmly. You may need to apply slight pressure or twist the connectors slightly to ensure a secure connection. Listen for a click or feel for a locking mechanism to confirm the connection.
- Test the connections: Once the hoses are attached, start the Bobcat’s engine and operate the hydraulic functions to test the connections. Check for any signs of leakage or abnormalities in the hydraulic system. If you notice any issues, turn off the machine and recheck the connections for proper attachment.
It’s important to consult the Bobcat’s user manual or contact a qualified technician if you have any specific questions or concerns about attaching hydraulic hoses to your particular model of Bobcat. They can provide you with accurate information and guidance based on the specific requirements of your machine.
How to Attach Hydraulic Hoses to Tractor

o attach hydraulic hoses to a tractor, follow these steps:
- Safety precautions: Before beginning any work on the tractor, ensure the engine is turned off, and the hydraulic system is depressurized. This will help prevent accidents or injuries.
- Identify the hydraulic hoses: Locate the hydraulic hoses on the tractor. They are typically located near the hydraulic ports or control valves. Refer to the tractor’s user manual or hydraulic system diagram for specific hose identification.
- Prepare the hoses: Inspect the hydraulic hoses for any damage, such as cuts, abrasions, or leaks. If you notice any issues, replace the hoses before proceeding. Ensure the hose ends are clean and free of debris.
- Identify the connection points: Locate the hydraulic ports or control valves on the tractor. These are typically found on the rear of the tractor or near the loader arms. They consist of male and female connectors that match the hydraulic hoses.
- Match the hoses to the connection points: Match the hydraulic hoses to the corresponding connection points based on their size, type, and function. Ensure the hose connectors match the connection point’s gender (male or female) for a proper fit.
- Connect the hoses: Align the hose connectors with the connection points and push them together firmly. You may need to apply slight pressure or twist the connectors slightly to ensure a secure connection. Listen for a click or feel for a locking mechanism to confirm the connection.
- Secure the hoses: Once the hoses are attached, use any provided brackets, clamps, or straps to secure the hoses to the tractor’s frame or existing hydraulic line supports. This will prevent the hoses from dangling or getting caught on any moving parts.
- Test the connections: Start the tractor’s engine and operate the hydraulic functions to test the connections. Check for any signs of leakage or abnormalities in the hydraulic system. If you notice any issues, turn off the tractor and recheck the connections for proper attachment.
It’s important to consult the tractor’s user manual or contact a qualified technician if you have any specific questions or concerns about attaching hydraulic hoses to your particular model of tractor. They can provide you with accurate information and guidance based on the specific requirements of your tractor’s hydraulic system.
Conclusion
Attaching hydraulic hose fittings may seem daunting at first, but with the right knowledge and tools, it becomes a straightforward process. Understanding the types of fittings, selecting the appropriate tools, and following the step-by-step guide ensure a secure and leak-free connection.
Remember to avoid common mistakes and perform regular maintenance to keep your hydraulic system in optimal condition. By mastering the art of attaching hydraulic hose fittings, you’ll be well-equipped to tackle various hydraulic projects with confidence.