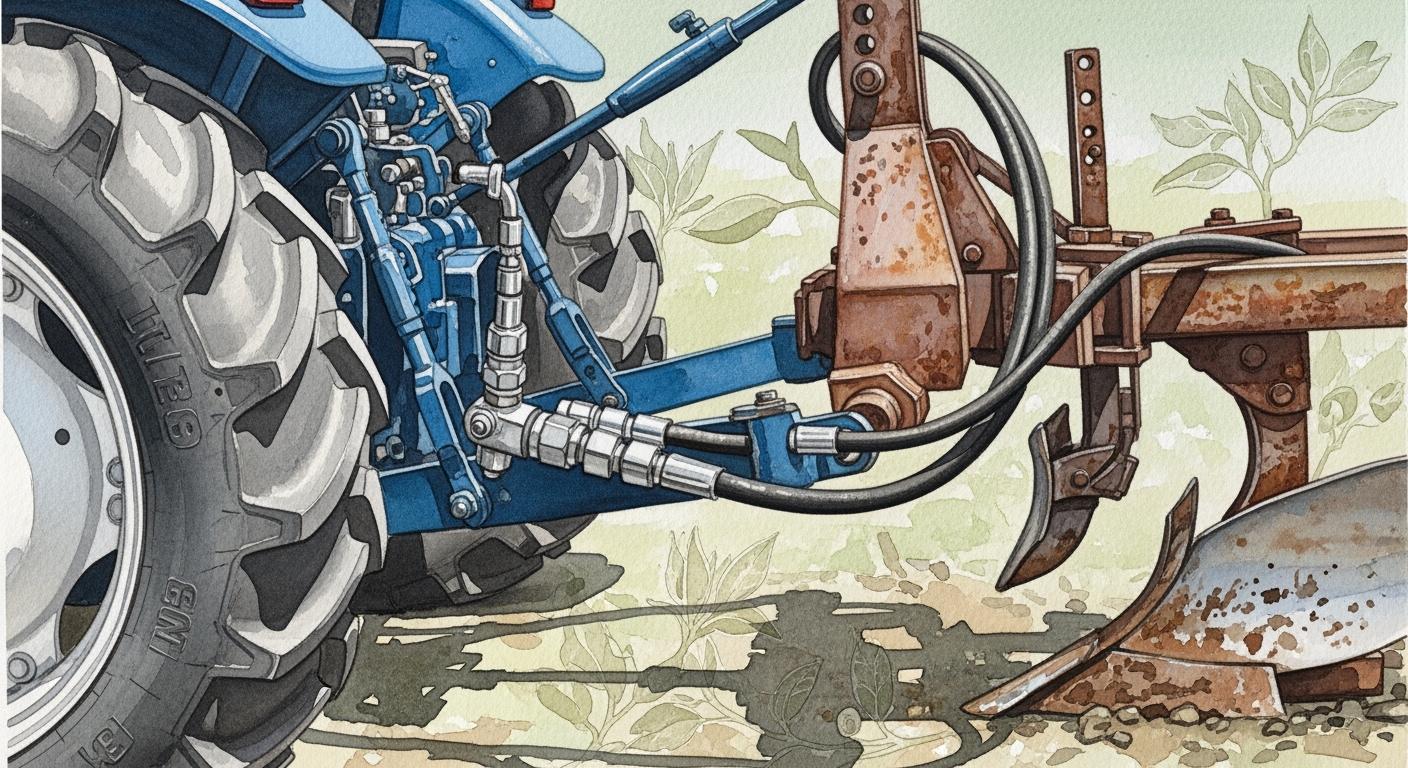
A leaky pipe fitting can be a frustrating and potentially costly problem. Fortunately, many leaks can be repaired with the right tools and knowledge.
This guide will walk you through the steps to identify the type of leak, gather the necessary materials, and effectively seal your hydraulic hose fittings.
What to Use to Seal Hydraulic Fittings?

Selecting the correct sealant for hydraulic fittings is crucial for preventing leaks and ensuring system integrity. The type of sealant required largely depends on the fitting’s design and thread type, as some fittings create a metal-to-metal seal and do not require sealant, while others rely on it for a leak-free connection. Using the wrong sealant, or applying it incorrectly, can lead to system contamination, fitting damage, or persistent leaks.
- PTFE Thread Seal Tape (Teflon Tape): This is a very common and versatile sealant used primarily for tapered pipe threads like NPT. It works by filling the minute gaps between the threads as they are tightened, preventing fluid from escaping. It’s inert and resistant to most hydraulic fluids. When using, wrap it clockwise around the male threads, starting a few threads back from the end.
- Liquid Thread Sealants (Pipe Dope): These are anaerobic sealants that cure in the absence of air and in the presence of metal ions, forming a durable, chemical-resistant seal. Like PTFE tape, they are typically used for tapered pipe threads (NPT). They offer excellent resistance to vibration and thermal cycling and can also act as a lubricant during assembly. Ensure the product is rated for hydraulic applications and compatible with your fluid.
- O-Rings and Elastomeric Seals: Many modern hydraulic fittings, such as O-Ring Face Seal (ORFS) and O-Ring Boss (ORB) fittings, achieve their seal through the compression of an elastomeric O-ring. These fittings typically do not require any additional thread sealant on the sealing surface. The O-ring itself provides the primary seal, while the threads are for mechanical retention. It’s crucial to ensure the O-ring is clean, undamaged, and compatible with the hydraulic fluid.
- No Sealant (Metal-to-Metal Seals): Fittings like JIC (37-degree flare) and SAE 45-degree flare fittings create a metal-to-metal seal between the mating surfaces. For these types, no additional thread sealant is required or recommended on the sealing surfaces. Applying sealant to these connections can actually hinder the metal-to-metal contact, potentially leading to leaks. However, some light lubrication on the threads might be used to aid assembly, but not as a sealant.
How to Seal Hydraulic Fittings

Properly sealing hydraulic fittings is paramount for system integrity, preventing costly leaks and ensuring efficient operation. The method depends largely on the fitting type, involving either mechanical deformation or specialized seals like O-rings or thread sealants.
Choose the Correct Hydraulic Fitting Type
The initial step in sealing hydraulic fittings effectively is selecting the appropriate fitting type for your specific application. Different fittings are designed with distinct sealing mechanisms. For instance, O-ring boss (ORB) fittings and O-ring face seal (ORFS) fittings rely on elastomeric O-rings for a positive seal, offering excellent leak prevention under high pressure and vibration.
Conversely, tapered pipe thread fittings (like NPT) create a seal by the wedging action of their threads, often requiring a sealant. Flared fittings (like JIC 37°) seal through a metal-to-metal contact as the flare is compressed. Understanding these fundamental differences is crucial for choosing a fitting that aligns with your system’s pressure, temperature, and fluid compatibility requirements, setting the foundation for a leak-free connection.
Prepare the Sealing Surfaces
Once the correct hydraulic fitting is chosen, meticulous preparation of the sealing surfaces is essential. For O-ring type fittings, this involves inspecting the O-ring itself for any nicks, cuts, or deformities, and ensuring the O-ring groove or seating surface on both the male and female parts is clean and free of debris, burrs, or scratches. A thin film of compatible hydraulic fluid or O-ring lubricant can be applied to the O-ring to aid in assembly and prevent pinching.
For tapered pipe threads, preparation includes cleaning the threads thoroughly to remove any old sealant, dirt, or metal shavings. Applying a suitable thread sealant, such as PTFE tape or liquid pipe sealant, is necessary to fill the gaps between the threads and provide a positive seal as the connection is tightened. For flared fittings, ensure the flare and mating cone are clean, smooth, and free from any imperfections that could compromise the metal-to-metal seal.
Proper Torque Application
Applying the correct torque is a critical step in achieving a reliable seal and preventing damage to the fittings or system components. Each type of hydraulic fitting has specific torque recommendations provided by the manufacturer. For O-ring fittings, over-tightening can crush the O-ring, leading to premature failure, while under-tightening can result in leaks.
For tapered pipe threads, insufficient torque will lead to leaks, while excessive torque can crack the fitting or damage the threads. Flared fittings also require precise torque to ensure adequate compression of the flare without deforming the tube or fitting. Always use a torque wrench and adhere strictly to the manufacturer’s specifications to ensure a secure, leak-free, and durable connection.
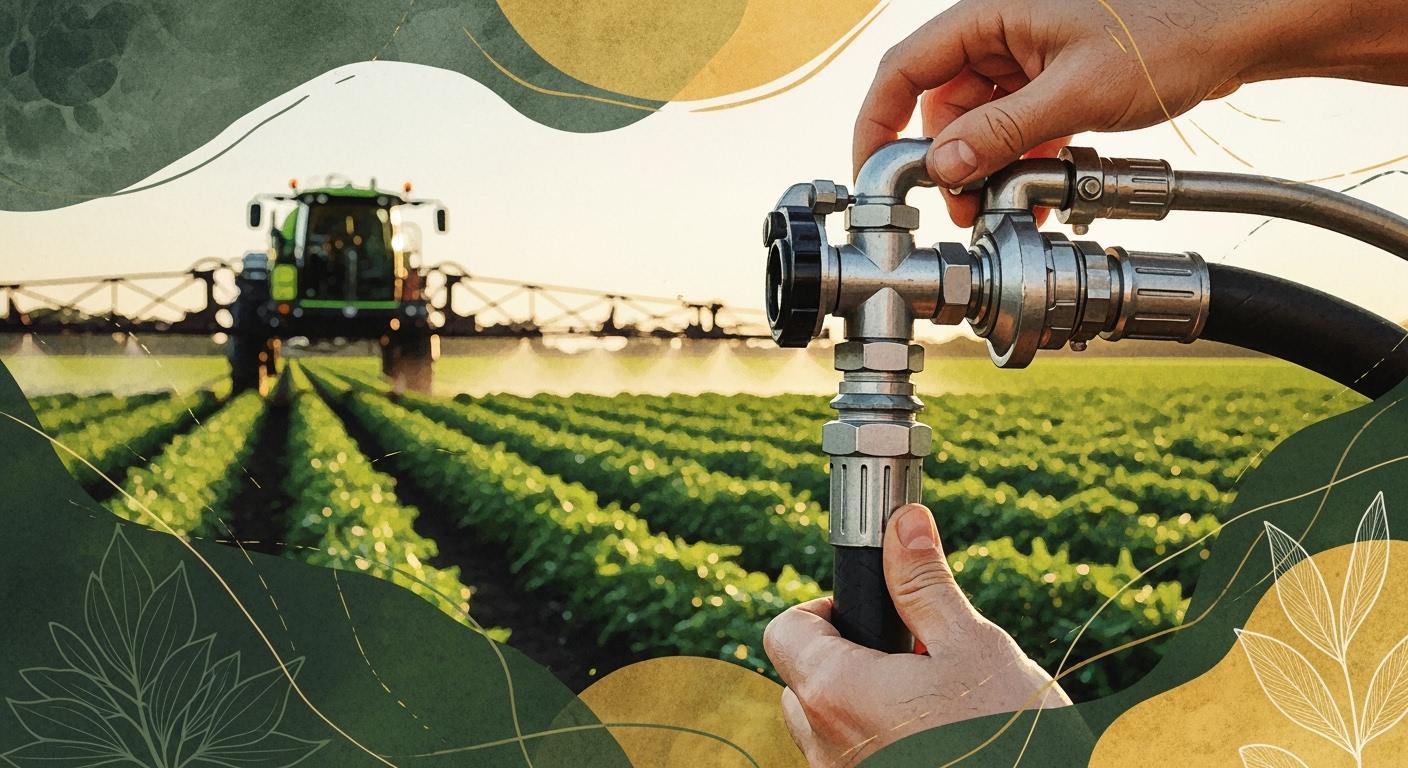
Hydraulic systems rely on precise sealing to prevent leaks and maintain system pressure. The type of seal you need depends on the fitting type.
Common Types of Hydraulic Fittings and Sealing Methods
- JIC (SAE 45°) Flare Fittings: These fittings rely on the flare angle for sealing. Typically, no sealant is required. Overtightening can damage the flare, causing leaks.
- ORB (O-Ring Boss) Fittings: These fittings use an O-ring for sealing. Ensure the O-ring is correctly installed and lubricated with hydraulic fluid.
- NPT (National Pipe Tapered) Fittings: These fittings use thread engagement for sealing. You can use Teflon tape or thread sealant, but the amount should be minimal to prevent contamination.
- SAE Straight Thread Fittings: Similar to NPT, these fittings use thread engagement. Teflon tape or thread sealant can be used.
General Sealing Guidelines:
- Cleanliness: Ensure all components are clean and free of debris.
- Correct Torque: Tighten fittings to the specified torque. Overtightening can damage components.
- O-Ring Lubrication: For ORB fittings, use hydraulic fluid to lubricate the O-ring.
- Thread Sealant: If using thread sealant, apply a thin, even coat. Avoid excessive amounts.
- Teflon Tape: Wrap Teflon tape clockwise on the male threads.
Additional Tips:
- Compatibility: Ensure the sealant or tape is compatible with the hydraulic fluid.
- System Pressure: Consider the system’s operating pressure when selecting sealants and tightening fittings.
- Vibration: In high-vibration environments, additional sealing measures might be necessary.
- Regular Inspection: Check for leaks regularly.
Remember: Hydraulic systems operate under high pressure. A leak can cause serious injury. If you encounter persistent leaks or are unsure about any step, consult a hydraulic specialist.
Sealing Methods of Hydraulic Fittings

Hydraulic systems rely on various seal types to maintain a closed system, containing fluid and gases under pressure. These seals must withstand the system’s temperature, pressure, and vibration to prevent leakage. Understanding the distinct sealing mechanisms, as illustrated in the provided image, is crucial for optimal hydraulic system performance.
Tapered Thread Seal
The “Tapered thread seal”, this type of seal is accomplished via metal-to-metal wedging. The threads on both the male and female components are tapered. When the fitting is tightened, the threads compress against each other, creating an interference fit that effectively seals the connection. This design relies on the mechanical deformation of the threads to prevent fluid escape.
Tapered thread fittings, such as NPT (National Pipe Thread) and BSPT (British Standard Pipe Thread), are commonly used due to their simplicity and effectiveness in various applications. To enhance the seal and fill any microscopic gaps, thread sealants like PTFE tape or liquid pipe dope are often applied during installation. Proper torque is essential; over-tightening can crack the fitting, while under-tightening leads to leaks.
Metal to Metal Interface Seal
The “Metal to metal interface seal” illustrates how a seal is created by the direct compression of two precisely machined metal surfaces. This often involves a flared or conical seating arrangement. For example, JIC (Joint Industry Council) 37° flare fittings create a seal when the flared end of a tube is compressed against a conical seat in the fitting. Similarly, 60° cone seals operate on a similar principle, where a conical male end mates with a conical female receptacle.
These fittings are renowned for their robustness and ability to withstand high pressures and temperatures. They offer a strong, rigid connection that is resistant to vibration and external forces. While they do not use an elastomeric O-ring, the precision of their machining is paramount for a reliable, leak-free connection. Proper torque is crucial to ensure adequate compression without deforming the metal surfaces.
Compressing Seal Fitting
The Compressing seal fitting depicts a type of connection often seen in compression fittings, utilizing a ferrule or cutting ring. In this design, a tube is inserted into the fitting body, and a nut is tightened, which then compresses a ferrule (or cutting ring) against the tube and into the fitting body. This compression deforms the ferrule, causing it to bite into the tube’s outer surface and simultaneously press against the fitting’s internal tapered seat, creating a tight, mechanical seal.
These fittings are valuable for applications where welding or flaring is not feasible or desired, offering a simpler installation process. They provide a strong, leak-resistant joint, especially for rigid tubing. However, it’s often recommended that these fittings be used for single installations, as re-tightening or reusing them can compromise the seal due to the permanent deformation of the ferrule.
O-Ring Flat Seat Seal
The O-Ring Flat Seat seal (often depicted as ORFS – O-Ring Face Seal) showcases a highly effective sealing method where an O-ring is seated in a groove on a flat face of the male fitting. When the male and female components are brought together and tightened, the O-ring is compressed between these two flat, parallel surfaces. This compression deforms the O-ring, causing it to fill the minute irregularities between the faces and create a robust, leak-proof seal.
This soft seal design offers exceptional performance, particularly in systems subjected to high pressures, pressure surges, and significant vibrations. The O-ring’s elasticity allows it to maintain a seal even with slight movements or temperature changes. O-Ring Flat Seat seals are easy to assemble and disassemble, reusable (by replacing the O-ring), and widely preferred in modern hydraulic systems for their superior leak prevention and ease of maintenance.
How to Seal NPT Fittings

NPT (National Pipe Taper) fittings are commonly used in plumbing, hydraulics, and various industrial applications. While they offer a strong connection, ensuring a leak-free seal requires proper technique and the right materials.
Choosing the Right Sealant
- Teflon Tape: Ideal for most applications, especially water and gas lines. Wrap clockwise around the male threads.
- Pipe Dope (Thread Sealant): Offers a thicker, more robust seal. Apply a generous but not excessive amount to the male threads.
- Combination: For demanding applications, consider using both Teflon tape and pipe dope.
Steps on How to Seal NPT Fittings
- Clean Threads: Remove dirt, debris, and old sealant from both male and female threads.
- Apply Sealant: Choose your sealant and apply it according to the product instructions.
- Assemble Fittings: Carefully screw the male fitting into the female fitting by hand until it meets resistance.
- Tighten Securely: Use a wrench to tighten the fitting to the manufacturer‘s recommended torque.
- Check for Leaks: Inspect the joint for any signs of leakage.
Tips for Success
- Wrap Teflon tape evenly and tightly.
- Avoid over-applying pipe dope.
- Use the correct type of sealant for your application.
- Tighten fittings gradually to prevent cross-threading.
- For critical applications, consider using a torque wrench.
How to Seal a Leaky Pipe Fitting

Disclaimer: While homeowners can tackle many minor plumbing issues, serious leaks or complex plumbing systems should be handled by a professional plumber.
General Steps
- Turn off the water supply: Locate the shut-off valve and turn it clockwise until it stops.
- Drain the pipes: Open faucets to release any remaining water.
- Access the leak: Remove any insulation or coverings to expose the pipe fitting.
- Identify the leak type: Determine if it’s a drip, sweat, or gusher.
- Clean the area: Remove any dirt, grease, or old sealant.
- Apply sealant: Depending on the type of fitting, use pipe tape, joint compound, or pipe repair putty.
- Tighten the fitting: Carefully tighten the fitting using adjustable wrenches. Avoid overtightening.
- Turn on the water slowly: Check for leaks. If the leak persists, repeat the steps or consult a plumber.
Specific Repair Methods
Threaded Pipe Fittings
- Tighten the fitting: Use adjustable wrenches to tighten the fitting.
- Apply pipe tape and joint compound: Wrap Teflon tape clockwise around the male threads, then apply a thin layer of pipe joint compound to the threads.
- Reassemble the fitting: Carefully screw the fitting back together.
- Tighten securely: Use wrenches to tighten the fitting without overtightening.
Compression Fittings
- Tighten the compression nut: Use an adjustable wrench to tighten the compression nut.
- Replace the compression ring: If tightening doesn’t work, replace the worn-out compression ring.
Push-Fit Fittings
- Remove and reinsert pipes: Disconnect the pipes from the fitting and reinsert them securely.
- Check for proper insertion: Ensure the pipes are fully seated in the fitting.
- Replace the fitting: If the leak persists, replace the fitting.
Soldered Fittings
Warning: Soldering requires special equipment and skills. It’s recommended to hire a professional plumber for this type of repair.
Emergency Repairs
For a sudden, major leak:
- Turn off the water supply immediately.
- Use pipe clamps: Apply pipe clamps to the leaking area to temporarily stop the flow.
- Apply pipe repair putty or epoxy: Use these products as a temporary fix while you wait for a permanent solution.
Preventing Future Leaks
- Regular inspections: Check pipes and fittings for signs of wear and tear.
- Maintain water pressure: Excessive water pressure can strain pipes.
- Use high-quality materials: Install quality pipes and fittings.
Remember: If you’re unsure about any step or encounter difficulties, consult a professional plumber.
Would you like to focus on a specific type of leak or pipe fitting?
How to Seal Barbed Fittings

Barbed fittings are a common type of connector used in plumbing and other applications. They rely on the friction between the barb and the hose to create a seal. However, leaks can occur due to various reasons. Here’s how to effectively seal barbed fittings:
Materials Needed:
- Hose clamps (correct size for your hose)
- Pipe joint compound (optional)
- Silicone grease or lubricant (optional)
Steps:
- Prepare the Hose: Ensure the hose is clean and free of debris. If the hose is too stiff, consider warming it up with warm water to make it more pliable.
- Apply Lubricant: For easier insertion and a better seal, you can apply a thin layer of silicone grease or lubricant to the hose end.
- Insert the Hose: Push the hose onto the barbed fitting as far as it will go. Ensure the hose is fully seated on the barbs.
- Apply Hose Clamp: Slide the hose clamp onto the hose and tighten it securely. The clamp should be positioned close to the end of the barb.
- Check for Leaks: Turn on the water or fluid and check for leaks. If there’s a leak, tighten the hose clamp or try adding another clamp.
Additional Tips:
- Choose the Right Hose Clamp: Ensure the hose clamp is the correct size for your hose. A loose clamp won’t provide a proper seal.
- Tighten the Clamp Gradually: Overtightening can damage the hose. Tighten the clamp until the hose is secure but not overly compressed.
- Consider Pipe Joint Compound: For added security, you can apply a thin layer of pipe joint compound to the hose before inserting it onto the barb. However, this is usually not necessary for most applications.
- Check for Wear: Regularly inspect the hose and fittings for signs of wear or damage. Replace any worn components to prevent leaks.
Troubleshooting:
- If you’re still experiencing leaks after following these steps, check if the hose is the correct size for the fitting.
- Ensure the hose is fully inserted onto the barbs.
- Try using a different hose clamp or tightening the existing clamp more securely.
- If the leak persists, consider replacing the barbed fitting.
By following these steps and tips, you should be able to effectively seal your barbed fittings and prevent leaks.
How to Seal a Bulkhead Fitting

A bulkhead fitting is a crucial component in many systems, from aquariums to industrial applications. Ensuring a proper seal is essential to prevent leaks and maintain system integrity.
Understanding Bulkhead Fittings
Bulkhead fittings typically consist of three parts:
- The bulkhead body: This is the main part that is installed through the wall of a tank or container.
- The gasket: A rubber or silicone ring that creates a seal between the bulkhead body and the wall.
- The compression nut: This tightens the fitting against the gasket, creating a secure seal.
Steps to Seal a Bulkhead Fitting
- Clean the Area: Ensure the surface where the bulkhead will be installed is clean and free of debris. Any contaminants can interfere with the seal.
- Install the Gasket: Place the gasket on the bulkhead body, ensuring it’s correctly positioned.
- Insert the Bulkhead: Carefully insert the bulkhead through the hole in the wall.
- Install the Compression Nut: Hand-tighten the compression nut until it makes initial contact with the gasket.
- Tighten Securely: Use a wrench to tighten the compression nut to the recommended torque. Overtightening can damage the gasket.
- Check for Leaks: Once the fitting is tightened, check for any leaks. If there’s a leak, slightly tighten the compression nut, but avoid overtightening.
Additional Tips for Sealing Bulkhead Fittings
- Lubricate the Gasket: Applying a thin layer of silicone grease to the gasket can help with installation and create a better seal.
- Replace Worn Gaskets: If the gasket is damaged or worn, replace it with a new one.
- Use Thread Sealant: For threaded connections on the bulkhead, apply a thin layer of thread sealant to prevent leaks.
- Consider Double Gaskets: In high-pressure applications or for extra security, consider using two gaskets.
Troubleshooting Leaky Bulkhead Fittings
If you’re experiencing a leak, check the following:
- Gasket Condition: Ensure the gasket is undamaged and correctly positioned.
- Tightness: Verify that the compression nut is tightened securely but not excessively.
- Thread Sealant: If applicable, check the condition of the thread sealant.
- Bulkhead Condition: Inspect the bulkhead for cracks or damage.
By following these steps and tips, you can effectively seal your bulkhead fitting and prevent leaks.
Do you have a specific type of bulkhead fitting or application in mind? I can provide more tailored advice if you share more details.
Can You Use Teflon Tape on Hydraulic Fittings?

While Teflon tape (PTFE thread seal tape) can be used on some hydraulic fittings, particularly tapered pipe threads like NPT, it’s not universally suitable for all types and comes with important considerations. Its primary function is to fill microscopic gaps in the threads and provide lubrication for easier assembly and disassembly. However, improper application or use on certain fitting types can lead to system contamination or ineffective seals.
Here are key points to consider:
- Suitable for NPT Threads: Teflon tape is commonly used and effective for National Pipe Tapered (NPT) threads, where it helps create a leak-free seal by filling imperfections.
- Not for All Fittings: It should not be used on fittings that rely on a metal-to-metal seal or an O-ring for sealing, such as:
- JIC (37-degree flare) fittings: These seal by crushing a conical surface, and tape can interfere with this mechanical seal and even enter the fluid.
- O-ring boss (ORB) and O-ring face seal (ORFS) fittings: These utilize an O-ring for sealing, making tape unnecessary and potentially detrimental.
- NPTF (National Pipe Thread Fuel) fittings: These create a secure mechanical seal by crushing the entire thread form, so tape is not recommended.
- Contamination Risk: If not wound properly (always clockwise in the direction the fitting will be tightened), or if excessive amounts are used, shredded tape can enter the hydraulic system, causing contamination, fouling valves, or clogging filters.
- Alternatives: Liquid anaerobic thread sealants (like Loctite 545 or Permatex Pneumatic/Hydraulic Sealant) are often preferred for hydraulic applications, especially for fine threads, as they cure into a solid, resist vibration, and don’t introduce particles into the system.
- Proper Application: When using Teflon tape, ensure threads are clean, apply a few wraps (typically 2-3) clockwise, and avoid over-tightening, which can damage threads.
Conclusion
Effectively sealing hydraulic fittings is crucial for system integrity, utilizing methods like tapered threads, metal-to-metal interfaces, compression seals, and O-ring flat seats. Each method offers distinct advantages in creating leak-proof connections, essential for preventing fluid loss and ensuring efficient operation under various conditions.
The choice of sealing method depends on system pressure, temperature, fluid compatibility, and application demands. Proper preparation of sealing surfaces, adherence to manufacturer’s torque specifications, and selection of compatible sealants or O-rings are paramount for achieving a reliable, long-lasting, and leak-free hydraulic system.
For all your wholesale hydraulic fitting needs, encompassing these diverse sealing methods, look no further. We supply a comprehensive range of high-quality hydraulic fittings designed for superior sealing performance and durability.