When it comes to maintaining your garden’s overall health and appearance, a clean garden hose is a crucial component. However, many gardeners overlook the importance of properly cleaning their hoses, leading to clogs, reduced water flow, and even potential damage.
In this comprehensive guide, we will walk you through the step-by-step process of cleaning your garden hose effectively to ensure your garden thrives.
Why Cleaning Your Garden Hose Matters
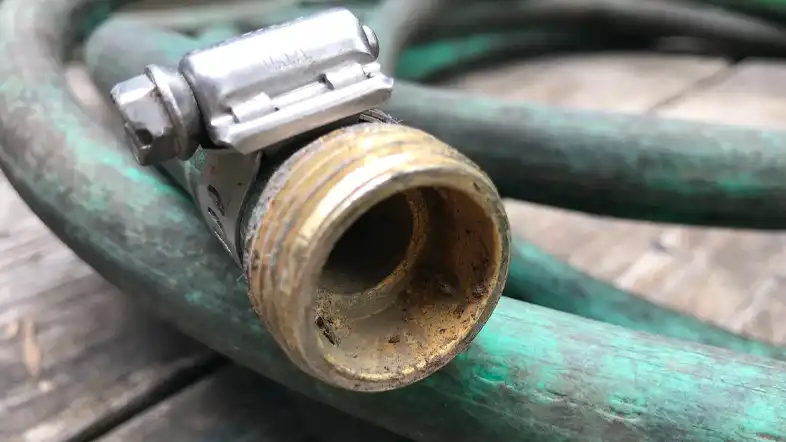
Cleaning your garden hose holds significant importance in maintaining a healthy and vibrant garden. Many gardeners might underestimate the impact of a clean hose on their gardening endeavors. However, the truth is that neglecting the cleanliness of your garden hose can lead to a series of problems that can hamper the overall health of your plants and the efficiency of your gardening process.
When your garden hose isn’t cleaned regularly, various elements such as dirt, debris, algae, and even mold can accumulate inside. This accumulation can lead to multiple issues that directly affect your garden’s well-being. Reduced water flow due to blockages can cause uneven watering, which can stress your plants and hinder their growth. Moreover, the presence of contaminants in the water can have adverse effects on your plants’ health, making them more susceptible to diseases.
By ensuring that your garden hose is clean and free from debris, you not only optimize the watering process for your plants but also create a conducive environment for their growth. Your plants will receive the necessary nutrients and hydration without any hindrance, leading to lush and vibrant gardens that you can be proud of.
Tools You’ll Need
Before diving into the cleaning process, gather the following tools:
- Rubber Gloves: Protect your hands from debris and contaminants.
- Bristle Brush: Use a soft-bristled brush to scrub the interior of the hose.
- Bucket: Fill a bucket with a mixture of mild soap and water.
- Vinegar: White vinegar is an effective natural cleaning agent.
- Duct Tape: To secure the hose ends during soaking.
Step-by-Step Cleaning Process
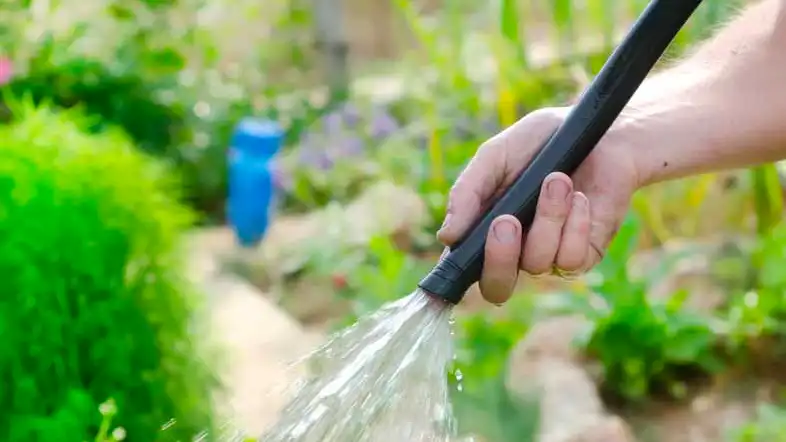
Step 1: Disconnect the Hose
Start by disconnecting the garden hose from the water source and any attachments. Lay it straight on a clean surface to avoid tangling during the cleaning process.
Step 2: Remove Nozzle or Sprayer
If your hose has a nozzle or sprayer attachment, remove it carefully. This will allow you to clean the hose more thoroughly.
Step 3: Flush with Water
Run water through the hose to remove loose debris and dirt. A strong stream of water will help dislodge any particles stuck inside.
Step 4: Soak in Soapy Water
Fill a bucket with warm water and add a mild soap. Place one end of the hose in the bucket, securing it with duct tape. Let the hose soak for about 30 minutes. This will help break down any dirt or grime buildup.
Step 5: Scrub the Interior
After soaking, put on your rubber gloves and use a soft-bristled brush to gently scrub the interior of the hose. Work the brush in a back-and-forth motion to dislodge remaining debris. Be thorough but gentle to avoid damaging the hose.
Step 6: Rinse and Repeat
Once you’ve scrubbed the entire length of the hose, thoroughly rinse it with clean water. If you notice lingering dirt or soap residue, repeat the soaking and scrubbing process until the hose is clean.
Step 7: Vinegar Solution
For stubborn mineral deposits and algae, create a solution of equal parts water and white vinegar. Let the solution sit in the hose for a few hours, then rinse thoroughly.
How to Clean the Outside of a Garden Hose

Maintaining the cleanliness of the exterior of your garden hose is equally important to ensure its longevity and proper functionality. The outside of the hose is exposed to various environmental elements, which can lead to dirt, grime, and even mold buildup over time. Regularly cleaning the exterior not only enhances the appearance of your hose but also contributes to its overall performance. Here’s a step-by-step guide on how to effectively clean the outside of your garden hose:
Step 1: Gather Your Supplies
Before you begin, gather the following supplies:
- Bucket: For preparing the cleaning solution.
- Mild Soap: Choose a gentle, non-abrasive soap.
- Soft-Bristled Brush: To scrub away dirt and debris.
- Garden Hose Nozzle: Provides a controlled water stream.
- Clean Cloth: For drying the hose after cleaning.
Step 2: Prepare the Cleaning Solution
Fill the bucket with water and add a small amount of mild soap. Mix the solution until it forms a soapy mixture.
Step 3: Disconnect the Hose
Before cleaning the exterior, disconnect the hose from the water source and any attachments. Lay the hose straight on a clean surface to prevent kinks.
Step 4: Scrub the Hose
Dip the soft-bristled brush into the soapy solution and gently scrub the entire exterior surface of the hose. Pay close attention to areas where dirt and grime have accumulated.
Step 5: Rinse Thoroughly
Using a garden hose nozzle with a gentle spray setting, thoroughly rinse the hose to remove the soapy residue and any remaining dirt. Make sure to rinse both sides of the hose to ensure complete cleanliness.
Step 6: Dry the Hose
After rinsing, use a clean cloth to wipe down the hose and remove excess water. Hang the hose in a well-ventilated area to air dry completely.
Step 7: Store Garden Hose Properly
Once the hose is dry, carefully coil it up and store it in a cool, dry place away from direct sunlight. Proper storage prevents the growth of mold and extends the lifespan of your hose.
Step 8: Regular Maintenance
To maintain the cleanliness of your garden hose, incorporate these practices into your routine:
- Inspect Regularly: Check the hose for signs of dirt or debris buildup and clean it as needed.
- Prevent Kinks: Avoid bending or kinking the hose, as this can lead to damage and reduced water flow.
- Protect from Sunlight: Store the hose in a shaded area to prevent UV damage.
By following these steps and maintaining a clean exterior, you’ll not only extend the life of your garden hose but also ensure that it continues to perform optimally for all your gardening needs. A clean hose contributes to the overall aesthetic of your garden and reflects your dedication to creating a healthy and beautiful outdoor space.
How to Clean Mildew From Garden Hose
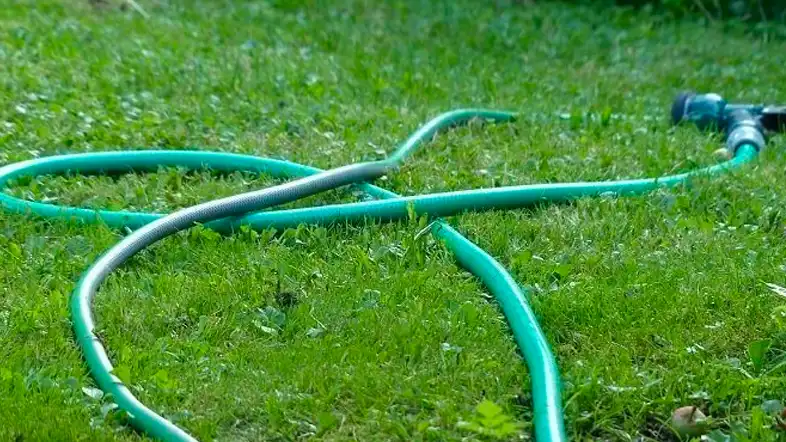
Dealing with mildew on your garden hose might seem like a daunting task, but with the right approach, you can effectively eliminate the mildew and restore your hose to its pristine condition. Mildew is a common issue, especially in damp environments, and it can negatively impact the appearance and functionality of your hose. Here’s a step-by-step guide on how to clean mildew from your garden hose:
Step 1: Safety Precautions
Before you begin, put on a pair of rubber gloves and work in a well-ventilated area to protect yourself from potential allergens.
Step 2: Gather Your Supplies
Collect the following items to aid in the cleaning process:
- White Vinegar: A natural and effective mildew remover.
- Water: For diluting the vinegar solution.
- Bucket: To mix the cleaning solution.
- Soft-Bristled Brush: To scrub away mildew.
- Garden Hose Nozzle: Provides a controlled water stream.
- Sunlight: Natural sunlight helps in drying and preventing future mildew growth.
Step 3: Prepare the Vinegar Solution
In the bucket, mix equal parts of white vinegar and water to create a cleaning solution. Vinegar’s acidic properties are effective in breaking down mildew.
Step 4: Disconnect and Soak
Disconnect the garden hose from the water source and any attachments. Submerge the mildew-affected portion of the hose in the vinegar solution. Let it soak for about 30 minutes to loosen the mildew.
Step 5: Scrub Gently
After soaking, put on your rubber gloves and use a soft-bristled brush to gently scrub the affected area of the hose. Work in a circular motion to lift off the mildew. Avoid using harsh brushes that can damage the hose.
Step 6: Rinse Thoroughly
Using a garden hose nozzle with a gentle spray setting, thoroughly rinse the hose to remove the vinegar solution and dislodged mildew. Make sure to rinse both the inside and outside of the hose.
Step 7: Sun-Dry
Hang the hose in direct sunlight to air dry. Sunlight helps in naturally killing remaining mildew spores and preventing future growth. Ensure that both the inside and outside of the hose are completely dry before storing it.
Step 8: Preventive Measures
To prevent future mildew growth, consider the following measures:
- Proper Storage: Store the hose in a dry and well-ventilated area after each use.
- Regular Inspection: Periodically inspect the hose for signs of mildew and clean it promptly if needed.
- Keep Dry: Avoid leaving the hose coiled up for prolonged periods, as moisture can promote mildew growth.
By following these steps, you can effectively remove mildew from your garden hose and maintain its cleanliness. Regular cleaning and preventive measures will ensure that your hose remains in excellent condition, allowing you to enjoy a beautiful and healthy garden without the worry of mildew-related issues.
How to Clean Garden Hose Nozzle
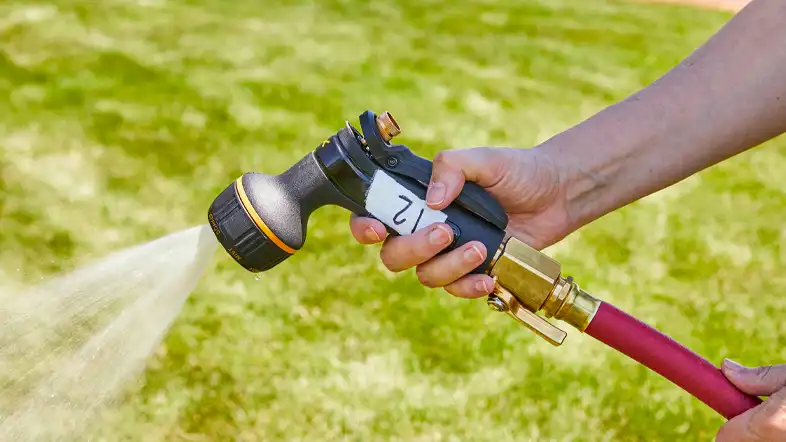
Keeping your garden hose nozzle clean is essential to ensure proper water flow, prevent blockages, and maintain efficient irrigation for your plants. Over time, dirt, debris, and mineral deposits can accumulate inside the nozzle, affecting its performance. Follow this simple step-by-step guide to effectively clean your garden hose nozzle and keep it in optimal condition:
Step 1: Gather Your Supplies
Before you start cleaning, gather the following supplies:
- White Vinegar: A natural cleaning agent.
- Warm Water: For diluting the vinegar.
- Bucket: To create the cleaning solution.
- Old Toothbrush or Soft Brush: For scrubbing.
- Safety Gloves: To protect your hands.
- Safety Glasses: To shield your eyes from debris.
- Paperclip or Thin Wire: For unclogging small openings.
Step 2: Detach the Nozzle
Carefully remove the nozzle from the end of your garden hose. This will allow you to clean the nozzle more effectively and access hard-to-reach areas.
Step 3: Prepare the Cleaning Solution
Mix equal parts white vinegar and warm water in a bucket. The vinegar’s acidity helps dissolve mineral deposits and break down grime.
Step 4: Soak the Nozzle
Submerge the detached nozzle in the vinegar solution and let it soak for about 15-30 minutes. This will loosen any buildup inside the nozzle.
Step 5: Scrub the Nozzle
Wearing safety gloves and glasses, use an old toothbrush or a soft brush to gently scrub the inside and outside of the nozzle. Pay special attention to the openings and crevices where debris can accumulate.
Step 6: Unclog Small Openings
If you notice any small openings in the nozzle are still clogged, use a paperclip or a thin wire to gently poke and remove any remaining debris.
Step 7: Rinse Thoroughly
After scrubbing, rinse the nozzle thoroughly with clean water to remove the vinegar solution and loosened dirt. Hold the nozzle under running water and use your fingers to flush out any remaining debris.
Step 8: Dry and Reattach
Allow the nozzle to air dry completely before reattaching it to the garden hose. Make sure no water or moisture remains inside the nozzle to prevent future clogs.
Step 9: Regular Maintenance
To keep your garden hose nozzle clean and functional:
- Clean Regularly: Incorporate nozzle cleaning into your gardening routine, especially after heavy use.
- Inspect for Blockages: Periodically check for debris buildup and remove it promptly.
- Store Properly: Store the nozzle in a dry and covered area to prevent dirt and debris from accumulating.
By following these steps, you’ll ensure that your garden hose nozzle remains clean and effective, providing consistent water flow for your plants. A well-maintained nozzle not only improves your gardening experience but also helps keep your garden healthy and thriving.
Maintaining Your Garden Hose
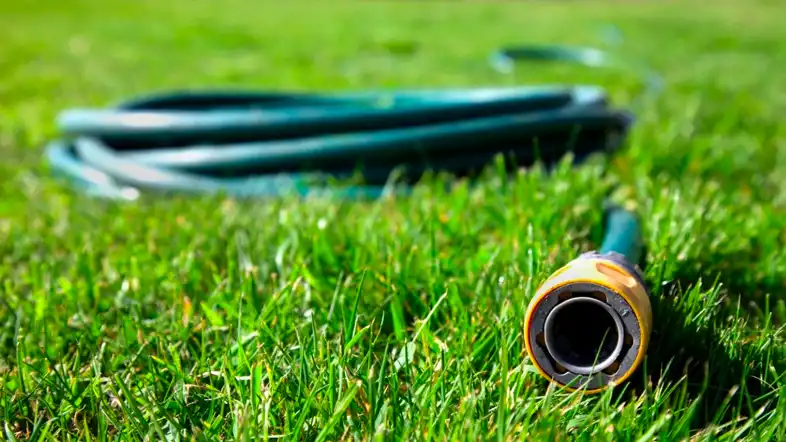
Cleaning your garden hose isn’t a one-time task; it’s an ongoing maintenance process to ensure its longevity and optimal performance. Here are some tips to keep your hose in pristine condition:
- Store Properly: After each use, make sure to drain excess water from the hose and store it in a cool, dry place away from direct sunlight.
- Regular Inspection: Periodically check for kinks, cracks, or leaks in the hose. Address these issues promptly to prevent further damage.
- Winter Care: Before winter arrives, drain the hose completely and store it indoors to prevent freezing and cracking.
- Replace Attachments: If your nozzle or sprayer attachment is damaged, replace it to maintain efficient watering.
Conclusion
A clean garden hose is the unsung hero of any thriving garden. By following these steps and incorporating regular maintenance into your routine, you’ll ensure your garden hose remains in peak condition, promoting healthy plant growth and lush landscapes.


