Fire sleeve is often ordered by the hydraulic hose dash size. That shortcut can produce a sleeve that is too tight over the cover, too small for fittings, or unnecessarily loose along the hose body. The correct size is based on actual outside dimensions, installation method, bends, movement, and how the sleeve ends will be sealed.
This guide explains how to size a fire sleeve for hydraulic hose so buyers can specify a practical fit without compromising installation or coverage.
Hose ID Is Not Sleeve ID
Hydraulic hose size usually refers to nominal inside diameter. Fire sleeve must fit over the outside. Two hoses with the same bore can have different outside diameters because reinforcement, wall thickness, cover, and pressure class differ.
Always obtain the hose’s actual maximum OD from a controlled data sheet or measure the hose correctly. Guidance on measuring hydraulic hose can help distinguish bore, outside diameter, overall assembly length, and fitting dimensions.
Measurements You Need
| Measurement | Why it matters |
|---|---|
| Hose maximum OD | Determines body fit |
| Ferrule or socket OD | May control slide-over installation |
| Largest fitting feature | Determines whether the sleeve can pass over the end |
| Hose length to protect | Establishes cut length |
| Bend radius and movement | Determines required looseness and overlap |
| Clamp or seal area | Ensures end treatment fits securely |
Use a caliper or diameter tape appropriate to the size. Measure several points because flexible hose can be slightly oval. Do not compress the cover excessively.
Step 1: Identify the Installation Method
The biggest sizing question is whether the sleeve will be installed before fittings, slid over a completed assembly, or wrapped around an installed hose.
Before fittings are attached
The sleeve only needs to fit the hose body with suitable clearance. This usually allows a closer, more uniform fit. The ends can then be positioned near the ferrules during assembly.
Over a completed hose assembly
The sleeve must pass over the largest fitting, nut, flange, or bend. A size chosen for the hose OD alone may not install. A very large sleeve that clears the fitting may fit poorly over the hose afterward.
Retrofit without disconnection
A split sleeve with zipper, hook-and-loop, snaps, or lacing can wrap around the hose. Its sizing is based primarily on hose and local bundle circumference rather than fitting pass-through.
Confirm installation method before choosing fire sleeves.
Step 2: Measure the Hose Body
Use the largest normal OD along the area to be covered. Include cover tolerances and any permanent identification bands that remain under the sleeve.
For a hose bundle, do not add diameters and assume the result. Arrange the hoses in their installed pattern and measure bundle circumference or maximum envelope. Bundles change shape during movement, so allow suitable clearance.
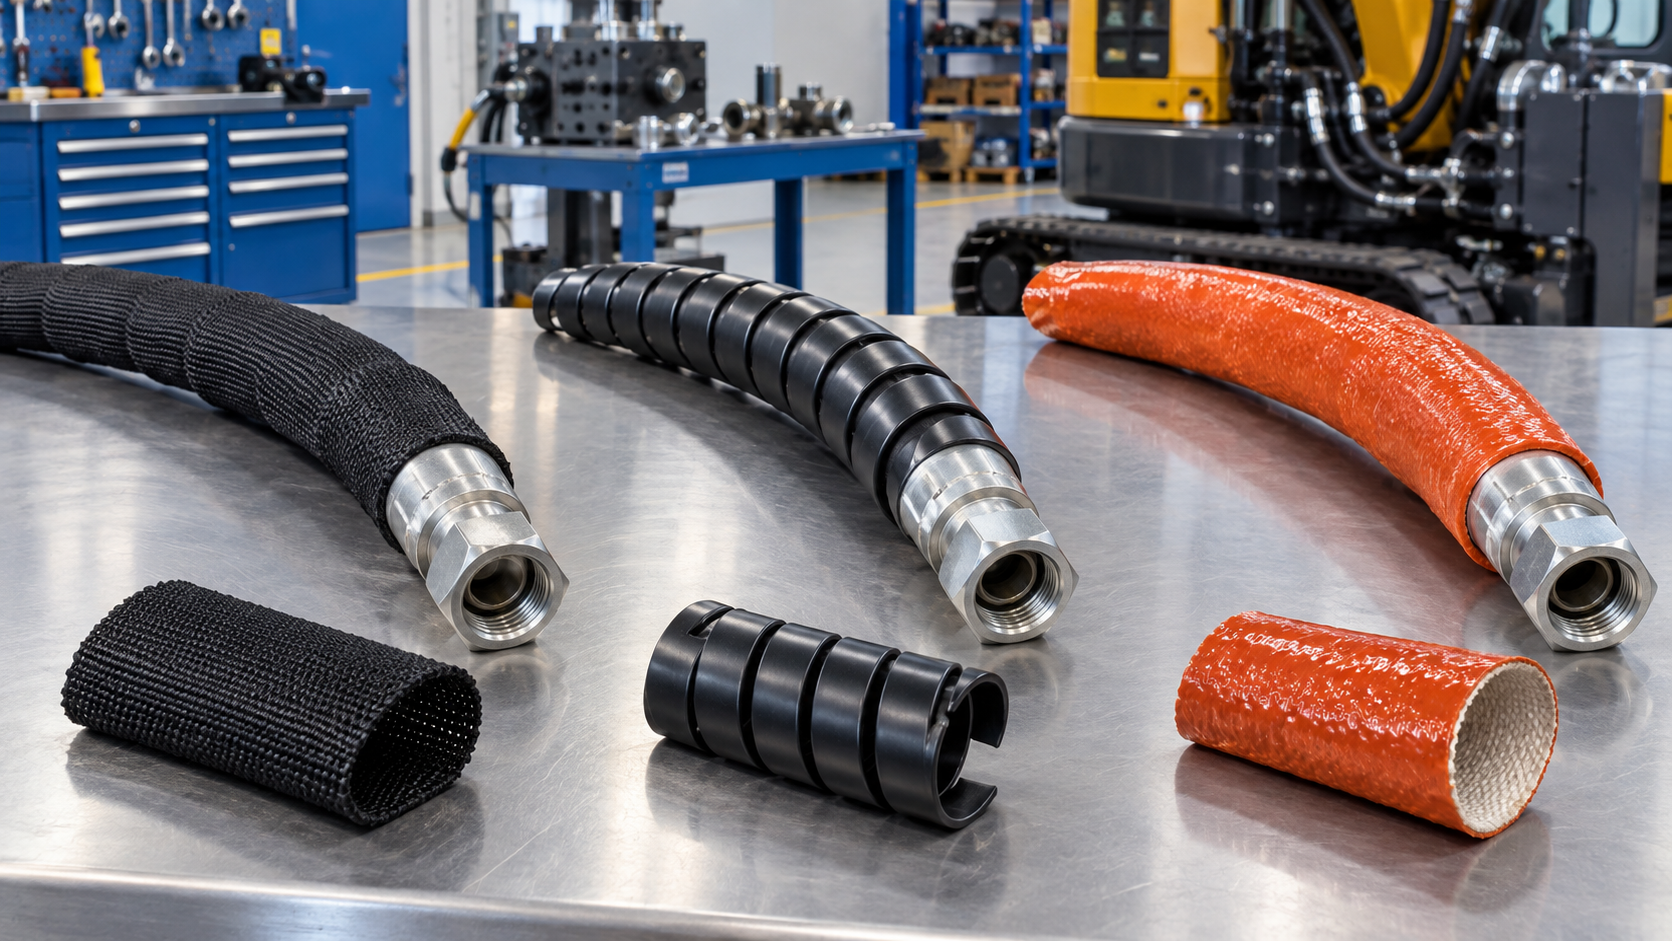
If abrasion guard, spiral wrap, tape, or another hydraulic hose sleeve will remain underneath, measure over the complete layer stack. Check that combining products does not trap excessive heat or interfere with inspection.
Step 3: Choose the Correct Fit
The sleeve should be large enough to install without stretching, scraping, or compressing the hose. It should not be so loose that it sags, catches on equipment, bunches at bends, or leaves large gaps at end seals.
Manufacturers commonly publish nominal sleeve ID and recommended hose OD ranges. Use that specific table because wall thickness, coating, weave, and manufacturing tolerance vary.
When the measured OD falls near the upper limit, moving to the next sleeve size may improve installation and flexing. When it falls near the lower limit, check whether the sleeve can be sealed securely without folds.
Do not assume sleeve material will stretch like ordinary fabric. Silicone-coated fiberglass sleeve is designed for protection, not elastic fit.
Step 4: Check Fitting Clearance
For slide-over installation, measure the largest diameter the sleeve must pass. This may be a flange, elbow, nut corner, crimp ferrule, quick coupling, or protective cap.
Consider shape as well as diameter. A hex nut’s corner-to-corner dimension is larger than its across-flats measurement. Angled fittings require space to turn through the sleeve.
If the required slide-over size would be excessively loose on the hose, consider:
- installing sleeve before the second fitting;
- using a split retrofit construction;
- selecting an approved detachable end treatment;
- protecting only the necessary hot zone with suitable overlap.
Never force the sleeve over a sharp fitting edge that can cut the fiberglass or scrape the silicone coating.
Step 5: Determine Sleeve Length
Measure the actual route in the hose’s working position. Include movement, bends, and the distance needed for end sealing. Do not simply match nominal assembly length.
The sleeve should cover the defined exposure zone without tension at full extension. Allowance may be needed for:
- cut-end trimming and fray control;
- overlap at fittings or adjacent protection;
- end clamps, tape, or sealant;
- compression at bends;
- assembly tolerances;
- service movement.
Avoid excessive spare length. Bunched sleeve can trap contamination, restrict movement, and make inspection difficult.
Step 6: Allow for Bend Radius and Motion
A sleeve fitted tightly on a straight hose can bind on a bend. It may pull away from the fitting, wrinkle sharply on the inside radius, or abrade the hose.
Evaluate the minimum and maximum operating positions. Maintain the hose manufacturer’s minimum bend radius; sleeve does not permit tighter routing. Provide enough internal clearance for the hose and sleeve to move independently without excessive rubbing.
For reciprocating or articulated machinery, test a representative assembly through the full cycle. Check for snagging, telescoping, end-seal movement, and local overheating.
Step 7: Plan the End Seals
Sizing and termination are connected. A loose sleeve may need more careful gathering at the ends. A close sleeve may leave little room for tape or clamps.
Common end treatments include stainless bands, wire, approved clamps, high-temperature tape, and compatible sealant. Selection depends on heat, flame, fluid splash, vibration, and maintenance requirements.
The termination should secure the sleeve without cutting it, crushing the hose, or interfering with fitting movement. Do not cover leak paths or inspection features unnecessarily.
A correctly sized fire sleeve for hydraulic hose should allow a neat transition at the ferrule while protecting the vulnerable hose cover.
Sizing Examples
Example 1: Sleeve installed before crimping
A hose body measures 28 mm maximum OD. The manufacturer’s table shows one sleeve size ending at 28 mm and the next covering 27–31 mm. If the application includes bending and OD tolerance, the larger size may provide safer installation clearance, subject to end-seal fit.
Example 2: Sleeve over a completed assembly
The hose OD is 25 mm, but the largest fitting feature is 42 mm. A tubular sleeve sized only for 25 mm cannot pass the fitting. Use a larger slide-over sleeve only if the loose body fit is acceptable; otherwise use a split retrofit sleeve or install before fitting assembly.
Example 3: Two-hose bundle
Two 20 mm hoses do not necessarily form a 40 mm round bundle. Arrange them as installed, account for movement, and measure the maximum envelope or circumference. Confirm that the sleeve manufacturer approves bundling for the heat exposure.
Common Sizing Mistakes
- Ordering sleeve by hose dash size only.
- Using nominal OD without tolerance.
- Forgetting ferrule, nut, flange, or elbow clearance.
- Pulling a tight sleeve over sharp fitting edges.
- Ignoring movement and minimum bend radius.
- Cutting exactly to hose length with no termination allowance.
- Combining guards without measuring the final OD.
- Oversizing so heavily that the sleeve sags or cannot be sealed.
Procurement Checklist
Send the supplier:
- hose series, size, and maximum OD;
- fitting drawings and maximum pass-over dimension;
- installation method;
- protected length and exposure zone;
- bend radius and movement;
- single hose or bundle arrangement;
- temperature, flame, splash, and abrasion conditions;
- end-seal method;
- quantity, cut lengths, and packaging;
- required test evidence and documentation.
Request a physical trial when the fit is close, the fitting is irregular, or the assembly moves dynamically.
Final Sizing Principle
Fire sleeve is sized from the real outside envelope it must cover or pass over—not from hydraulic hose ID alone. Hose OD determines body fit, fitting geometry determines installation clearance, and routing determines length and looseness.
Measure the complete assembly, choose an installation method first, and verify the manufacturer’s recommended fit range. That produces a sleeve that can be installed without damage and remains protective throughout hose movement and service.