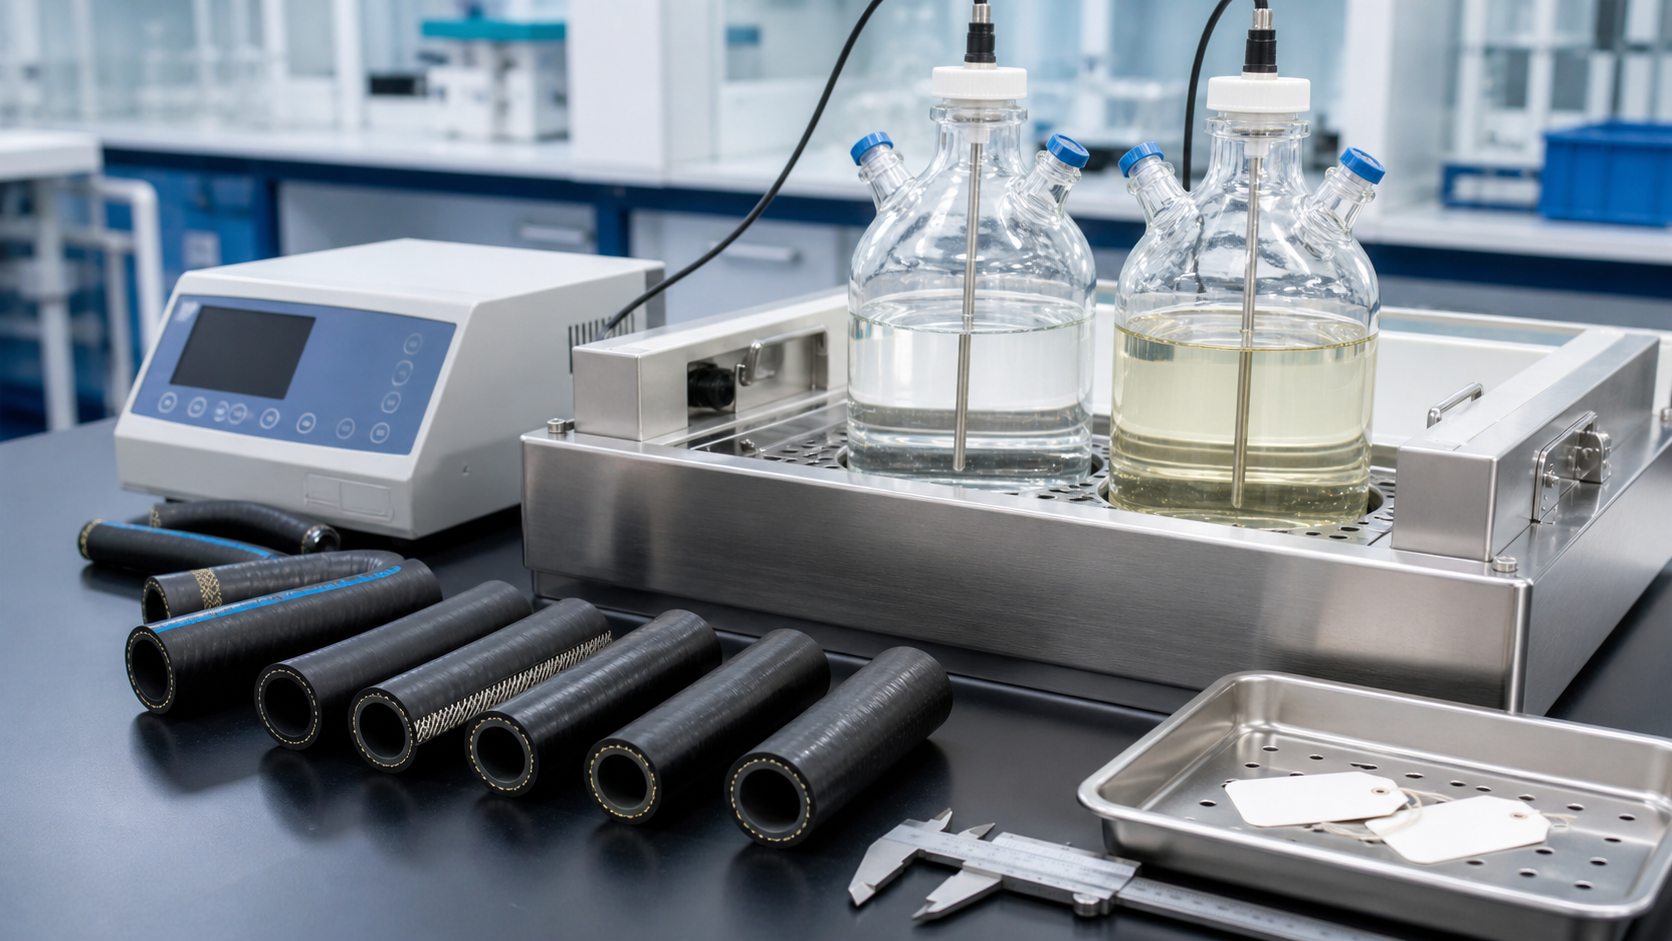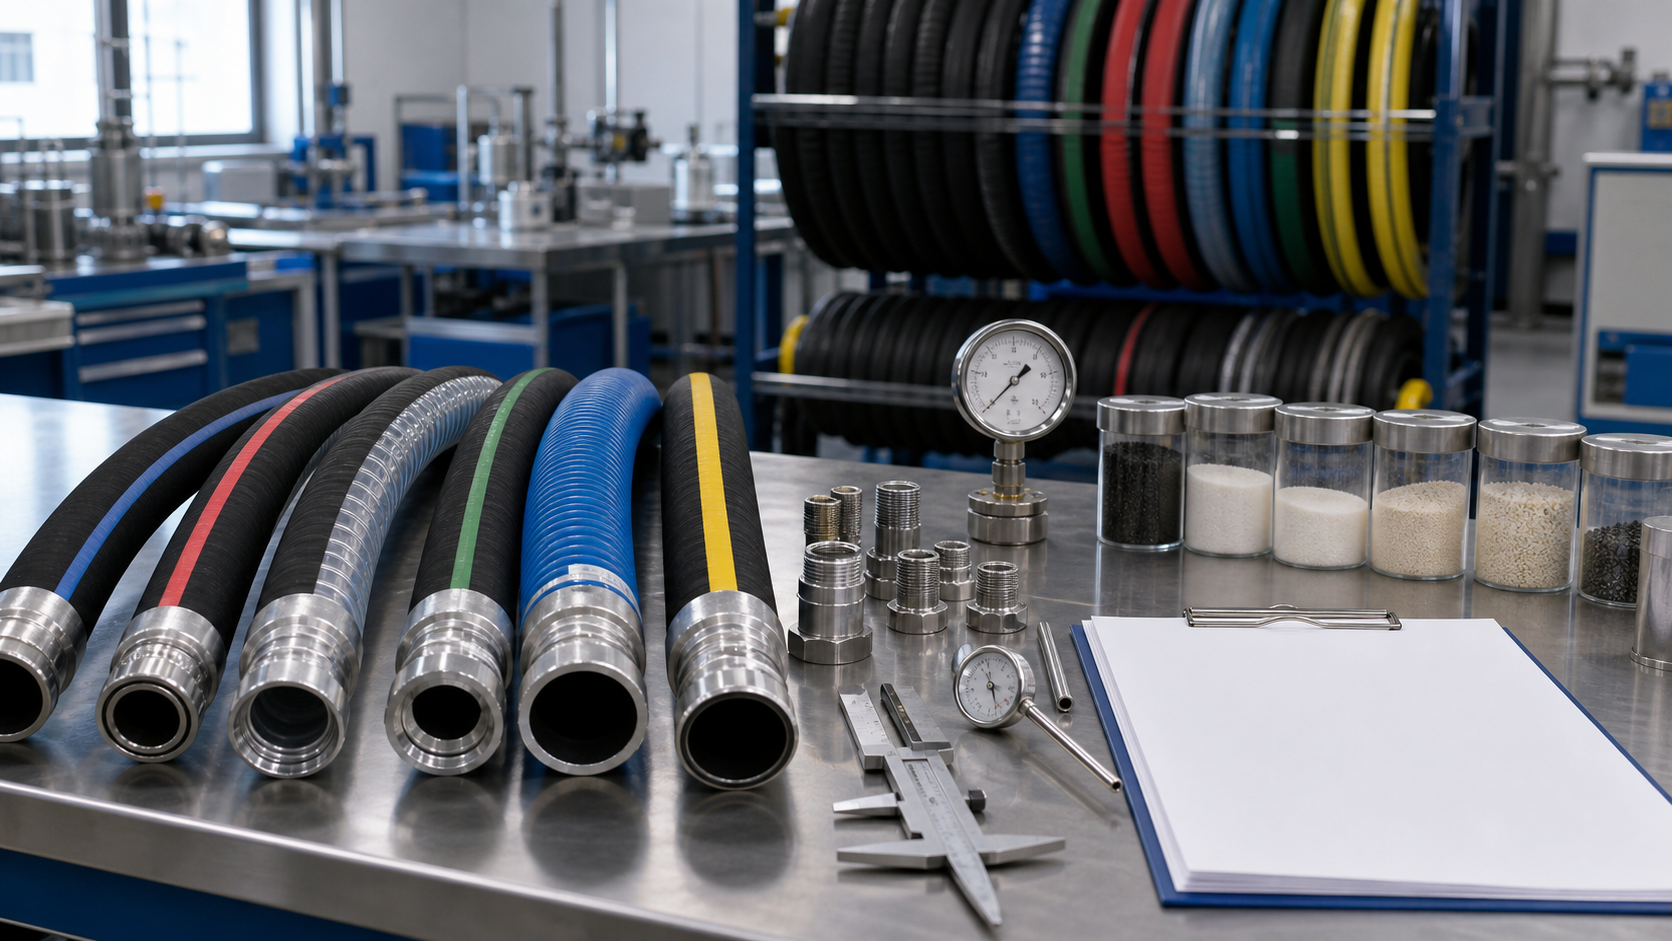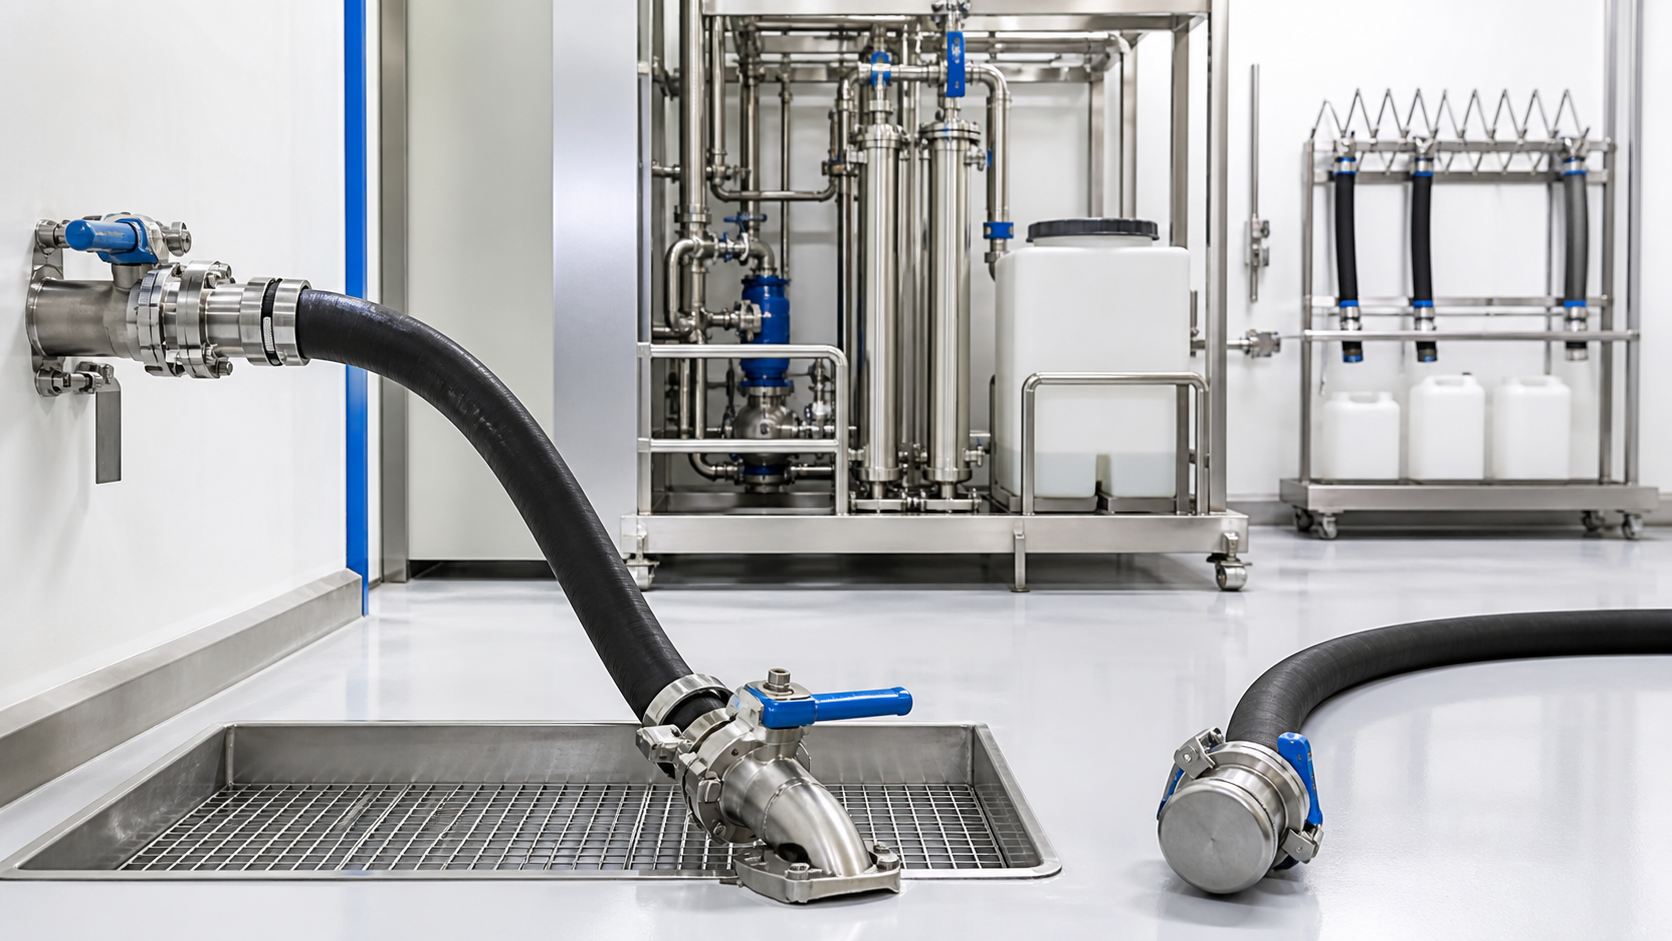
Chemical transfer hoses can retain liquid, vapor, sediment, and reaction products after unloading. Residue may contaminate the next batch, attack the tube, expose workers, or react with a cleaner.
There is no universal recipe. A safe chemical transfer hose cleaning procedure must reflect the previous product, hose materials, couplings, next product, waste controls, and the facility’s written safety process.
Safety note: Cleaning hazardous chemical equipment requires trained personnel, appropriate PPE, ventilation, isolation, spill control, and compliance with the chemical supplier’s safety data and site procedures. Never mix residues or cleaning agents unless their compatibility has been formally verified.
Before Cleaning: Answer Seven Questions
| Question | Why it matters |
|---|---|
| What was transferred? | Identifies hazards and likely residue |
| What concentration and temperature? | Affects reaction and material compatibility |
| What is the hose construction? | Determines allowable cleaner and temperature |
| What comes next? | Defines required cleanliness and cross-contamination risk |
| Can residue react with water or air? | Controls the first flushing step |
| How will waste be contained? | Prevents uncontrolled discharge |
| How will cleanliness be verified? | Defines when the hose can return to service |
Treat the hose as contaminated until the process confirms otherwise. Labels and transfer records should identify the last product and cleaning status.
1. Review Chemical and Hose Information
Consult the safety data sheet, process hazard information, site cleaning procedure, and waste-disposal requirements. Identify reactivity, flammability, toxicity, corrosivity, vapor hazard, water sensitivity, and decomposition risks.
Then verify the construction and limits of the chemical transfer hose: liner, reinforcement, cover, couplings, seals, working pressure, vacuum rating, and permitted temperature. A cleaning fluid that is safe for the liner may damage an O-ring, adhesive, or metal fitting.
Check hose chemical compatibility for both the transferred product and proposed cleaning media. Compatibility tables are screening tools; obtain manufacturer confirmation when the exact concentration, temperature, or compound is uncertain.
2. Define the Required Cleaning Outcome
“Clean” can mean several things. The hose may need to be:
- drained for safe storage;
- free of visible residue;
- suitable for another compatible product;
- below a defined contamination limit;
- decontaminated for maintenance or disposal;
- sanitized for a controlled hygienic process.
The next use determines the acceptance criterion. A dedicated hose returning to the same chemical may require a different process from a multi-product hose used for a high-purity batch.
Define measurable criteria where consequences are significant. These may include final-rinse pH, conductivity, specific chemical concentration, total organic carbon, visual clarity, odor, particulate count, or another validated test. “Rinse until it looks clear” is not sufficient for every service.
3. Isolate and Depressurize the System
Stop the transfer according to the operating procedure. Isolate pumps, close or secure valves, release trapped pressure through a controlled route, and apply lockout/tagout where required. Verify zero-energy state before loosening any connection.
Be aware that flexible hose can trap pressure between valves or behind a blockage. Thermal expansion can re-pressurize a sealed liquid. A collapsed or kinked section may also hold product that is released when the hose moves.
Use drip trays, closed drains, bonding or grounding controls where required, and suitable caps. Position personnel away from possible spray paths.
4. Recover and Drain the Remaining Product
Whenever practical, recover usable product into an approved container before introducing cleaner. Arrange the hose to drain without exceeding minimum bend radius or creating uncontrolled low points.
Do not use compressed air automatically. Air can atomize toxic or flammable residues, generate static, overpressure the hose, or create a reactive mixture. Gas displacement should occur only under an engineered, written procedure using a compatible gas, controlled pressure, safe discharge, and appropriate electrical precautions.
Record the recovered quantity when material balance or waste control requires it.
5. Select the Cleaning Method
Common methods include liquid flushing, recirculation, controlled mechanical projectile cleaning, steam or hot-water cleaning for approved constructions, and specialized neutralization or solvent cleaning. The right method depends on the residue and hose.
Liquid flushing
Flushing moves a compatible liquid through the hose to carry away residue. Flow should reach all internal surfaces without exceeding hose ratings or creating harmful static conditions.
Recirculation
Recirculation can improve contact time and reduce cleaner consumption. Use compatible equipment, temperature control, filtration, and containment, and monitor the cleaner as contamination increases.
Mechanical projectile cleaning
Approved projectiles can remove films and particles from suitable bores. Confirm diameter, liner condition, fitting geometry, and outlet containment. Never use excessive launch pressure.
Steam or heated cleaning
Heat may improve cleaning but can damage non-steam-rated hose. Use steam only when the manufacturer approves the construction, temperature, pressure, duration, and cycle frequency.
Neutralization or solvent cleaning
These methods require validation. Neutralization can release heat or gas, while solvents can create fire, vapor, swelling, and disposal hazards. Do not improvise based only on pH.
6. Control Temperature, Pressure, and Flow
Keep every cleaning parameter within the rating of the hose and lowest-rated fitting or accessory. A hose’s process-fluid temperature limit may not apply to the cleaning chemical.
Avoid rapid pressurization, deadheading, water hammer, and excessive velocity. Support the hose against whipping or rubbing. If vacuum is used, confirm its rating.
A braided chemical hose may provide pressure reinforcement, but braiding does not make every cleaning temperature or chemical acceptable. Verify the complete assembly.
7. Use a Controlled Cleaning Sequence
A typical procedure may include:
- identify and isolate the hose;
- recover and drain product;
- perform an initial compatible rinse or displacement;
- apply the validated cleaning medium for defined time, temperature, and flow;
- rinse until specified endpoint criteria are achieved;
- drain and dry using an approved method;
- inspect, test if required, cap, label, and store;
- contain and dispose of all waste correctly.
This is a framework, not a universal recipe. Water must not be used as an initial rinse for water-reactive materials, and incompatible residues must never share cleaning equipment.
8. Prevent Cross-Contamination
Dedicated hoses are often the safest choice for highly reactive, toxic, high-purity, allergenic, or difficult-to-remove products. Use color coding or tags as supplementary identification, not as a substitute for traceable records.
For multi-product service, create an approved compatibility matrix showing which products may follow each other and the cleaning method required between them. Consider residue in couplings, gaskets, corrugations, low points, and dead legs.
Separate cleaning tools and waste streams when residues could react. Verify the previous product from records rather than trusting hose location alone.
9. Inspect After Cleaning
After the hose is drained and safe to handle, inspect the tube, cover, and fittings. Look for:
- swelling, softening, hardening, or tackiness;
- cracks, blisters, discoloration, or exposed reinforcement;
- liner delamination, ripples, or collapsed sections;
- corrosion, pitting, or damaged plating;
- loose couplings, worn seals, and distorted threads;
- unusual odor or persistent residue;
- abrasion, kinks, flattening, or heat damage.
Use a borescope where practical, especially for larger hoses. Compare suspect areas with a known-good sample. If the hose shows material change or uncertain integrity, quarantine it for technical evaluation.
10. Verify Cleanliness
Choose a verification method linked to the risk and next service. Visual inspection may be sufficient for some dedicated, low-risk transfers. Higher-risk applications may require analysis of the final rinse or swab, residue-specific test strips, laboratory testing, or a validated process endpoint.
Sampling must represent the hose, not only the cleanest outlet. Define sample location, rinse volume, method, instrument, acceptance limit, and frequency. Record actual results.
If the cleaning process is validated, periodic verification may replace testing of every cycle—but only while equipment, chemicals, time, temperature, and flow remain within the validated limits.
11. Dry, Cap, and Store Correctly
Residual moisture can dilute the next product, promote corrosion, support microbial growth, or react with chemicals. Use an approved drying method and verify completion when required. Avoid unfiltered shop air that can introduce oil, water, or particles.
Cap both ends with compatible, clean closures. Label the hose with identification, last product, cleaning status, date, method, inspector, and permitted next service. Store it without tight bends, crushing, sunlight, ozone, heat, moisture, or chemical exposure.
12. Document and Close the Cycle
Record the hose, previous product, cleaning media and parameters, verification results, inspector, date, waste route, and disposition. Remove the assembly from service if it is damaged, its previous contents are unknown, cleaning limits were exceeded, incompatible chemicals contacted it, or traceability was lost. Structural damage cannot be “cleaned away.”
Final Cleaning Principle
Effective decontamination is a controlled process, not simply rinsing until the discharge appears clear. It begins with correct chemical identification and ends with documented verification, inspection, labeling, and storage.
By designing the procedure around the specific product and complete hose assembly, facilities can reduce exposure, cross-contamination, unexpected reactions, and premature hose failure.